89silverpu's Swing-Out Tailgate Tire Carrier
 11-01-2011, 11:16 AM
#41
Registered User
Thread Starter
Join Date: Feb 2007
Location: Sierra Nevada's or the Deserts of Las Vegas
Posts: 2,203
Likes: 0
Received 0 Likes
on
0 Posts

 11-06-2011, 04:20 PM
#42
Registered User
Thread Starter
Join Date: Feb 2007
Location: Sierra Nevada's or the Deserts of Las Vegas
Posts: 2,203
Likes: 0
Received 0 Likes
on
0 Posts
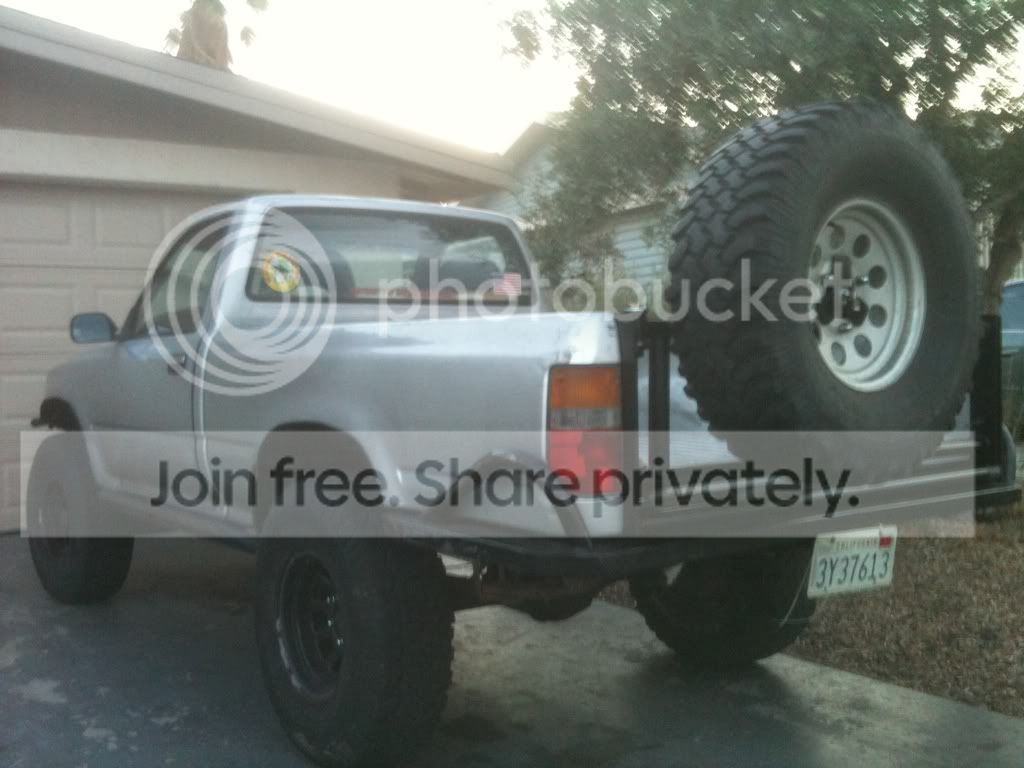
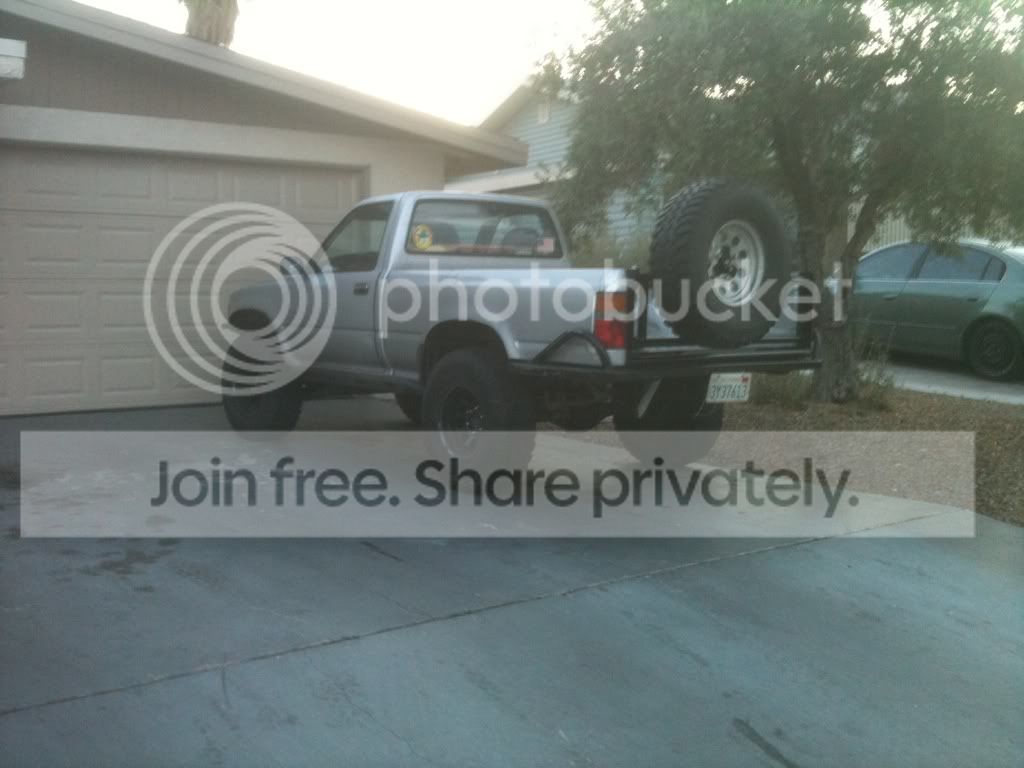
Got it painted and put back on, I still have to skin it, I spent today redoing some wiring and putting a new CD player in the truck so I didn't get any work done on this, but here are some pictures from my phone so they are kinda crappy

11-06-2011, 05:04 PM
#44
Registered User
Thread Starter
Join Date: Feb 2007
Location: Sierra Nevada's or the Deserts of Las Vegas
Posts: 2,203
Likes: 0
Received 0 Likes
on
0 Posts
 11-07-2011, 07:16 AM
#46
Registered User
Thread Starter
Join Date: Feb 2007
Location: Sierra Nevada's or the Deserts of Las Vegas
Posts: 2,203
Likes: 0
Received 0 Likes
on
0 Posts
 11-07-2011, 08:19 PM
#50
Registered User
Thread Starter
Join Date: Feb 2007
Location: Sierra Nevada's or the Deserts of Las Vegas
Posts: 2,203
Likes: 0
Received 0 Likes
on
0 Posts
Thanks guys, I appreciate the compliments! I got the tailgate skinned and the latch grafted in, gotta make some final tweaks tomorrow and I'll post up some pictures tomorrow.
11-08-2011, 09:08 AM
#51
Registered User
Thread Starter
Join Date: Feb 2007
Location: Sierra Nevada's or the Deserts of Las Vegas
Posts: 2,203
Likes: 0
Received 0 Likes
on
0 Posts
So here are the pictures of it skinned with the handle grafted in. I still need to do another round of bondo work, but I ran out of bondo so I just painted it up and called it good for now. I had to make a little extension bracket for the latch to work properly, but it works perfect now. I think I am going to add a cover on the back section where the latch is just to cover it up...or I may just mount my jerry can in front of it, we'll see. The metal was a little too thin for the set up I had to weld it very well, so I just did little tacks the whole way around, looks pretty bad on the back side but oh well. I took some better pictures on my camera, but I didn't have time to upload them before I left so here are some from my phone to give you an idea.


I took some better pictures on my camera, but I didn't have time to upload them before I left so here are some from my phone to give you an idea.
Last edited by 89silverpu; 11-08-2011 at 09:11 AM.
11-08-2011, 09:23 AM
#54
Registered User
Thread Starter
Join Date: Feb 2007
Location: Sierra Nevada's or the Deserts of Las Vegas
Posts: 2,203
Likes: 0
Received 0 Likes
on
0 Posts
Next up is how to mount the license plate light and my hi-lift...debating on whether or not to mount it on the top rail, or cut it to mount on the backside (hidden)
11-08-2011, 09:30 AM
#55
for the license plate light, all you'll need is one wire for positive, as the tailgate itself is "ground". simple wiring, just run it across the backside and through the tail light cavity to get it under the bed
i really like that handle/latch idea!
i really like that handle/latch idea!
11-08-2011, 10:04 AM
#56
Registered User
Thread Starter
Join Date: Feb 2007
Location: Sierra Nevada's or the Deserts of Las Vegas
Posts: 2,203
Likes: 0
Received 0 Likes
on
0 Posts
Thanks, that's what I was planning on for the light, I just need to decide where to mount it. I think I am going to mount two, one on the right and one on the left side. (I already have two in my garage so that's probably what I'll go with since they are cheap ones and one doesn't light up the plate too well.
11-09-2011, 07:03 PM
#58
Registered User
Thread Starter
Join Date: Feb 2007
Location: Sierra Nevada's or the Deserts of Las Vegas
Posts: 2,203
Likes: 0
Received 0 Likes
on
0 Posts
Today I mounted the two license plate lights and wired them up...nothing too exciting so still no better pictures, I'll post up some more pictures later when I mount my Hi Lift and I'm going to incorporate a CB antenna mount on to the main mounting bracket (I haven't had it hooked up in over a year so hopefully it all still works
)
05-05-2014, 06:11 PM
#60
Registered User
Looks like it could do a wheelie if you dumped the clutch. Really cool. Love the handle relocate. Does the spare look bigger than the tires on it to you?


