2nd Gen T4R DIY CBI Offroad Front Bumper
 10-03-2012, 08:15 PM
#1
Registered User
Thread Starter
2nd Gen T4R DIY CBI Offroad Front Bumper
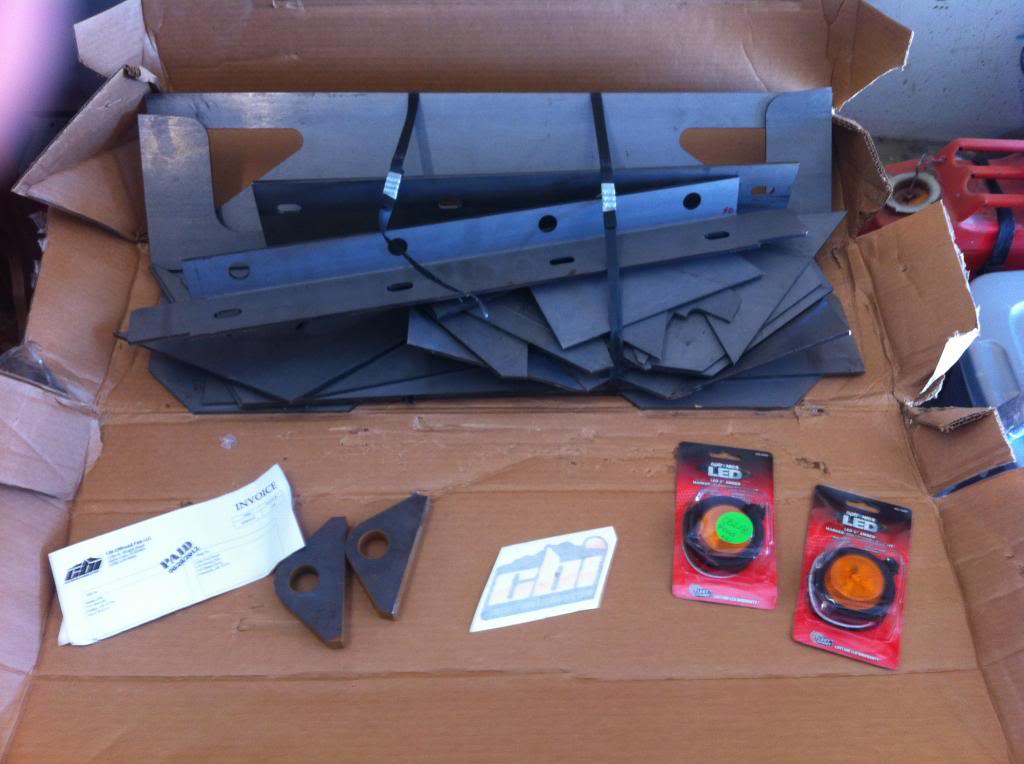
WELL!!! I am excited to receive my brand new DIY front bumper from CBI offroad, it is their new bumper that was designed for the 2nd Gen 4runner, for those of you that have looked at them and wondered if they have one for the 2nd gen, then your in luck, they just finished it not long ago, its still not on their website but should be soon!
I am going to build it and take pictures of the progress as it happens, I"ll post pictures of the package now, and maybe this weekend i'll start welding it together!

I am going to build it and take pictures of the progress as it happens, I"ll post pictures of the package now, and maybe this weekend i'll start welding it together!


 10-05-2012, 06:01 AM
#6
Registered User
Thread Starter
Thanks! I am planing on tearing my front bumper off today, I will take pictures of the steps so others can follow. I am really impressed with this kit, the steel is precision cut, and it is going to look nice. And the price was right, I believe it was 399 for the kit. Don't hold me to that, I ordered it awhile ago, and can't remember, just had it sitting for a couple months before I found the time to start the project.
10-06-2012, 11:22 PM
#7
Registered User
Thread Starter
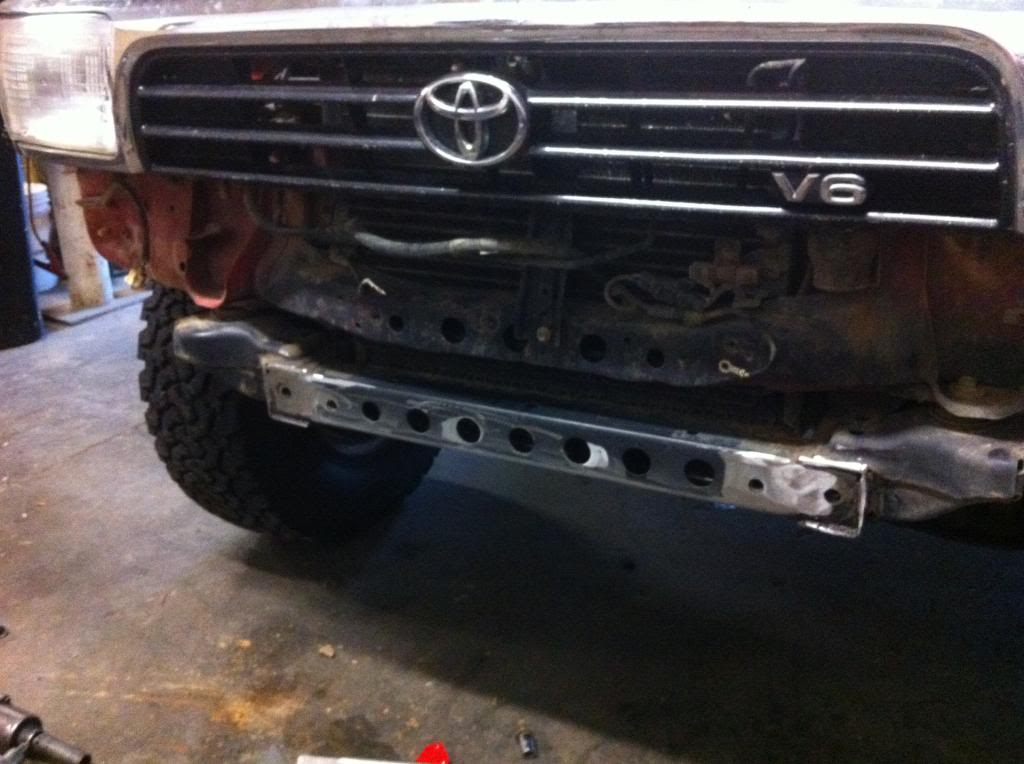
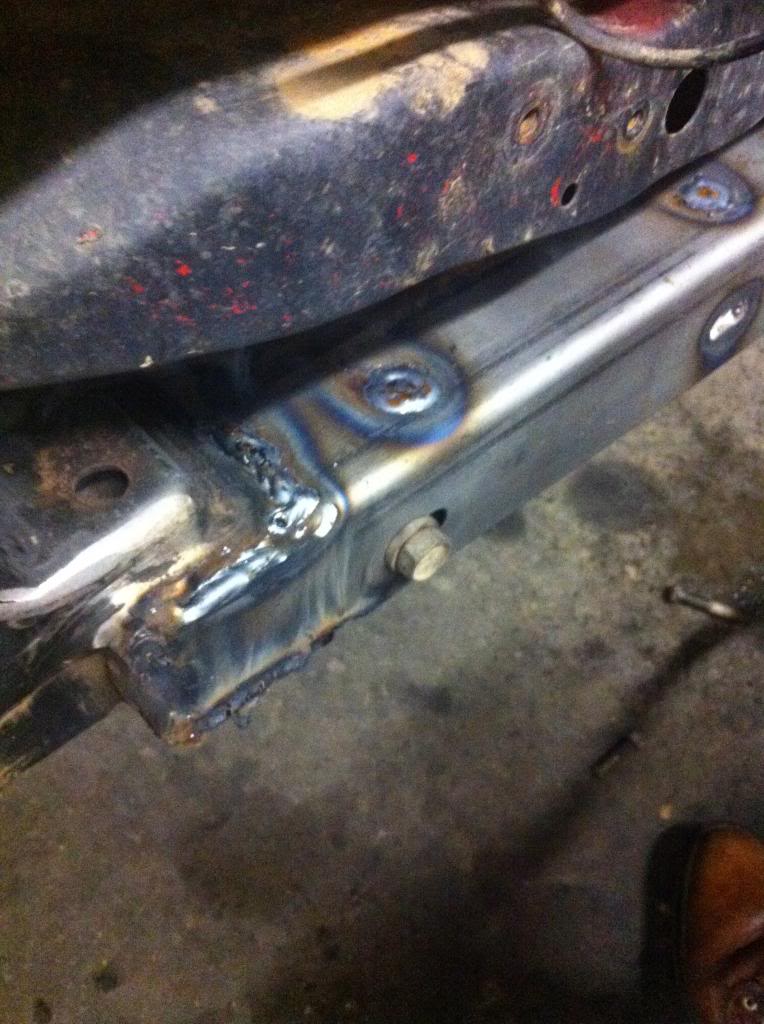
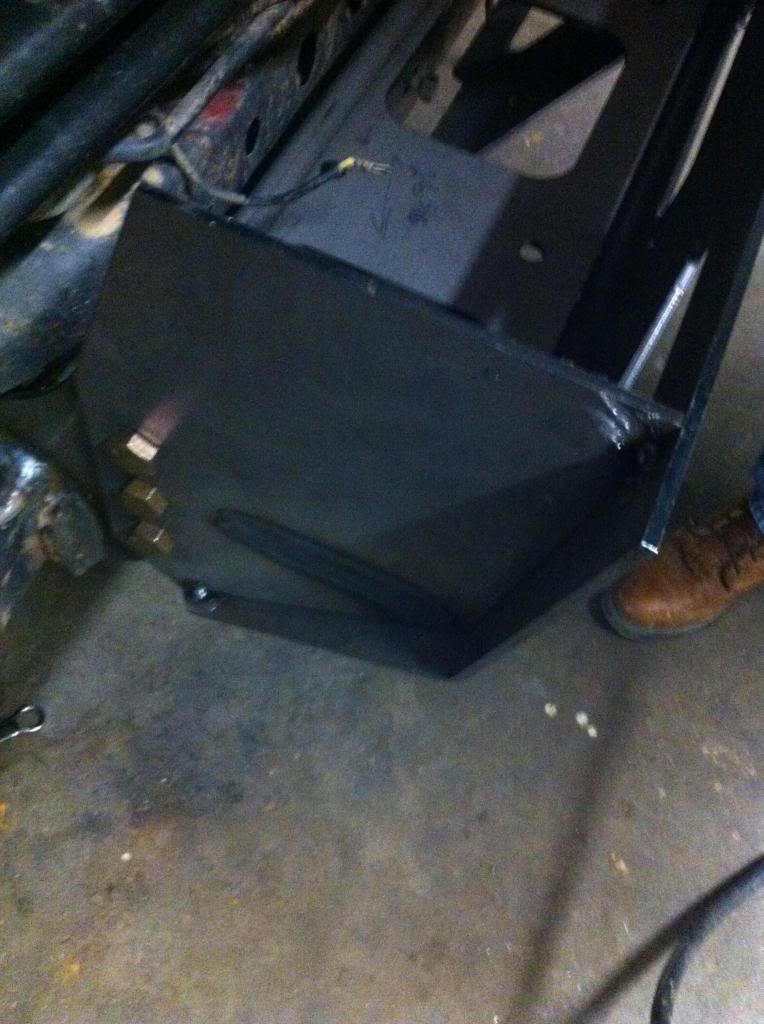
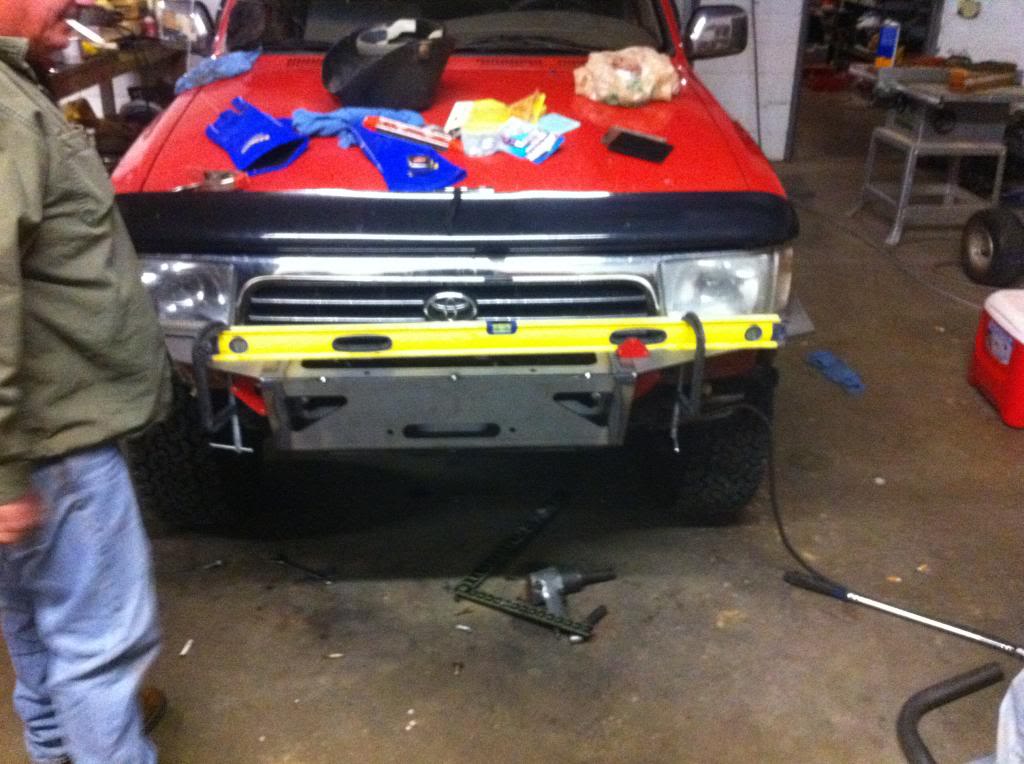
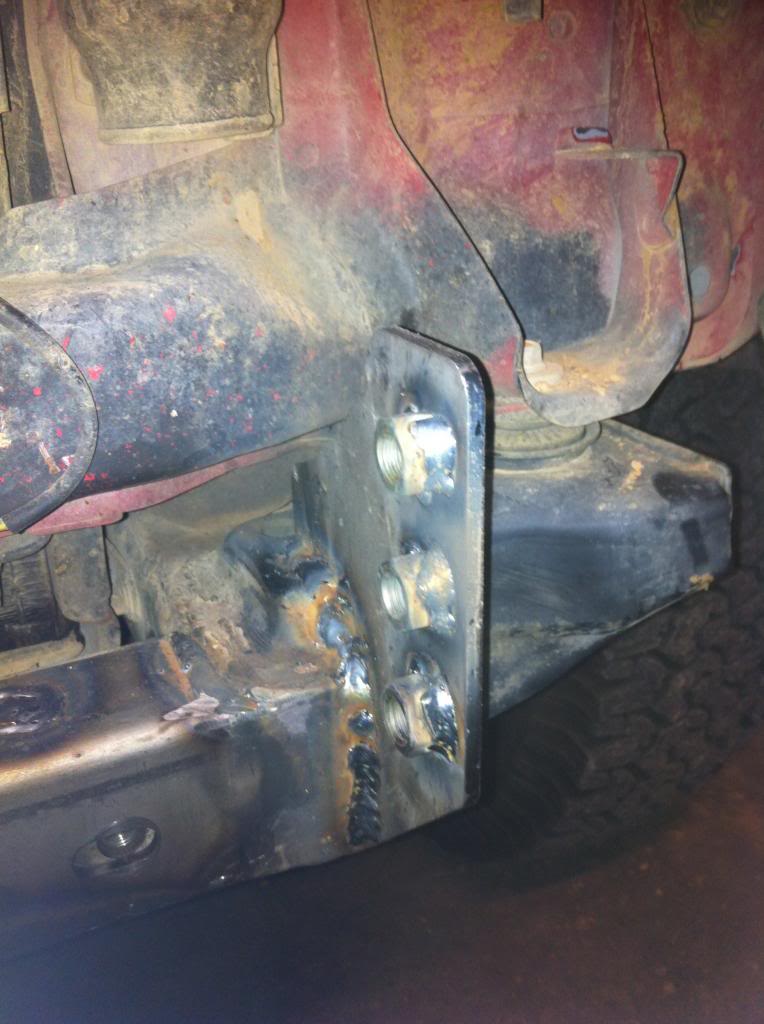
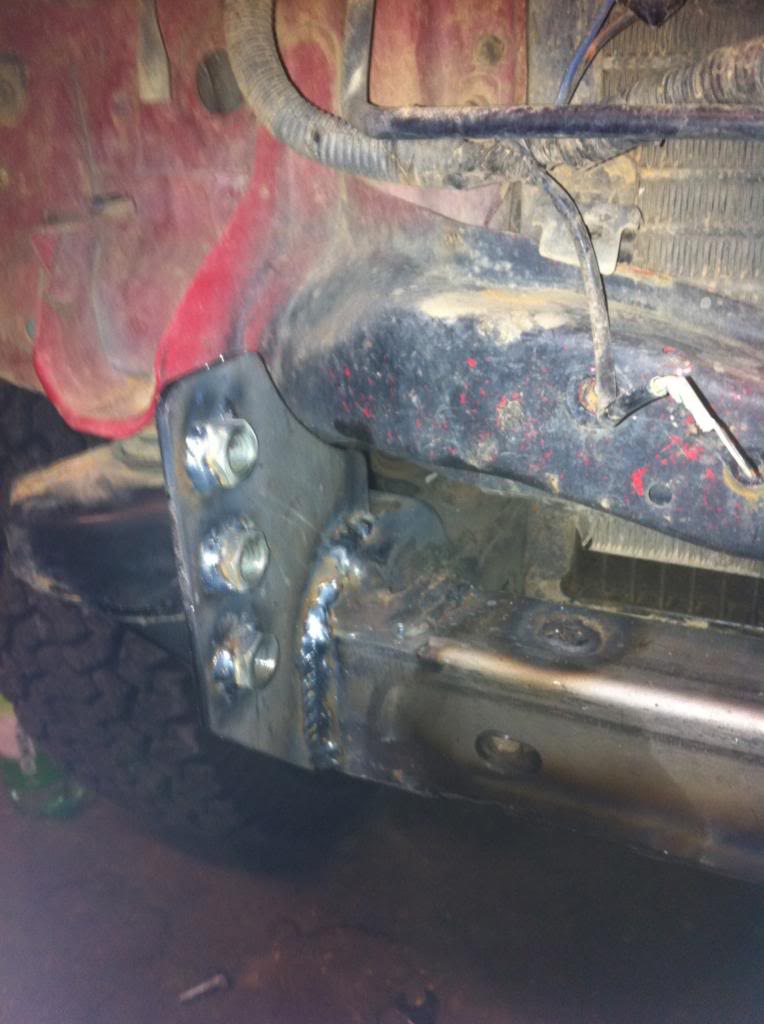
With the bumper off, I ground down the areas that the mounting bracket will be welded too.
this is the mounting bracket, which we welded two nuts to so that I can bolt the bumper up, there are two existing nuts on the frame on the outside that we used the stock bolts that came with my stock bumper to hold the mounting plate to.
We had to cut the front frame to allow for the nuts that we welded on the back to sit inside the frame so that the bracket would sit flush.
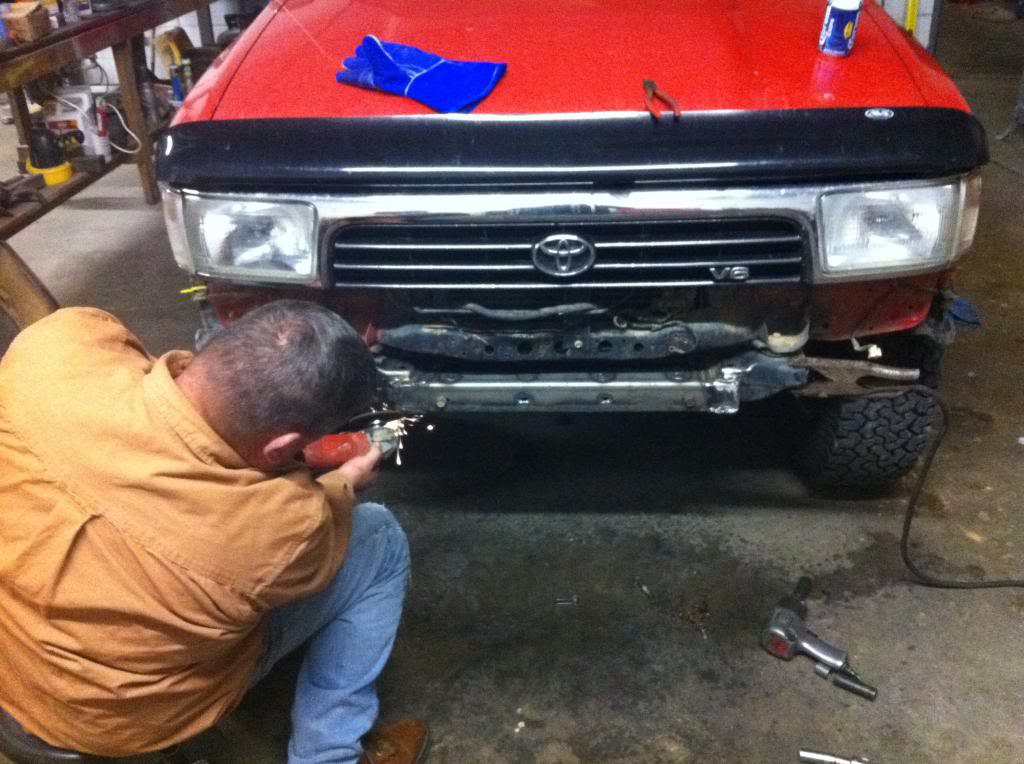
after welding the bracket to the frame we ground down the welds so that everything else would sit flush with the bracket.
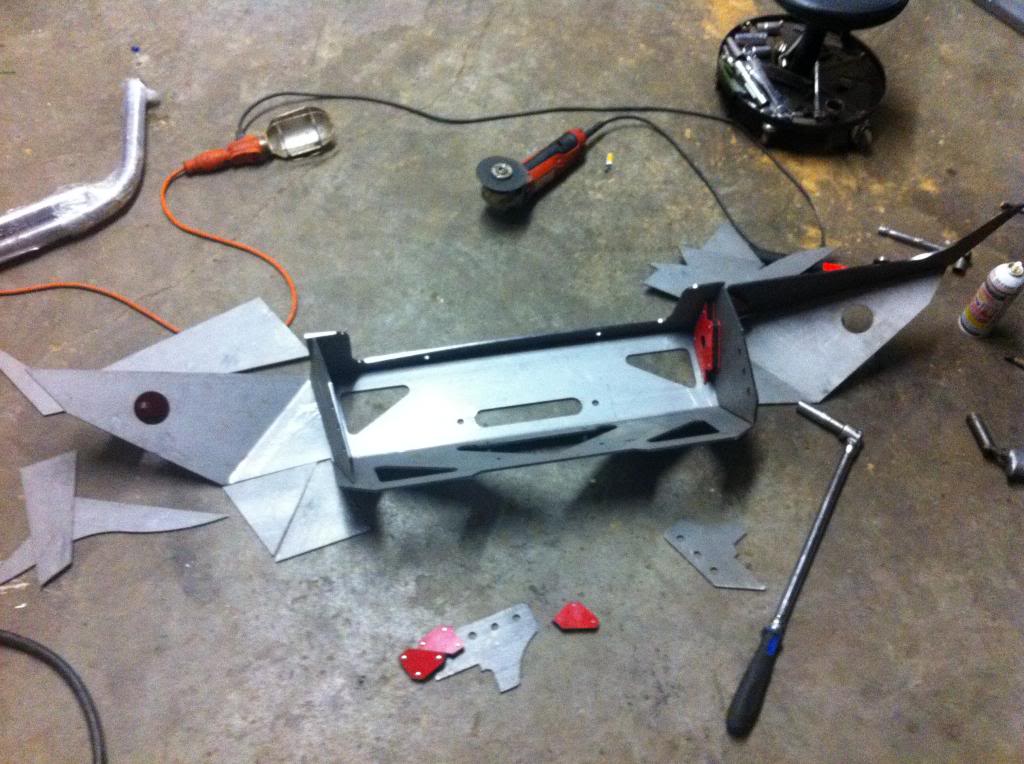
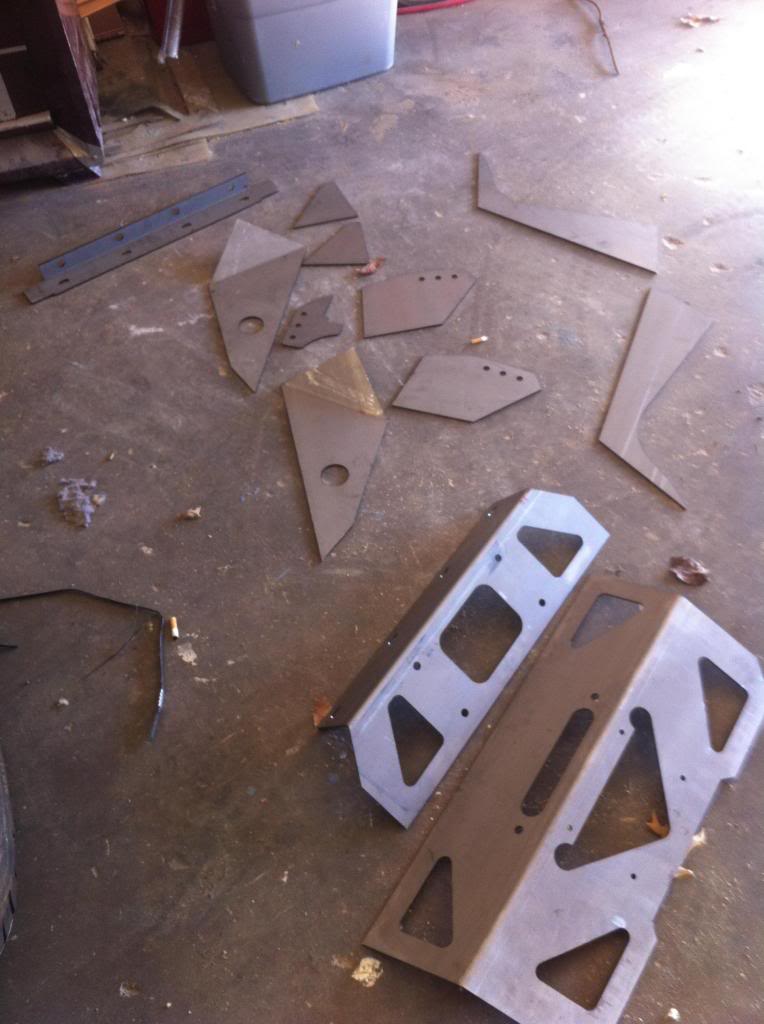
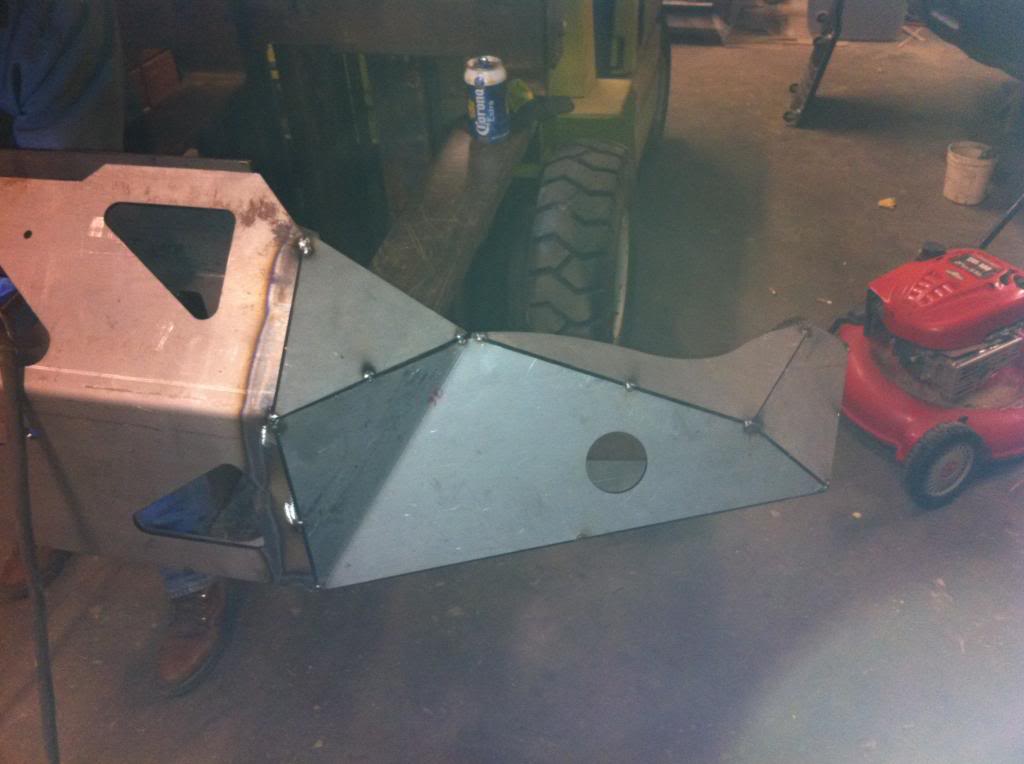
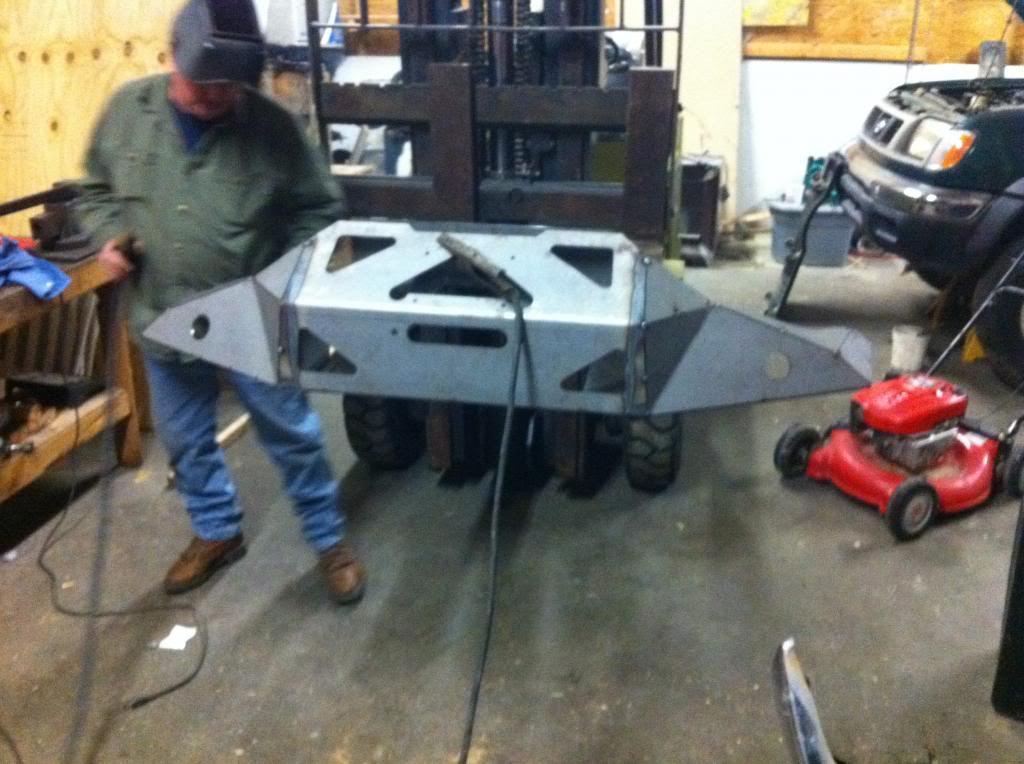
I sat everything out to get a visual of what was going to be the bumper
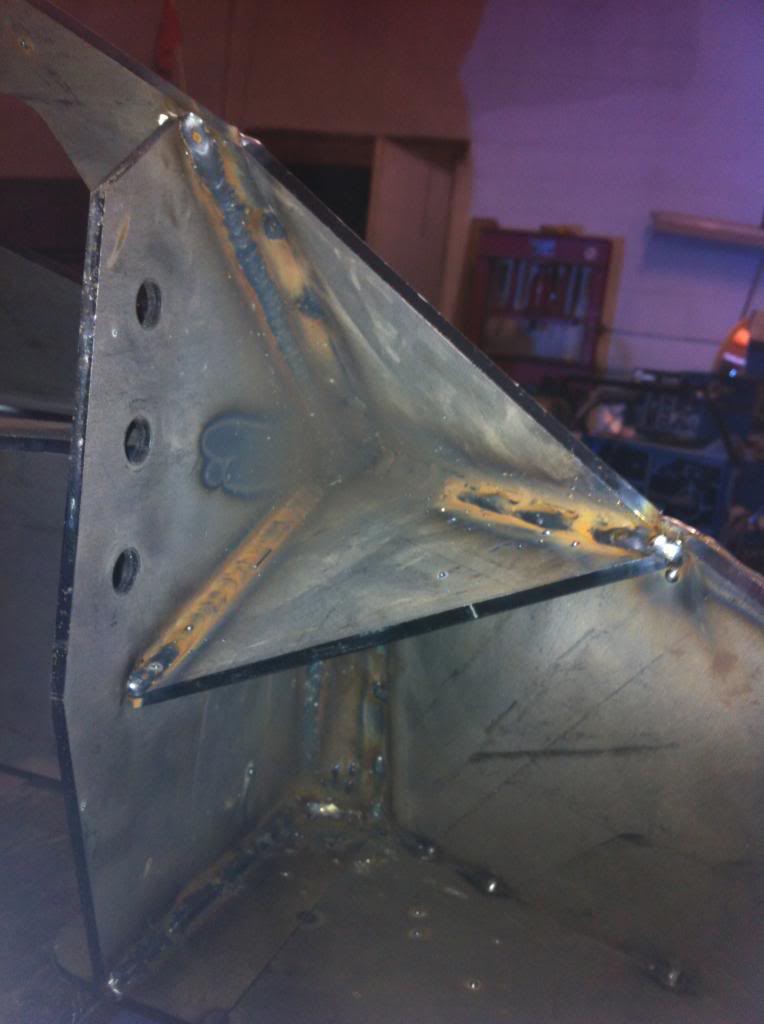
THere were some holes drilled through the mounting plate that we welded to help give strength to the top side of the mounting plate, My only guess as to why they were there.
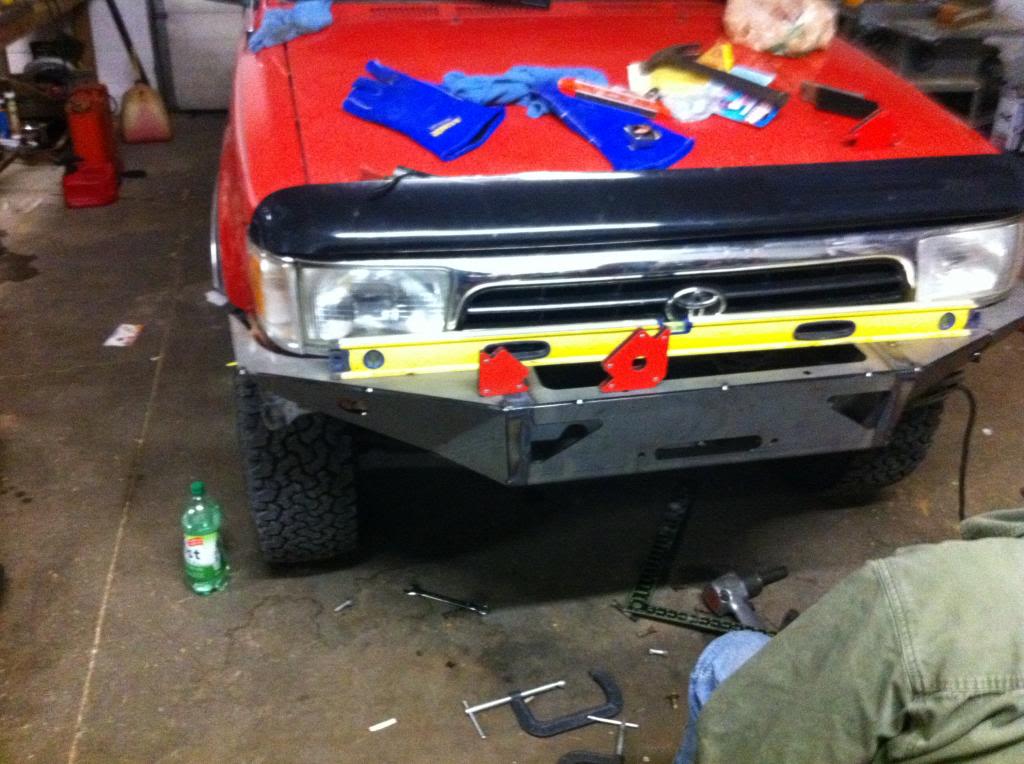
Bolted on the winch plate and then took measurements to get it in the middle
We then mounted the two side peices and bolted them together to see how the side mount and the welded side of the bumper would line up.
we took a break cause I need to run to the store in the morning to get more bolts....
more to follow......
Last edited by jeremy240; 10-06-2012 at 11:27 PM.
Trending Topics

 10-08-2012, 06:54 AM
#11
Registered User
Thread Starter
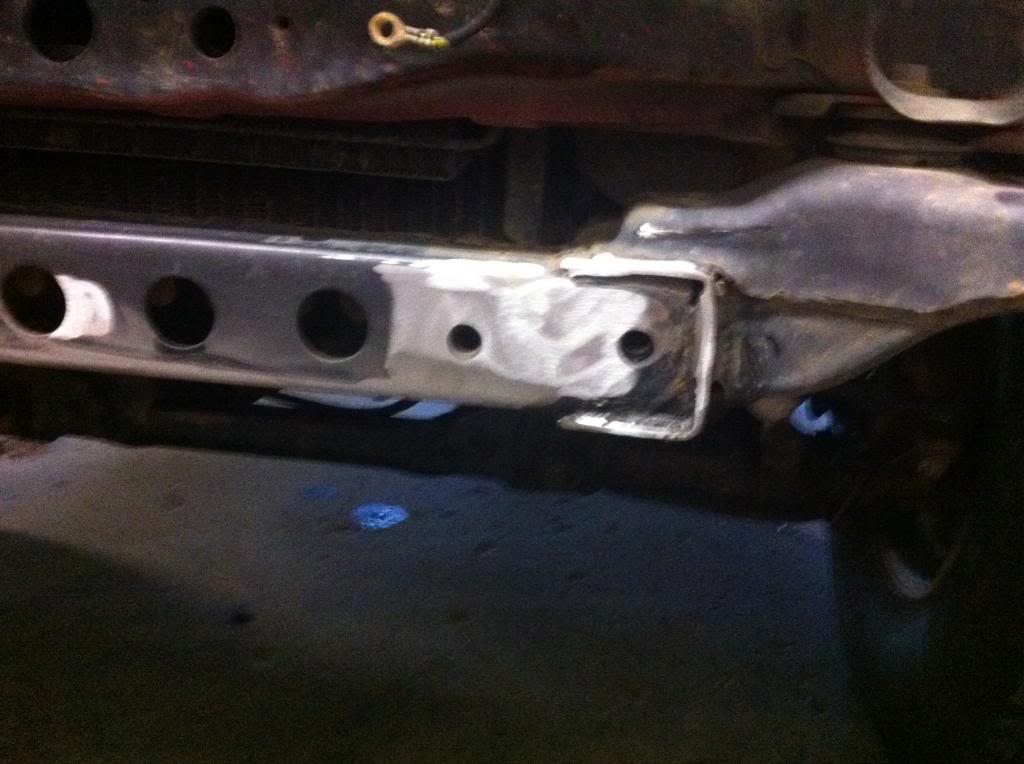
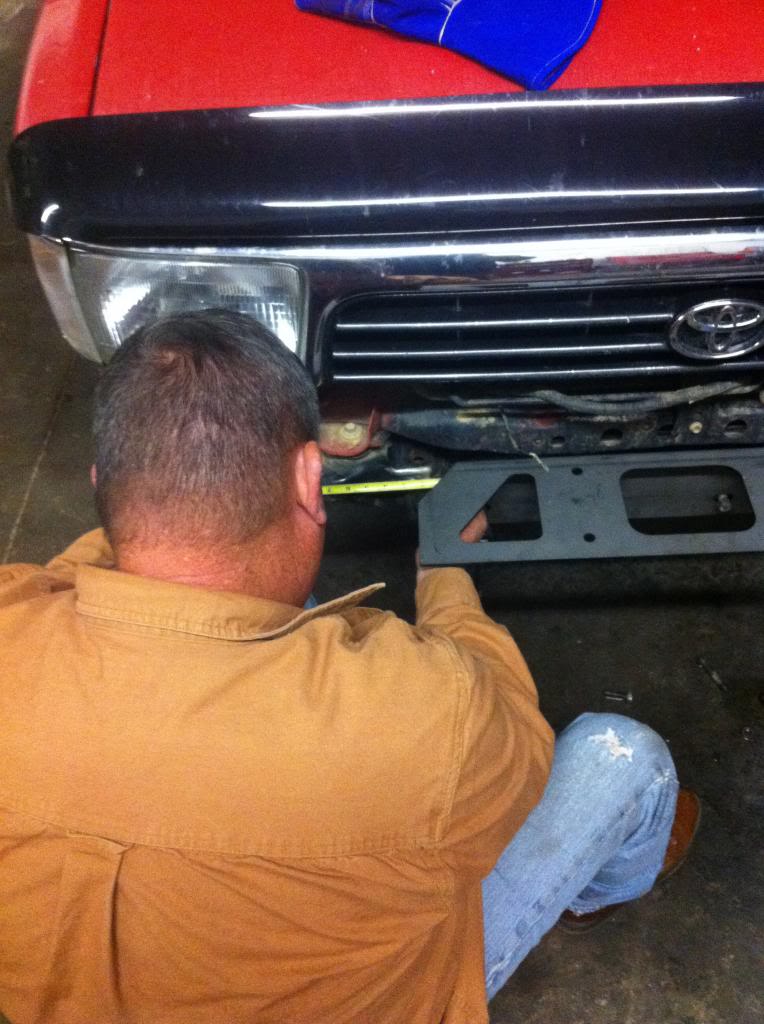
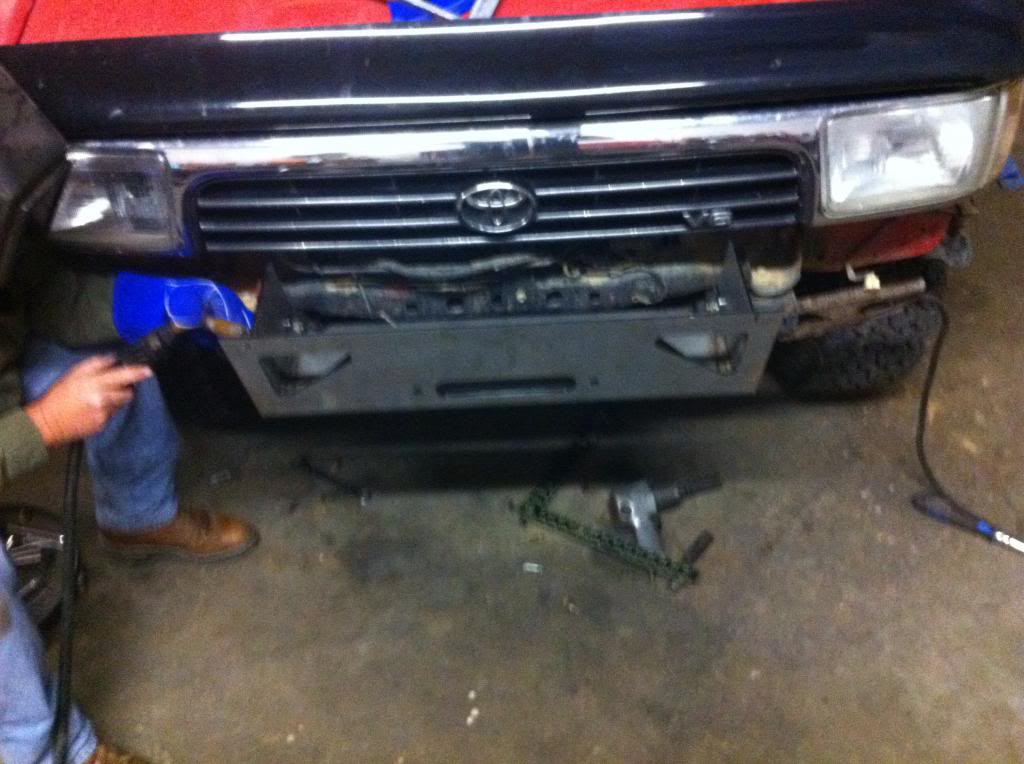
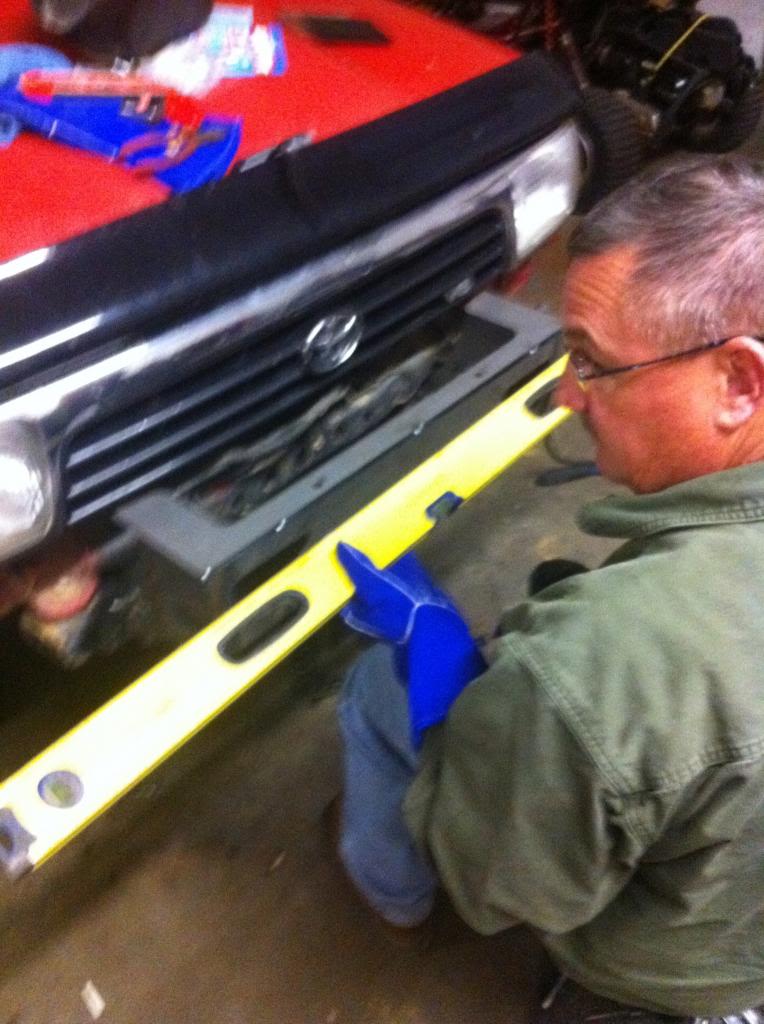
After getting the new bolts, we attached the frame brackets with the bumper bracket and set it up to get measurements and to check its level
(Note: the bolts in this picture, we ended up turning them around, because we decided it was hard enough to get the bumper on and off so we ended up welding up the nuts so that way you didn't have to hold the nut, bolt and bumper while attaching it.)

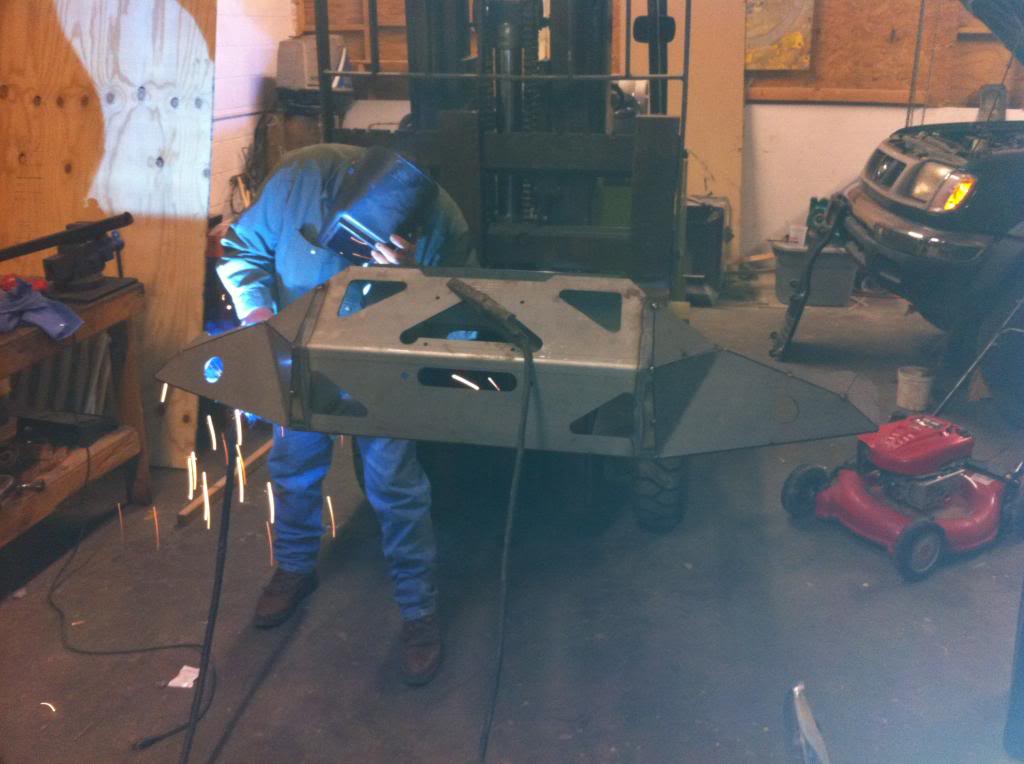
After we got everything level, we welded the frame brackets up.

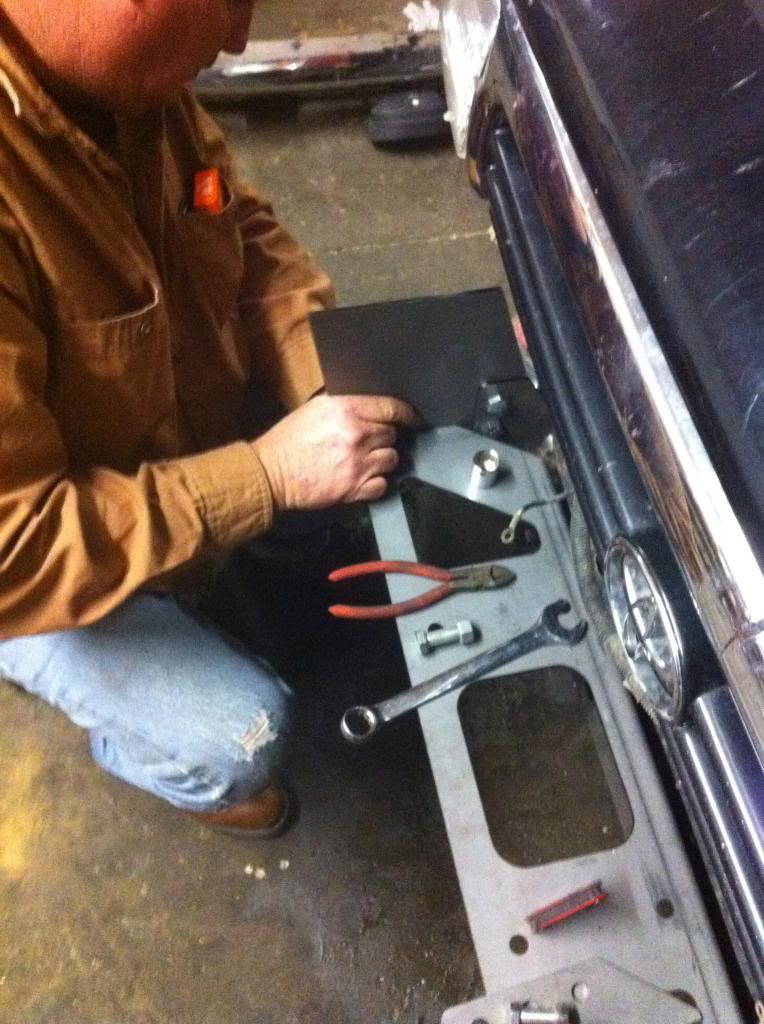
with the brackets welded on, we went with the next piece, which is the winch plate. This was kind of hard, we had to do it twice, we ended up just having someone hold the plate while we tacked it into place.
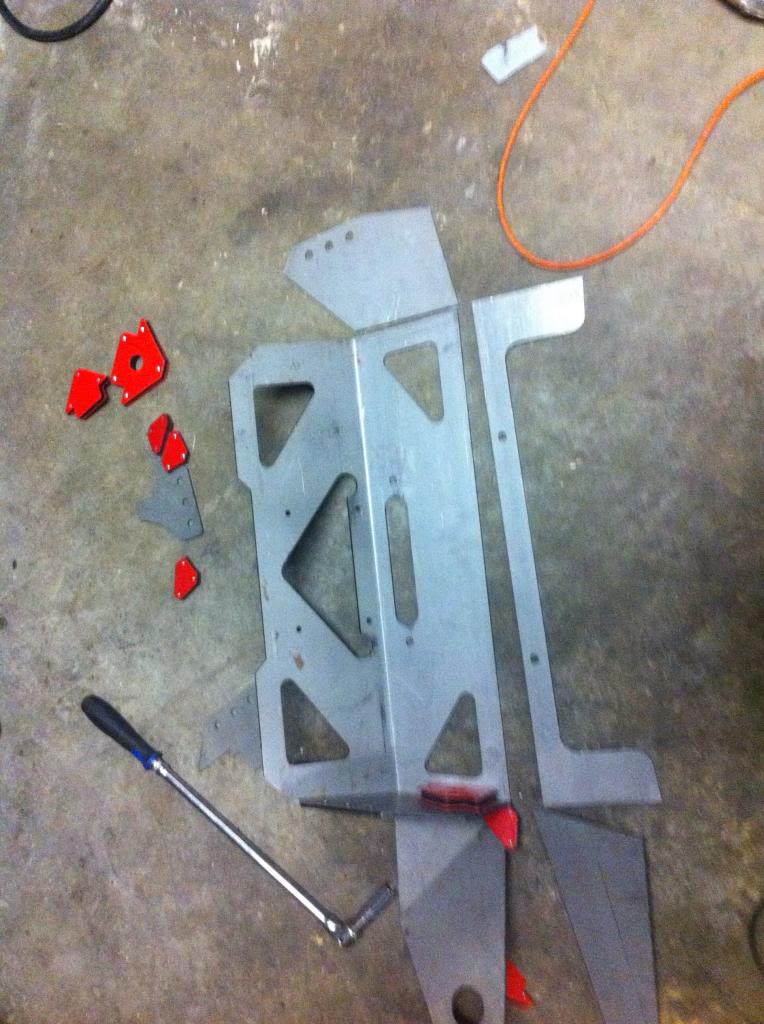
Next we added the top plate, which the sides get tacked to.
With this tacked up, we added the top plates for the sides.
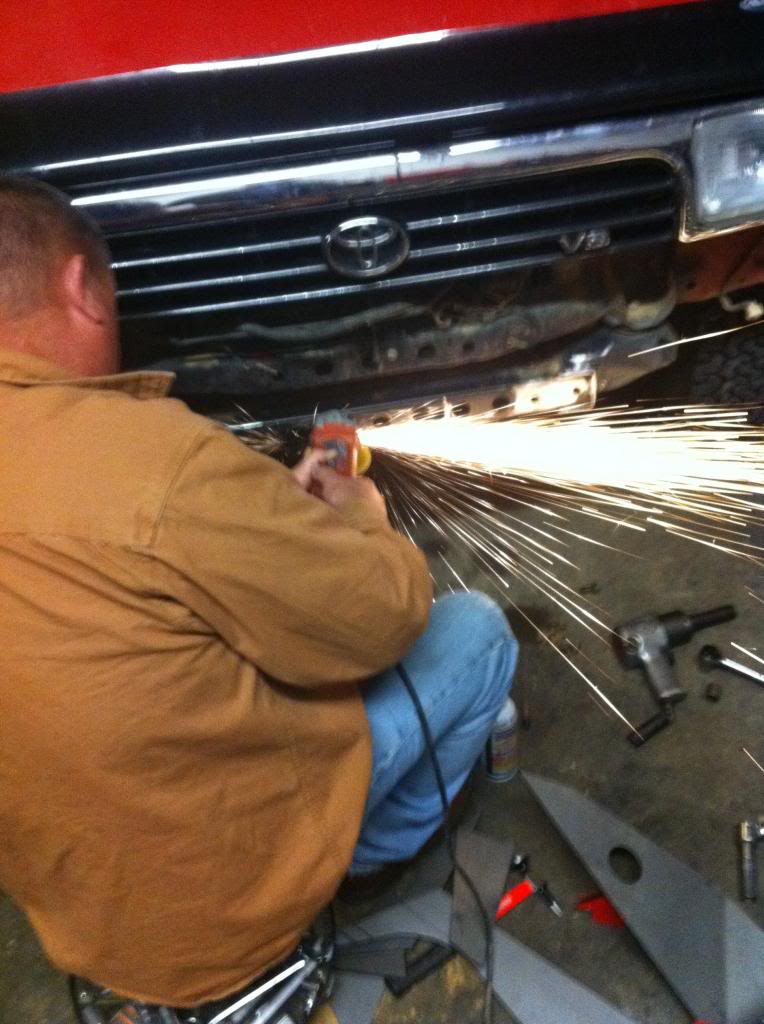
With the top plates on all they way, we decided to attach the two front plates, that have the holes cut out for the turn signals. This was as difficult as the winch plate, cause the magnets just wouldn't hold it right, so carefully we held it in place while tacking it flush with the other plates (leaving a edge to hold a bead)
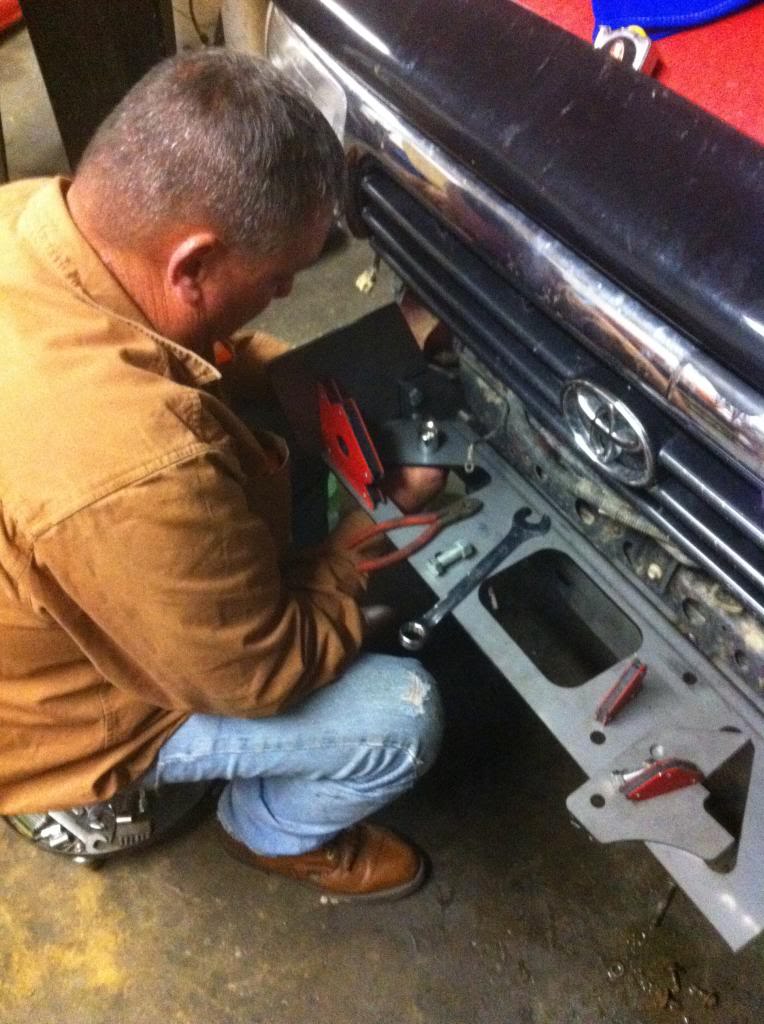
Well I kinda got carried away, with the next two pieces, and didn't get pictures for each one, but I think you get the idea, this really goes together quickly once you got the main structure set up.
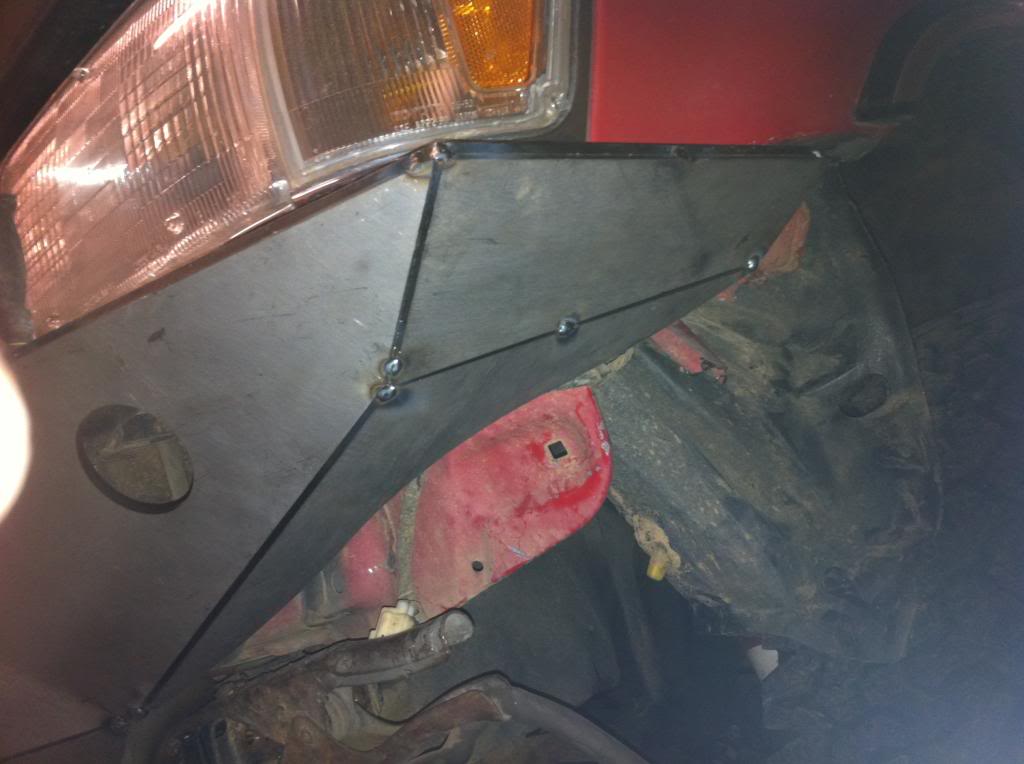
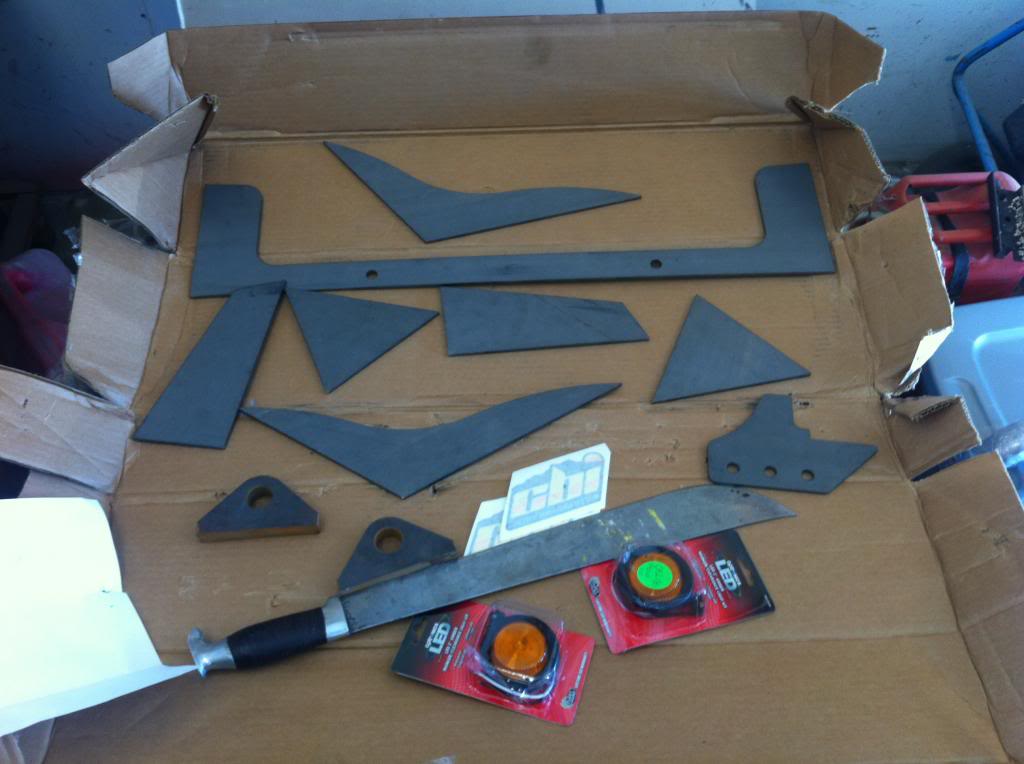
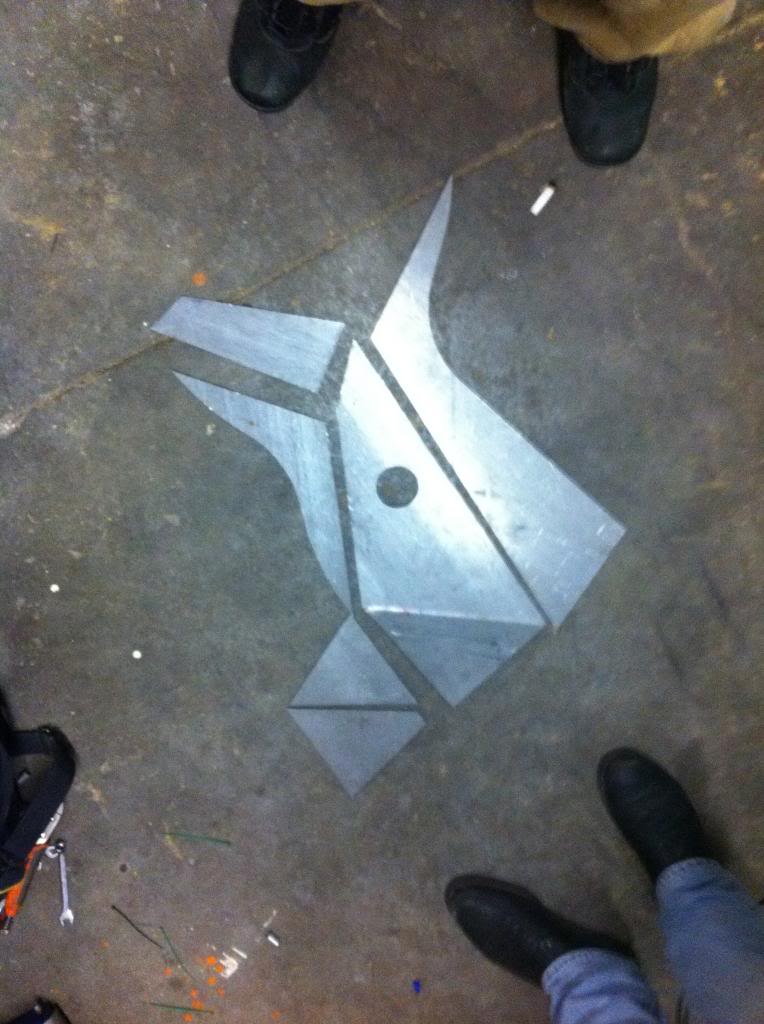
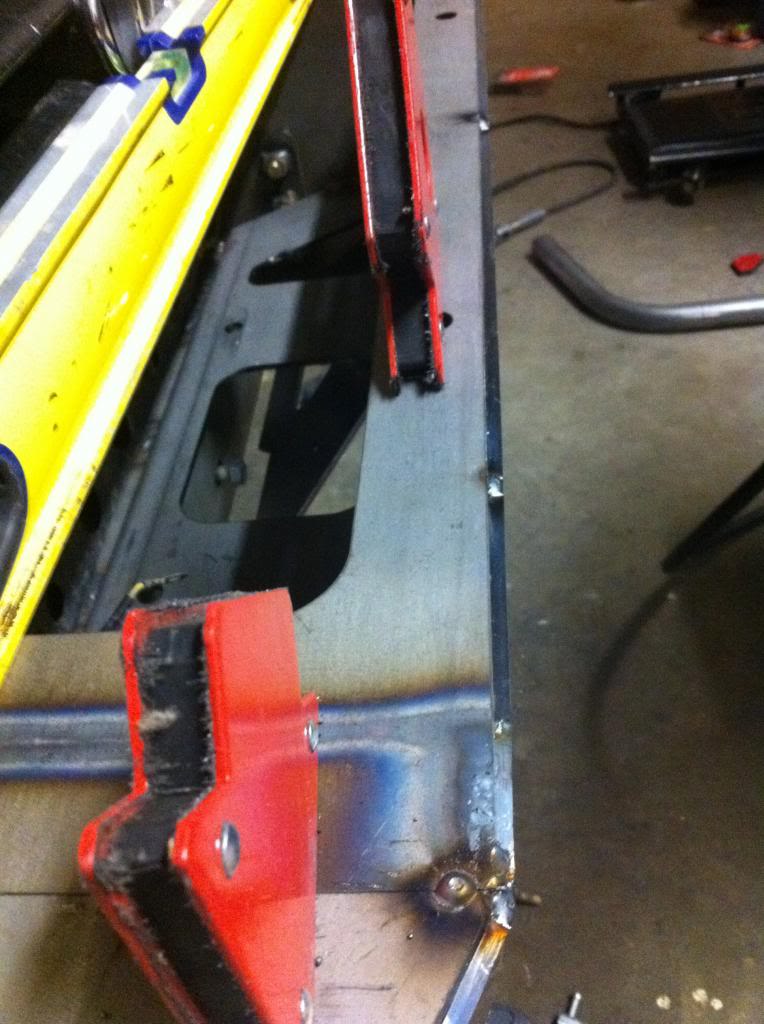
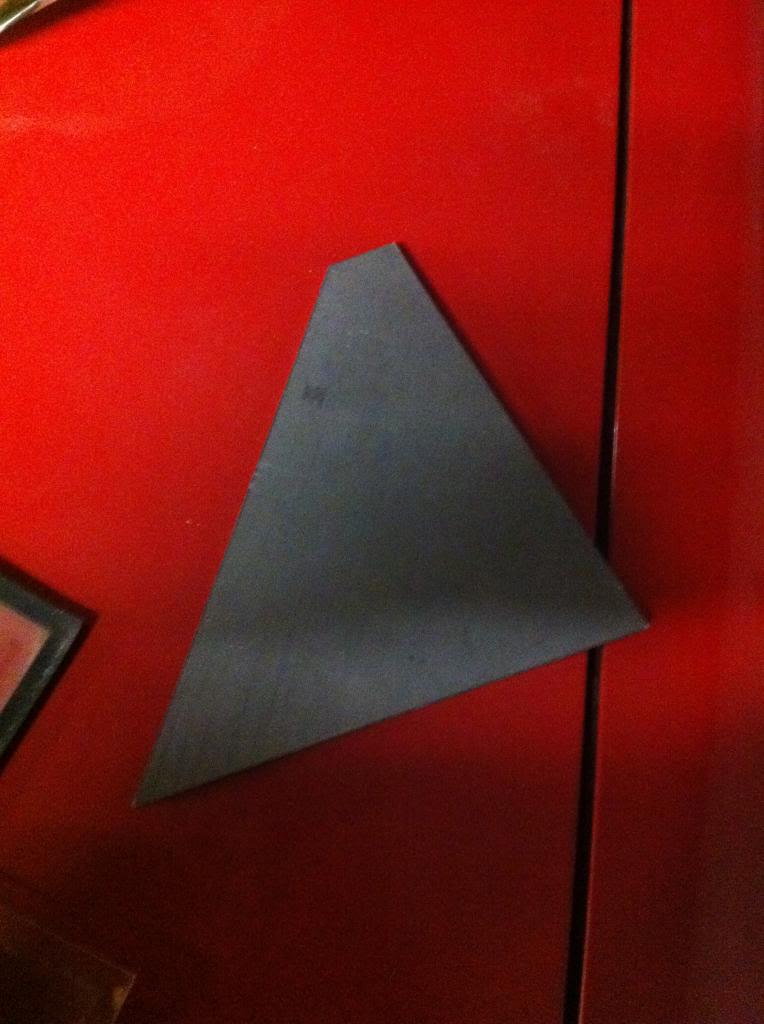
We did run into an extra piece (or so we thought) it came with two pairs of triangle pieces with 1 pair having a flattened tip, so we discarded the flattened tip, because the full triangle fit in here quite nicely
After taking the bumper off to finish the welds where we didn't have to contort ourselves in getting it finished off, it dawned on me that this is where the extra piece went (its there for structural integrity)
Here it is welded in place
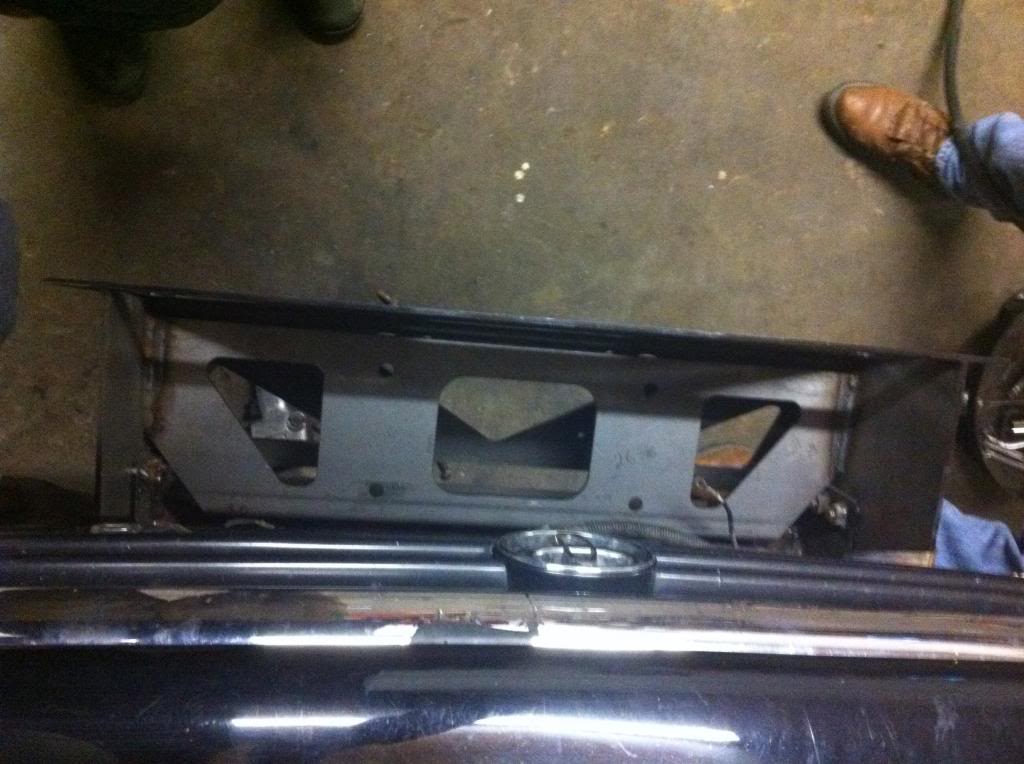
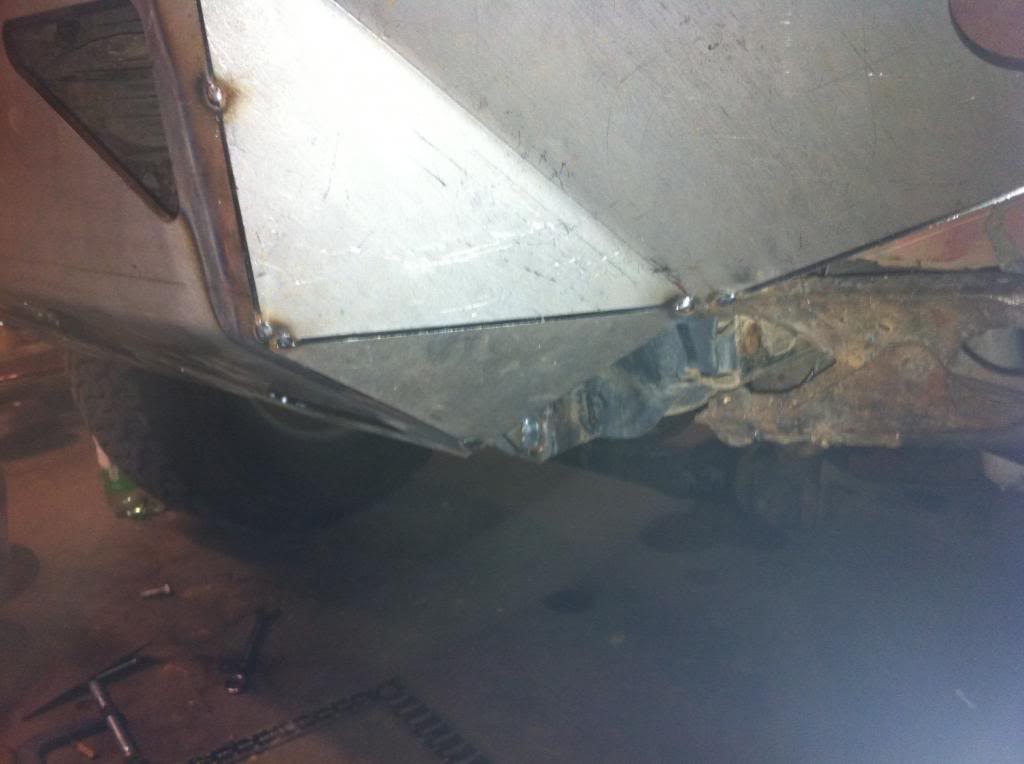
Here is another close up of the frame bracket welded up with the nuts welded so you don't have to hold them up there to attach the bumper
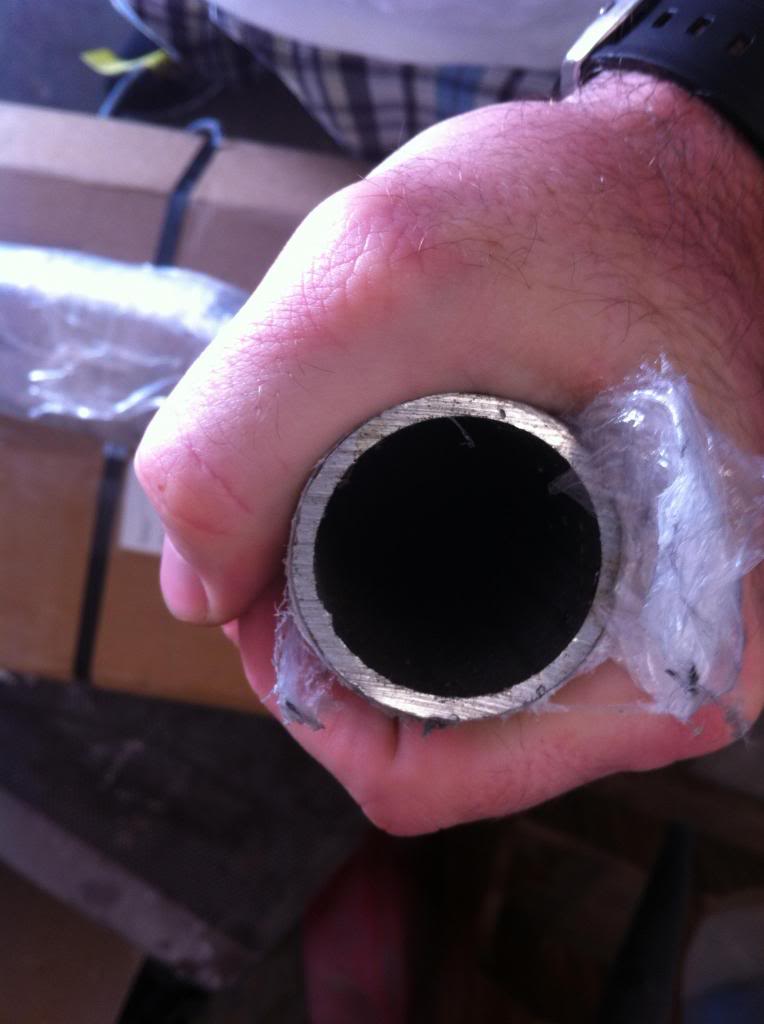
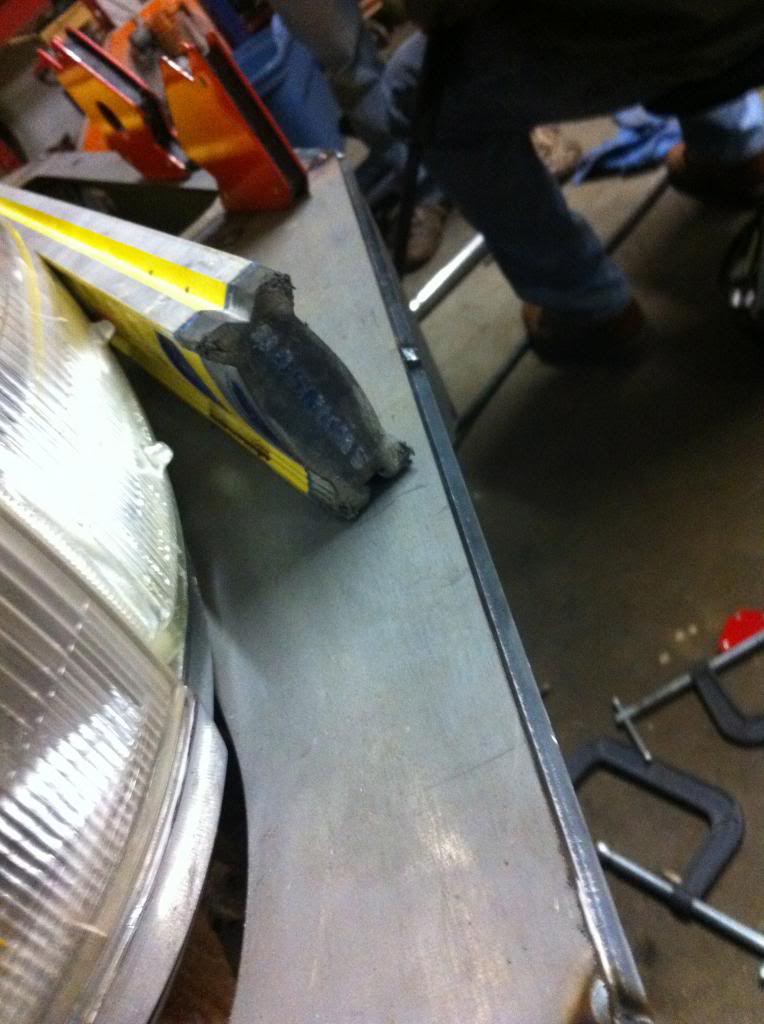
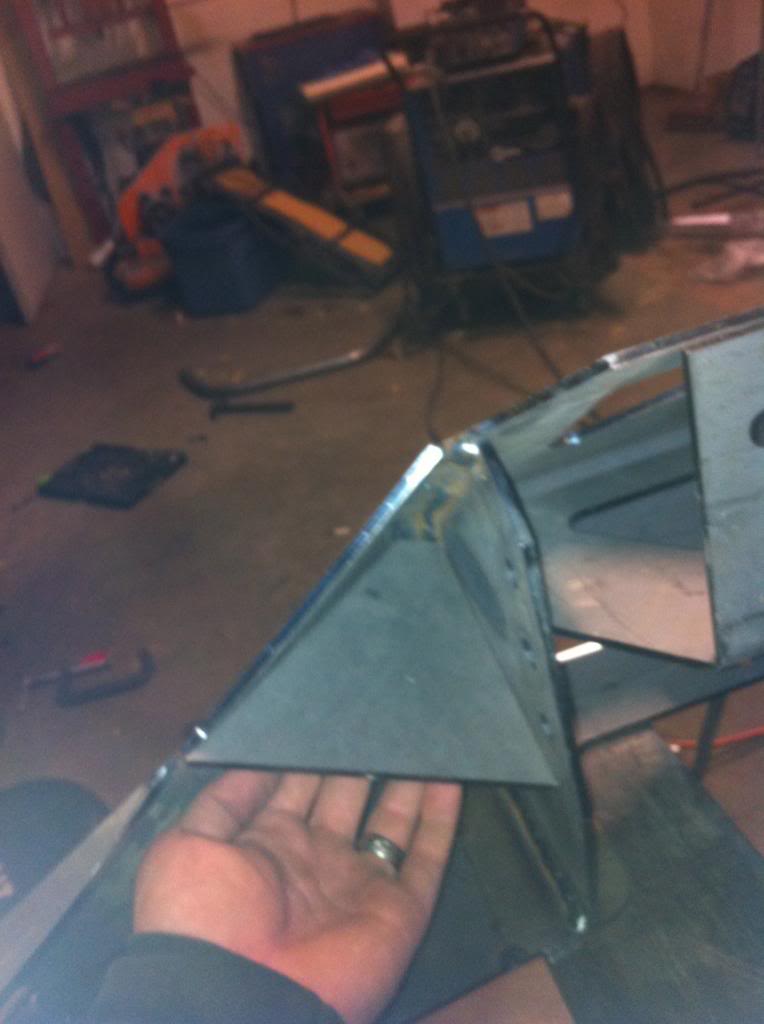
These last few pictures are just showing the different pieces and how they fit together, and lastly I am going to be working on the grill guard pipe (not sure what to call it) and the light bar guard (ditto)
 Getting some sleep and starting back at in the morning to work on the protective tubing.
(Note: the bolts in this picture, we ended up turning them around, because we decided it was hard enough to get the bumper on and off so we ended up welding up the nuts so that way you didn't have to hold the nut, bolt and bumper while attaching it.)
After we got everything level, we welded the frame brackets up.
with the brackets welded on, we went with the next piece, which is the winch plate. This was kind of hard, we had to do it twice, we ended up just having someone hold the plate while we tacked it into place.
Next we added the top plate, which the sides get tacked to.
With this tacked up, we added the top plates for the sides.
With the top plates on all they way, we decided to attach the two front plates, that have the holes cut out for the turn signals. This was as difficult as the winch plate, cause the magnets just wouldn't hold it right, so carefully we held it in place while tacking it flush with the other plates (leaving a edge to hold a bead)
Well I kinda got carried away, with the next two pieces, and didn't get pictures for each one, but I think you get the idea, this really goes together quickly once you got the main structure set up.
We did run into an extra piece (or so we thought) it came with two pairs of triangle pieces with 1 pair having a flattened tip, so we discarded the flattened tip, because the full triangle fit in here quite nicely
After taking the bumper off to finish the welds where we didn't have to contort ourselves in getting it finished off, it dawned on me that this is where the extra piece went (its there for structural integrity)
Here it is welded in place
Here is another close up of the frame bracket welded up with the nuts welded so you don't have to hold them up there to attach the bumper
These last few pictures are just showing the different pieces and how they fit together, and lastly I am going to be working on the grill guard pipe (not sure what to call it) and the light bar guard (ditto)
Getting some sleep and starting back at in the morning to work on the protective tubing.
Last edited by jeremy240; 10-08-2012 at 06:58 AM.
10-23-2012, 08:31 PM
#12
Registered User
Thread Starter
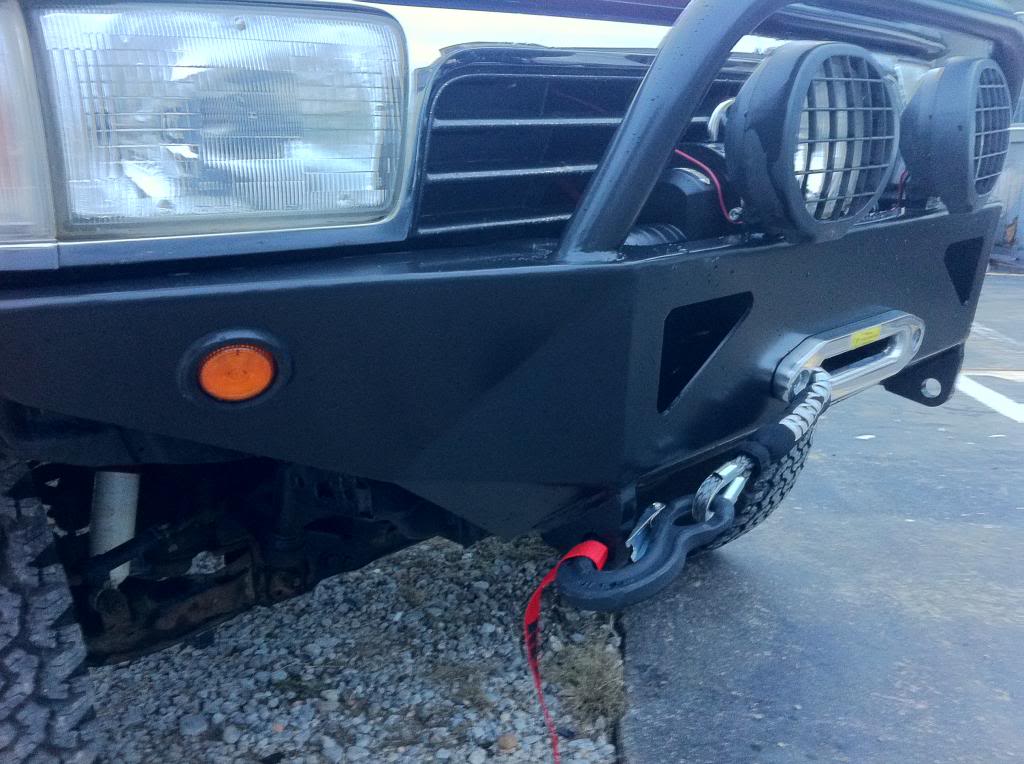
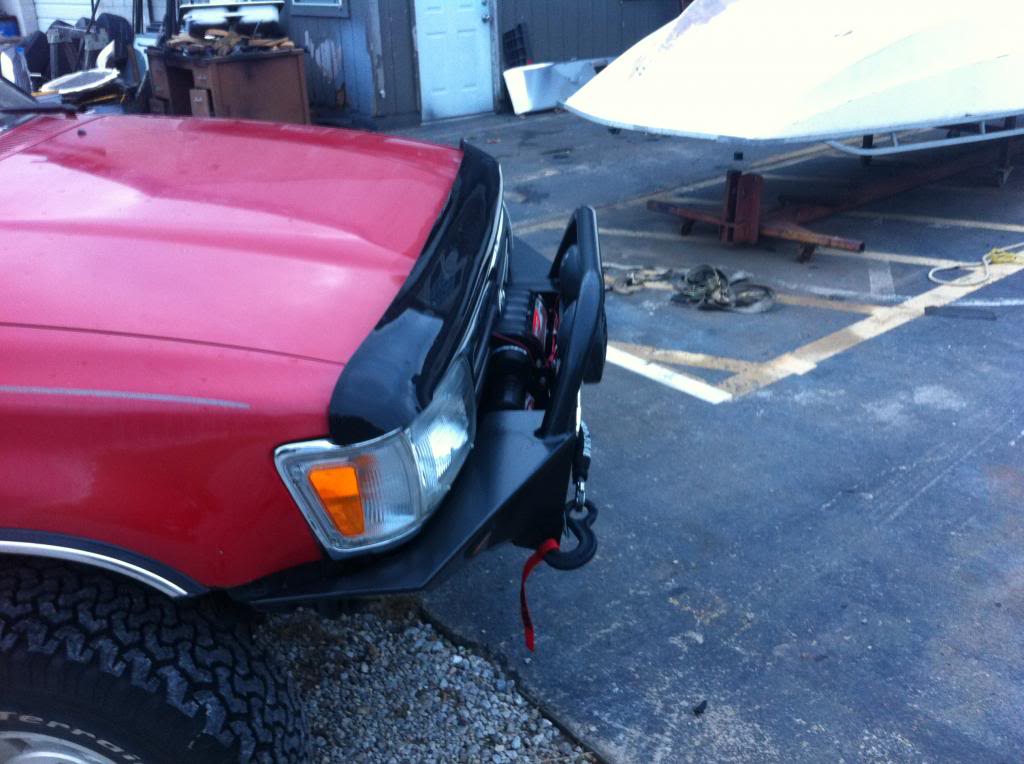
Well I didnt get any pictures of the tubing, except for the finished product....but here it is in al its glory!
I had it powder coated satin black, and mounted my winch, which I had to cut the grill out to get it to fit, its a Recon 10,500lb winch with synthetic line

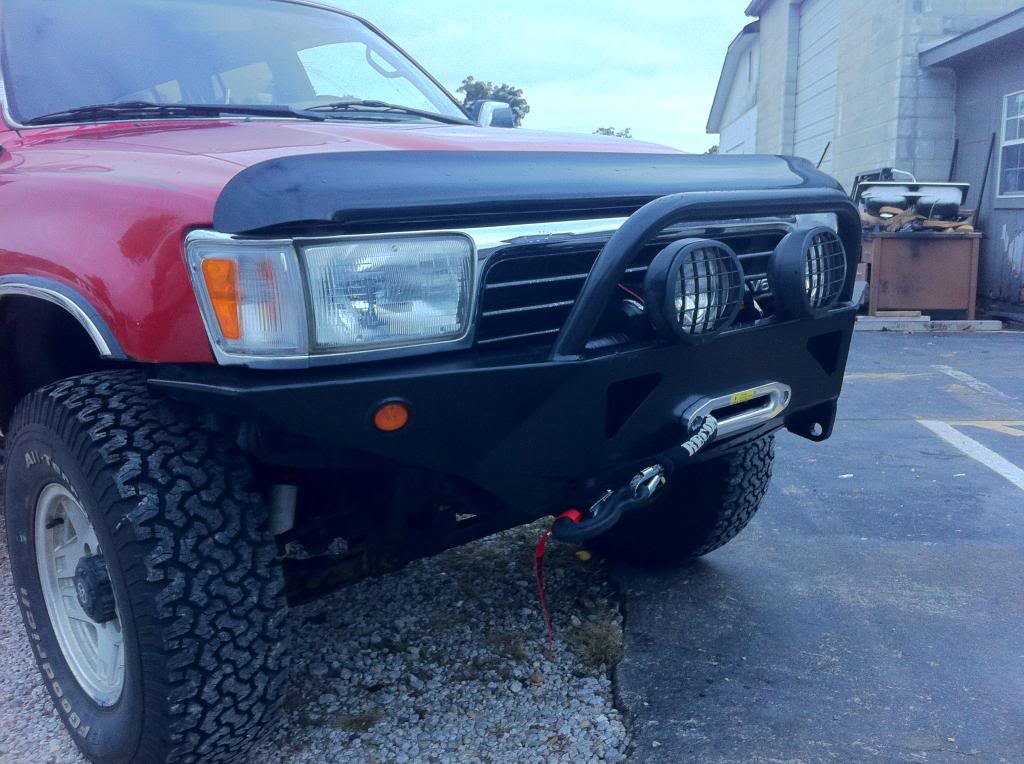
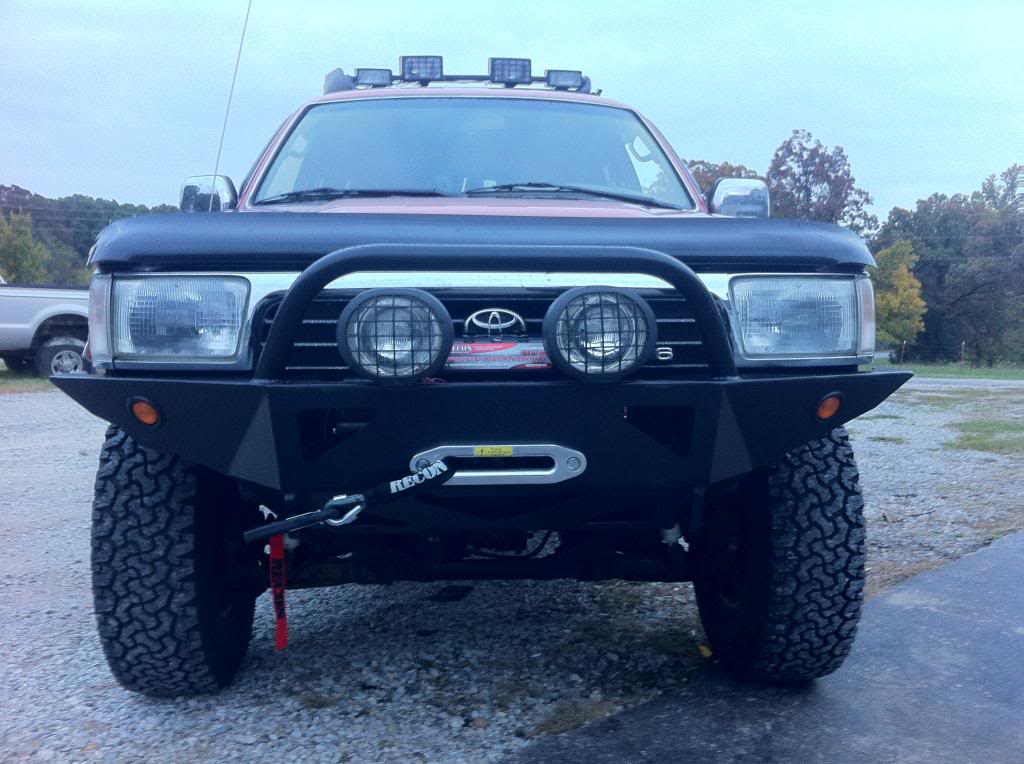
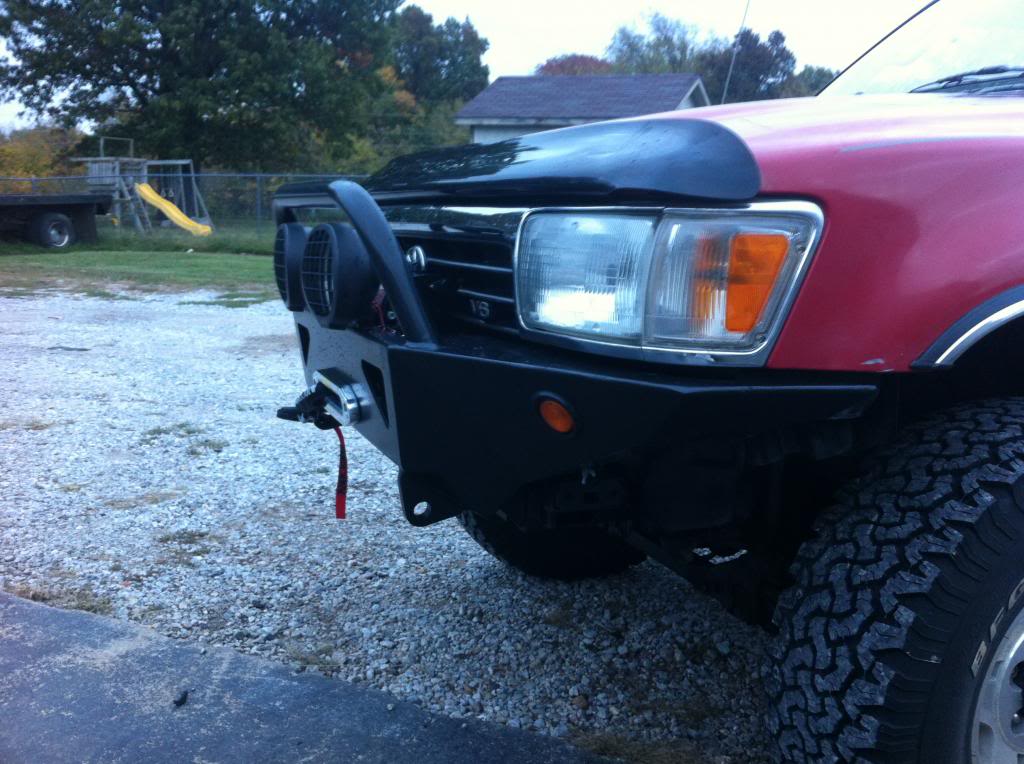
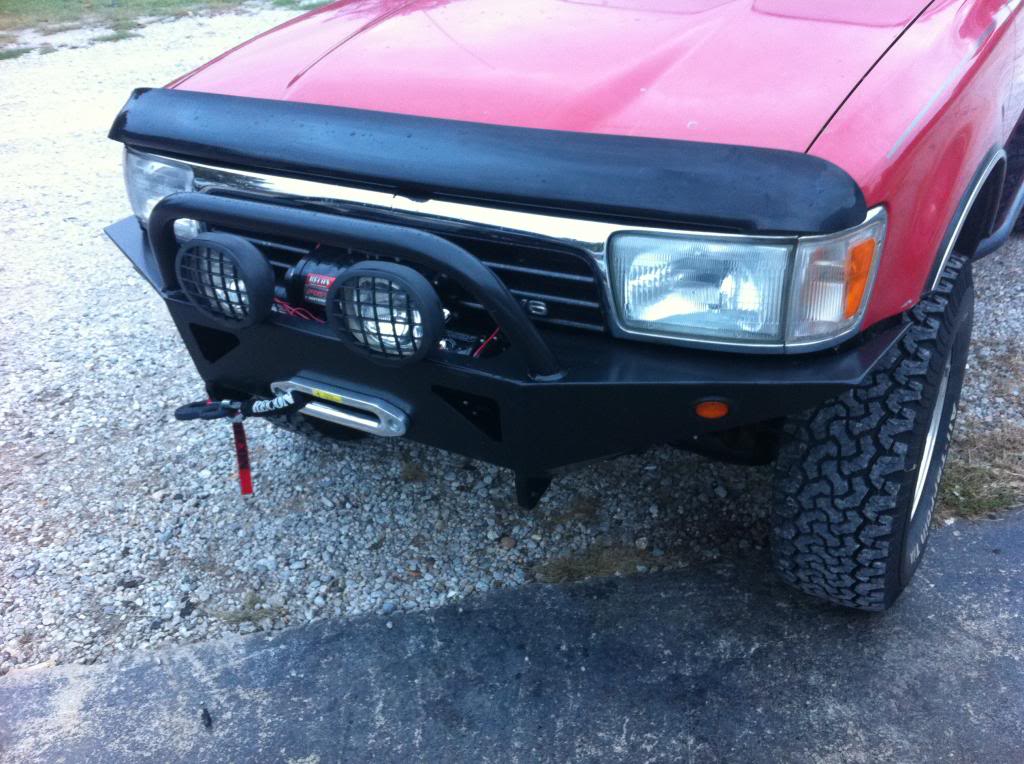
I had it powder coated satin black, and mounted my winch, which I had to cut the grill out to get it to fit, its a Recon 10,500lb winch with synthetic line
10-24-2012, 08:44 PM
#15
Registered User
Thread Starter
Thanks!!
It really wasn't that hard, and its a pretty good deal to have a winch bumper for under 500$ that you can be proud to say you built
it was fun, now maybe i need to find something else to fabricate...
i really want to make a rear tire carrier to add to my rear bumper that swings out, and then a table would fold out to make a nice place for a grill, or a work bench while your out in the boonies
10-04-2013, 09:40 AM
#17
Registered User
Join Date: Nov 2010
Location: Central Ky.
Posts: 41
Likes: 0
Received 0 Likes
on
0 Posts
I still keep coming back to look at this, it just looks great. I have been out to CBIs website, but they don't list it at all on there. They don't list any 2nd gen stuff at all. Do you have to special order it from them?
Greg
Greg
10-05-2013, 06:23 AM
#18
Registered User
Thread Starter
Thanks! I love my bumper, its very strong, I've hit a couple trees and winched myself out and it hasn't moved!
Yes, you have to call them. I still do not know why they have not listed it on their website.
Yes, you have to call them. I still do not know why they have not listed it on their website.


Thread
Thread Starter
Forum
Replies
Last Post
RedRunner_87
95.5-2004 Tacomas & 96-2002 4Runners (Build-Up Section)
84
06-01-2021 01:51 PM
WTB[WestCanada]: 1989 4runner stock front bumper and other items
lledwod
Items Wanted
1
08-30-2016 01:03 PM


