4runner fix up cbus ohio
 02-24-2013, 12:24 PM
#21
Removed the wood grain dash kit : )
Items used
1 . Hair dryer
2 . Wallet sized gas perks card at local gas station
3 . Wd-40 and rag
4 . Armorall or similar and a new rag
Turned the truck on and let it heat up, its still in the mid 30�s right now outside. Kinda angled the vents to get the plastic hot-ish . Used a hair dryer to heat the area I was working on , I used a free plastic wallet sized gas perks card and worked it underneath the corners and pushed it as far as I could. Reheat and do again. It left small amounts of residue behind. After all the plastic-wood was off I killed the engine and was warm enough and started to remove the residue. Thanks to another post I used their suggestion , got a towel soaked a small corner area with wd-40. Placed it on the thick areas of goo and let it saturate the foam goo. I found getting it wet, waiting a minute and using a dry area of the towel to rub stubborn areas worked the best. The rest is elbow grease and time, when all is removed, use your armorall or whatever to shine it up. I lucked out and don't need to paint mine, I think because I used a thin, flexible gas rewards card. So I didn't really scratch it up.
I like it a lot better, and it didn't cost me a thing. So win, win.
I made a photobucket account and have started uploading picts there. I keep getting an upload error on yodatech. So let me know what ya think.
http://m223.photobucket.com/albums/h...er%20interior/
The black looks great with your in-dash. It looks like you left that trim right around the in-dash opening. Not sure if you left it or took the picture before removing it, but IMO it'd look better without it, all black. Same for the piece around the shifter.
Either way, nice work. Looks clean!
 02-24-2013, 04:09 PM
#22
Lol you got me on the one around the indash and the 4x4 shifter. Lol I left those on to see if one of my buddies said anything. I figured I can always pull em off later.
Thanks for the complement, it took a while but well worth it. I started removing all the lower door rust spots to bare metal, taped it off, sprayed 2 times with rust killing primer. Used white automotive spray cans and cleared it . It really makes the truck look a lot nicer, can't even see it was ever touched.
I picked up a grab bag of stuff of Craigslist. A guy had a set of pioneer 12s and an planet audio 400x2 amp he said he couldn't figure out why the protection light came on. I tried to tell him about ohms and stuff. He didn't wanna hear what I had to say. He was kinda rude, so I gave him 20 bucks for the setup. So hopefully he had em wired all jacked up and I get it working. The 12s seem good, so idk , worst case set of 12s for 20 bucks, lol with a ghetto fabulous box.
So if its nice out tomorrow I'm going to attempt to get a coat of paint on the hatch. Its really bugging me , run some wires and play with this amp and speakers.
02-25-2013, 06:22 AM
#24
Lol you got me on the one around the indash and the 4x4 shifter. Lol I left those on to see if one of my buddies said anything. I figured I can always pull em off later.
Thanks for the complement, it took a while but well worth it. I started removing all the lower door rust spots to bare metal, taped it off, sprayed 2 times with rust killing primer. Used white automotive spray cans and cleared it . It really makes the truck look a lot nicer, can't even see it was ever touched.
I picked up a grab bag of stuff of Craigslist. A guy had a set of pioneer 12s and an planet audio 400x2 amp he said he couldn't figure out why the protection light came on. I tried to tell him about ohms and stuff. He didn't wanna hear what I had to say. He was kinda rude, so I gave him 20 bucks for the setup. So hopefully he had em wired all jacked up and I get it working. The 12s seem good, so idk , worst case set of 12s for 20 bucks, lol with a ghetto fabulous box.
So if its nice out tomorrow I'm going to attempt to get a coat of paint on the hatch. Its really bugging me , run some wires and play with this amp and speakers.
Thanks for the complement, it took a while but well worth it. I started removing all the lower door rust spots to bare metal, taped it off, sprayed 2 times with rust killing primer. Used white automotive spray cans and cleared it . It really makes the truck look a lot nicer, can't even see it was ever touched.
I picked up a grab bag of stuff of Craigslist. A guy had a set of pioneer 12s and an planet audio 400x2 amp he said he couldn't figure out why the protection light came on. I tried to tell him about ohms and stuff. He didn't wanna hear what I had to say. He was kinda rude, so I gave him 20 bucks for the setup. So hopefully he had em wired all jacked up and I get it working. The 12s seem good, so idk , worst case set of 12s for 20 bucks, lol with a ghetto fabulous box.
So if its nice out tomorrow I'm going to attempt to get a coat of paint on the hatch. Its really bugging me , run some wires and play with this amp and speakers.
Well, that sucks about the guy on Craiglist, but hopefully you got some working equipment. I used to run two 12s, sold em when I moved for school, but missed em over the last few years, so I recently installed a Power Acoustik Mofo 122x with an Infinity 611a. The amp pushes about 650w to the sub, but the sub is rated up to 1000w RMS. This one 12 is plenty loud enough for me now. I got a good deal on all of it, but it was still about $200 for the whole setup, including the box and wiring.
Fixed some rust spots too?! Damn man, you rig is gonna look so nice after all these upgrades. I wish mine was white sometimes so I could attempt something like that. Glad to hear that went smoothly though. I don't know the first thing about body work.
As for the running boards, I say take em off. Since I took mine off like three years ago, I haven't missed em a bit. I don't have kids and my 3" lift doesn't make it that much harder to get in the truck, so I don't really need them. They lower your ground clearance, and taking them off is probably the easiest "mod" to make the truck look more balanced/lifted. You can always put em back on if you wanted later.
Snap a pic of your subwoofer setup when you get finished. And maybe take some before and afters if you do any more rust cleanup. I'd be interested to see how your paint/prep work looks before and after the job. Once again, nice work!
02-25-2013, 07:05 AM
#25
I've been looking at some mofo stuff myself, its nice equipment! Your rig sounds really nice , I'm on my phone so I don't see picts really well.
I do house painting and light construction, so I need space in the rear for tools. So I was gonna mount a sub in the rear cargo area on the passenger side. Saw a cool post about a sub being mounted in that spot, but never heard anyone say how it sounded .. I figure it can only handle a magnet so deep, so I need to test fit the pioneer and see how much room behind it is left, and see if I wanna keep it. Or I could always build it out a little to compensate a dvc speaker with larger magnet depth. I think one sub in the rear on a small clean powered amp would sound good .
But that's always how it starts, lol before you know it ill have 2 L7 15 squares breaking out the back window ; )
I figure ill do it cheap first with the " hidden sub" a sub on a piece of mdf and a box in the hidden area. Make it look good, just not perfect yet. If I like it ill bust out the fiberglass and make a really cool 12 inch enclosure all pretty. I wanna hear it first ,and play it from there.
Yea I think I will remove the running boards, I'm gonna get some larger more aggressive tires first, paint the rims flat black, and clear, then remove em, and get some cool trd mud flaps or something . Then get the rear end butt sagg looked into, hopefully I can find a good fix for that for cheap. Well were going to hit a high of 44 today. So I'm gonna try and do the rust fix on the other side of the truck doors, ill snap some picts this time of the process , I just forgot on the drivers side.
02-25-2013, 02:09 PM
#26
Got the rear of the truck painted today. Still need to install the black badges, and paint the license plate area black. But a good day for it being like 35 � and no heater in garage. Gotta love rust-olum automotive spray cans .. it was all dented in and rusty. Looks good to me for now. Still need to do the passenger side door rust. But it was the best outta all of the areas. Ill still take picts and add them to the photobucket address when I can get door bottoms done.
http://m223.photobucket.com/albums/h...er%20interior/
http://m223.photobucket.com/albums/h...er%20interior/
02-25-2013, 05:23 PM
#27
Got the rear of the truck painted today. Still need to install the black badges, and paint the license plate area black. But a good day for it being like 35 � and no heater in garage. Gotta love rust-olum automotive spray cans .. it was all dented in and rusty. Looks good to me for now. Still need to do the passenger side door rust. But it was the best outta all of the areas. Ill still take picts and add them to the photobucket address when I can get door bottoms done.
http://m223.photobucket.com/albums/h...er%20interior/
http://m223.photobucket.com/albums/h...er%20interior/
As for the subs, yeah, the Mofo stuff was the only brand that I found in that price range that could handle the wattage amp I had. If I was gonna go with one 12, I wanted it to be able to slam if I want. So far, I'm really happy with it. I got a nice ported enclosure for it from someone on Craigslist for like 40 bucks brand new.
Your idea of doing the stealth box in the cargo area in the back is a good idea. I'm not sure how it'd sound back there though. You'd really need a sealed/ported enclosure that could sink in there or have it sealed somehow, otherwise, I think it'll sound crappy just sunk in their mounted on some MDF. You'd sort-of be using the body metal as the back of the "enclosure" and that might lead to some nastly rattling too. Also, I'd think you'll probably need a shallow sub to fit in there. You'll have a tough time squeezing a normal 12" subwoofer in that space. But, definitely give it a shot with the mounting and play with it. It sounds like you've got some skills and can do some fancy custom work, so I'm sure you can come up with something clean and effective.
Nice work though, keep us updated with some pics! I love seeing work and ideas other people come up with, awesome to see some people's skills around here. Only problem is that all these ideas and mods and immaculate rigs are making me drain my wallet all the time to work on mine!
Last edited by 98SR54RUNNER; 02-25-2013 at 05:33 PM.
02-25-2013, 05:29 PM
#28
I just noticed that you left the rear emblems off. Not sure if you just haven't put them back on yet or if that was intentional, but I"m liking the clean look!
EDIT: Lol, just read what you wrote above. I guess the emblems will go back on, they look pretty good with the black too.
EDIT: Lol, just read what you wrote above. I guess the emblems will go back on, they look pretty good with the black too.
Last edited by 98SR54RUNNER; 02-25-2013 at 05:32 PM.
02-25-2013, 08:27 PM
#29
Yea man the automotive rattle cans are the best thing since sliced brown bread!
I usually clean off the area and get any dust off, helps the tape stick. Tape and paper any surrounding areas to catch the overspray, usually 12 inch paper , and secure it down . You can take the paper and double it, making it wider if nessary, just be sure to tape it all together so no over spray can creep underneath it. You want all the paper tight, if it flaps the wrong way when there's wet paint, it can get messy and mess up the paint.
Then ill sand all of the area, 180 to start, knock off all the clear coat and start to get a chalky dust of paint starting to come off. Get all rust off down to bear metal , very important. Next ill take 320 or so and go over everything again, then take 1200 and sand entire area on more time.
Now ill take compressed air and blow all the dust off. Wipe the area off with a rag with thinner on it, or a bearly wet water rag if you don't have thinner . Let it dry up a little. Now you should have a clean area.
Prime all bear metal and or funky areas where sanding took it to gray primer, thin coats, I like to put multiple coats of primer on about ever 10 minutes till the surface looks somewhat normal again. Let it fully dry. Id suggest the flat red cap rust-olem rust inhibitor. It seems pretty good so far.
After dry sand with 320 and 1200 again, make it smooth. Dust ,wipe with your rag again , let dry and blow off with air if you can.
Now with the color, spray all curved areas and edges first, break the area into 4 small areas visually. Start at top and do your areas 1 x 1 while fading the paint for a smooth finish and keeping a continuous wet edge of paint. When letting off the spray tip be sure to fade it away and into some paper before you let off. Helps with splatters and dry dusting on finish. Let dry my recommendation is the rust-olem automotive finish.
Then the clear, I don't sand the freshly painted panel, but I work quick. Ill blow off with air, and just put a nice even clear over the area quickly keeping a wet edge. Ill repeat about 3-4 times about 10 minutes apart. Then let dry. Clear dries quick. On a nice sunny day 80 � ill wait about an hour and then pull the tape off.
I didn't do any bondo work to the rear area, I could of, but wanted it done asap. The pict showes a nice dent on the left next to the window lol. But it cool with me now till its warmer.
That's just how I do it, feel free to take my ideas and use em if ya can.
We have nasty weather coming the next few days, but after that I'm going to black out the rims, and start looking into the sub area
I'm thinking about bringing the right side over to the left about 5 inches or so, frame it over the wheelwel , sheet it with mdf, remove the plastic cubby hole in the spot and build a small-ish sealed box , carpet the outside and stash the amp in the spot above the wheelwel . Sub in rear with a cover on it facing the opposite side , or one of the mesh setups like a qlogic box has. Ideas ideas.
Lol. I think painting my rear area cost about 20 bucks total, with tape, paper ,primer, paint, and clear. It was in pretty bad shape to start off with.
Can't wait to start the rims
02-26-2013, 02:45 PM
#30
Yea man the automotive rattle cans are the best thing since sliced brown bread!
I usually clean off the area and get any dust off, helps the tape stick. Tape and paper any surrounding areas to catch the overspray, usually 12 inch paper , and secure it down . You can take the paper and double it, making it wider if nessary, just be sure to tape it all together so no over spray can creep underneath it. You want all the paper tight, if it flaps the wrong way when there's wet paint, it can get messy and mess up the paint.
Then ill sand all of the area, 180 to start, knock off all the clear coat and start to get a chalky dust of paint starting to come off. Get all rust off down to bear metal , very important. Next ill take 320 or so and go over everything again, then take 1200 and sand entire area on more time.
Now ill take compressed air and blow all the dust off. Wipe the area off with a rag with thinner on it, or a bearly wet water rag if you don't have thinner . Let it dry up a little. Now you should have a clean area.
Prime all bear metal and or funky areas where sanding took it to gray primer, thin coats, I like to put multiple coats of primer on about ever 10 minutes till the surface looks somewhat normal again. Let it fully dry. Id suggest the flat red cap rust-olem rust inhibitor. It seems pretty good so far.
After dry sand with 320 and 1200 again, make it smooth. Dust ,wipe with your rag again , let dry and blow off with air if you can.
Now with the color, spray all curved areas and edges first, break the area into 4 small areas visually. Start at top and do your areas 1 x 1 while fading the paint for a smooth finish and keeping a continuous wet edge of paint. When letting off the spray tip be sure to fade it away and into some paper before you let off. Helps with splatters and dry dusting on finish. Let dry my recommendation is the rust-olem automotive finish.
Then the clear, I don't sand the freshly painted panel, but I work quick. Ill blow off with air, and just put a nice even clear over the area quickly keeping a wet edge. Ill repeat about 3-4 times about 10 minutes apart. Then let dry. Clear dries quick. On a nice sunny day 80 � ill wait about an hour and then pull the tape off.
I didn't do any bondo work to the rear area, I could of, but wanted it done asap. The pict showes a nice dent on the left next to the window lol. But it cool with me now till its warmer.
That's just how I do it, feel free to take my ideas and use em if ya can.
We have nasty weather coming the next few days, but after that I'm going to black out the rims, and start looking into the sub area
I'm thinking about bringing the right side over to the left about 5 inches or so, frame it over the wheelwel , sheet it with mdf, remove the plastic cubby hole in the spot and build a small-ish sealed box , carpet the outside and stash the amp in the spot above the wheelwel . Sub in rear with a cover on it facing the opposite side , or one of the mesh setups like a qlogic box has. Ideas ideas.
Lol. I think painting my rear area cost about 20 bucks total, with tape, paper ,primer, paint, and clear. It was in pretty bad shape to start off with.
Can't wait to start the rims
I usually clean off the area and get any dust off, helps the tape stick. Tape and paper any surrounding areas to catch the overspray, usually 12 inch paper , and secure it down . You can take the paper and double it, making it wider if nessary, just be sure to tape it all together so no over spray can creep underneath it. You want all the paper tight, if it flaps the wrong way when there's wet paint, it can get messy and mess up the paint.
Then ill sand all of the area, 180 to start, knock off all the clear coat and start to get a chalky dust of paint starting to come off. Get all rust off down to bear metal , very important. Next ill take 320 or so and go over everything again, then take 1200 and sand entire area on more time.
Now ill take compressed air and blow all the dust off. Wipe the area off with a rag with thinner on it, or a bearly wet water rag if you don't have thinner . Let it dry up a little. Now you should have a clean area.
Prime all bear metal and or funky areas where sanding took it to gray primer, thin coats, I like to put multiple coats of primer on about ever 10 minutes till the surface looks somewhat normal again. Let it fully dry. Id suggest the flat red cap rust-olem rust inhibitor. It seems pretty good so far.
After dry sand with 320 and 1200 again, make it smooth. Dust ,wipe with your rag again , let dry and blow off with air if you can.
Now with the color, spray all curved areas and edges first, break the area into 4 small areas visually. Start at top and do your areas 1 x 1 while fading the paint for a smooth finish and keeping a continuous wet edge of paint. When letting off the spray tip be sure to fade it away and into some paper before you let off. Helps with splatters and dry dusting on finish. Let dry my recommendation is the rust-olem automotive finish.
Then the clear, I don't sand the freshly painted panel, but I work quick. Ill blow off with air, and just put a nice even clear over the area quickly keeping a wet edge. Ill repeat about 3-4 times about 10 minutes apart. Then let dry. Clear dries quick. On a nice sunny day 80 � ill wait about an hour and then pull the tape off.
I didn't do any bondo work to the rear area, I could of, but wanted it done asap. The pict showes a nice dent on the left next to the window lol. But it cool with me now till its warmer.
That's just how I do it, feel free to take my ideas and use em if ya can.
We have nasty weather coming the next few days, but after that I'm going to black out the rims, and start looking into the sub area
I'm thinking about bringing the right side over to the left about 5 inches or so, frame it over the wheelwel , sheet it with mdf, remove the plastic cubby hole in the spot and build a small-ish sealed box , carpet the outside and stash the amp in the spot above the wheelwel . Sub in rear with a cover on it facing the opposite side , or one of the mesh setups like a qlogic box has. Ideas ideas.
Lol. I think painting my rear area cost about 20 bucks total, with tape, paper ,primer, paint, and clear. It was in pretty bad shape to start off with.
Can't wait to start the rims
I just may take that advice and attempt some small repairs on my paintwork. I wish I just had a friend that knows what you do that could come help me do it! I can do the electrical, and will attempt mechanical stuff, but there's way too many ways to mess up paintwork. Nice writeup there though, thanks! It's hard to know what to take from all the hundreds of threads about DIY bodywork.
Yeah, that's a good idea with the sub box. I think if you brought the box out from the compartment area, especially up level with the wheel well, you'd have plenty of room for a sub, maybe even a stealth amp setup. Good ideas, for sure. Definitely post some pics when you get those rims. That'll be sweet!
02-27-2013, 06:44 AM
#31
I feel ya on bodywork, if my truck wasn't white or black id be in a different ball game. Colors are way more difficult, the aged paint usually will look a little different. I figured id explain my method of madness just incase someone reads this and wants to give it a shot.
Yea I got pulled over and they took my baby! So I wont have it back for about a week : ( I guess I had something wrong with my license ?? They seem to do stupid stuff at the courts around here. I'm sure its a glitch or something stupid. But I wont be doing any work on it till I get her back .. : (
But when I do, ill be doing the blacked out rims, get her waxed up, I kinda fixed the front antenna, it will work for me, I just filled it in with filler, taped it off and sprayed it black. Can't bearly even see it there, so that works.
Then upcoming projects are,
1 . Replace front bumper, found a guy in Cleveland that has brand new chrome one for 115 bucks, he has quite a few for sale.
2 . Repaint front area under bumper, plastic stuff.
3 . Repaint skid plate.
4 . Add sub woofer, and get stereo sounding good. Looking for 1 inch tweeters, or component sets for the doors that can handle a small 4 channel amp.
Then I guess enjoy the truck and take it someplace fun.
O lol and get one of them things that sits in the hitch receiver and says " remove to tow jeep " haha. My buddy gets all fired up when I tell him that what I'm going to put on the hitch. Lol he wants to chain my 4runner and his jeep liberty together and see who pulls who. ; ) funny stuff. Yea when I get her back ill be posting up some more picts. Thanks for all the input, this site is pretty cool.
03-10-2013, 02:54 PM
#32
Did the deckplate mod, well my el cheap o version, took about 3 minutes, and it feels like I had the e-brake on before in comparison to how its running now. I have a lot more to do to the old truck, I've been scraping rust off the frame and undercarriage all day. Using a couple wire wheels and a drill, I'm covered in rust, lol. Spraying some of that rust killing primer, once it dries out I'm going to paint it with some serious coats of black. So anyone have any opinions on using a undercarriage product, the thicker stuff is what I'm asking about , vs spray paint?
I was thinking undercarriage thick gunk for frame and anyplace that doesn't have a bolt or moving part, hit those areas with paint so it wont mess me up later on trying to get bolts out and jazz. Just wondered what the "norm' was for maintaining rust belt type vehicles.
Last edited by hoghead420; 03-10-2013 at 04:25 PM.
03-11-2013, 11:05 PM
#33
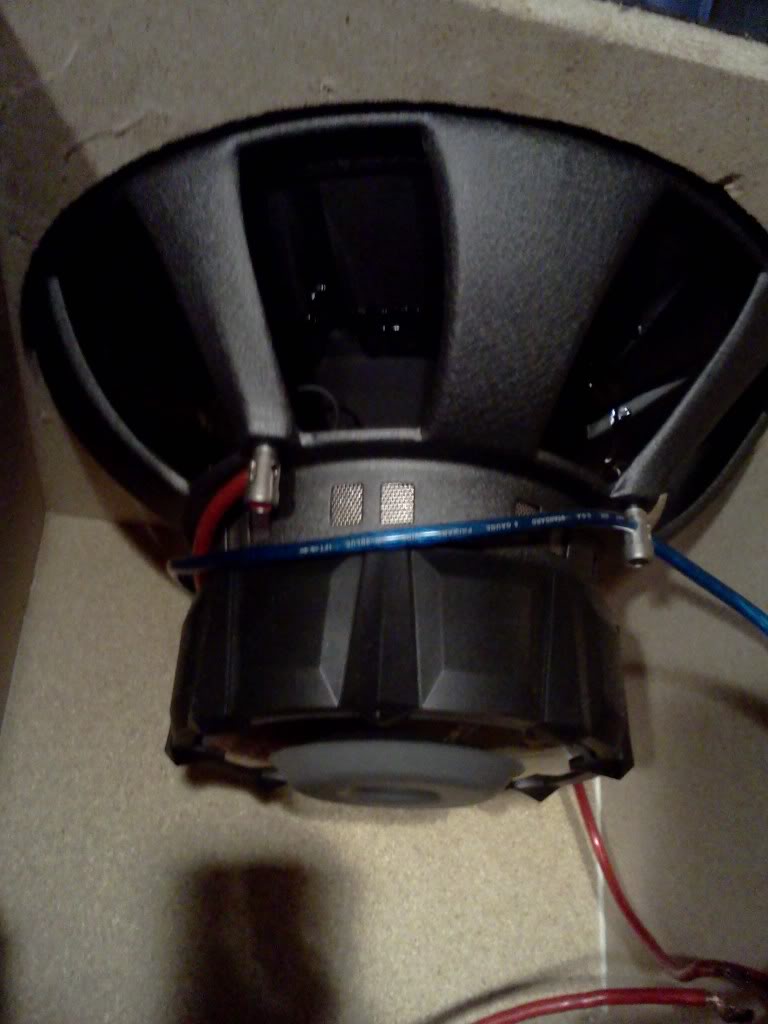
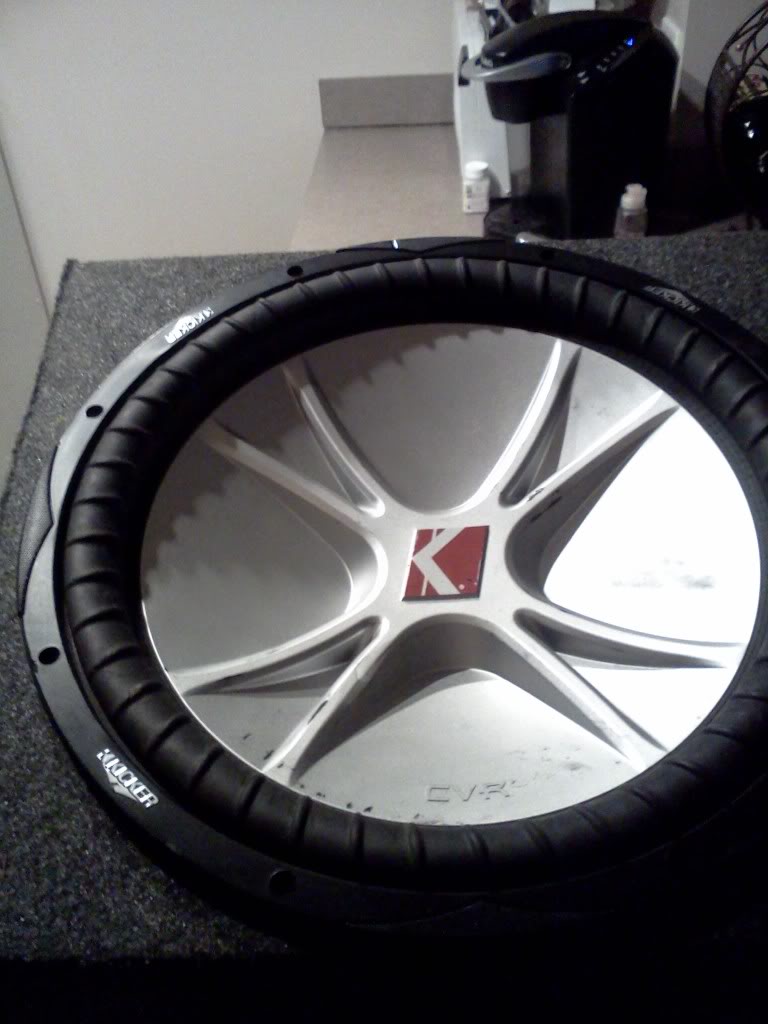 grabed a kicker comp 15 in a trade of Craigslist, pretty nice sub. Looking for some enclosure ideas, from what I've been seeing online it should have one port not sure exactly how big. Just seeing what other people are doing with a similar set up.
03-12-2013, 10:31 AM
grabed a kicker comp 15 in a trade of Craigslist, pretty nice sub. Looking for some enclosure ideas, from what I've been seeing online it should have one port not sure exactly how big. Just seeing what other people are doing with a similar set up.
03-12-2013, 10:31 AM
#34
Nice, you got pictures on the thread!
Haha, that is a ghetto deck-plate mod indeed, but functionally the same, so not a big deal. I've never used the cover for my deckplate hole thing ever since I did the deckplate mod, so you'll probably be fine like that.
As far as an undercarriage product, I've heard of people using everything from epoxy paint to rhino liner. I think really anything is better than a bare underbody and will help to prevent rust. It's really up to you as to how much time/money you want to spend making the underside of your truck look pretty.
Nice sub! That thing will slam! I'll be interested to see what you come up with for a box. That'll be a nice setup though, and looks like the sub wasn't used too hard. Rock on!
Nice pictures!
03-12-2013, 01:58 PM
#35
Registered User
Good job so far on your 4runner! It's looking pretty good. I know a lot of people use por15 for frames. Expensive but they say it's worth it. I live in the desert so I don't really have any experience. Keep up the good work.
03-12-2013, 03:18 PM
#36
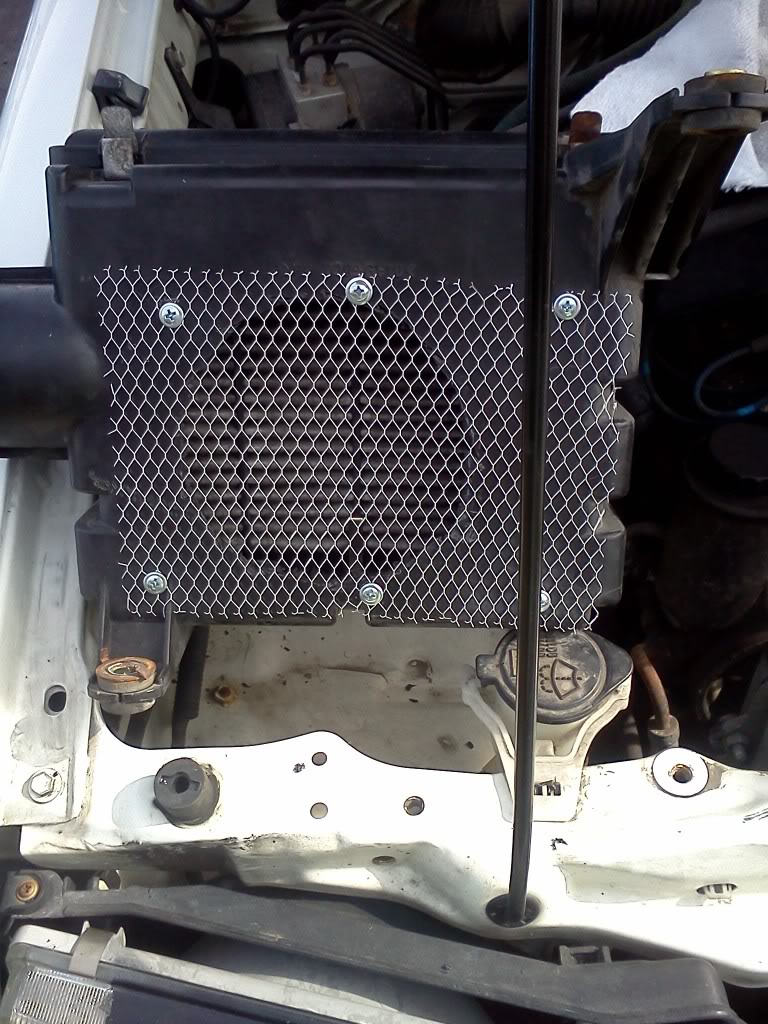
Ha ha , yea figured out the image code thing on my photobucket app. yea the deckplate mod was super ghetto looking . Out of sight out of mind : ) . I used a cd and traced it out , it was almost 4.5 inches give or take, I figure I can add a marine cover if I need it. I do really enjoy the difference, sounds better, runs smoother. I put a little mesh over it , just for larger objects I quess .ya never know. It was pouring down rain yesterday, I got a little nervous traveling behind semis but everything was good. So really happy with that little gem.
Im thinking anything on the rusy areas down low will be better than letting it sit and fester. Plus it gives me a good idea of what's going on underneath. I found a part off the sway bar that needs attention pretty quick, plus my sway bar bushings are done for. So gotta figure those issues out. Found out my tailpipe was what was banging around on when I started it, adjusted brackets "with hammer" and all good now.
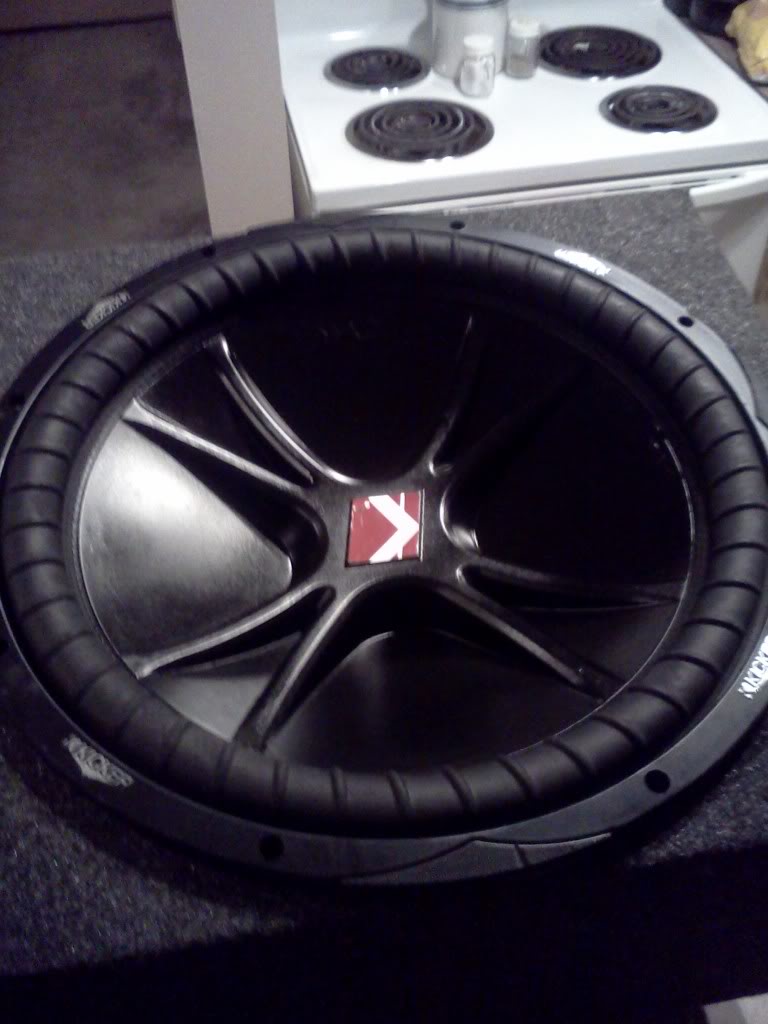
Yea the sub was a good deal, the guy off Craigslist traded me my old pioneer deck for it. He asked if I could cut his box in half, I said sure. So he gave me the side with the missing end, no biggie I can fix it. I might just use it and extend it out about 8 or 10 inches and add a port. Make it look all nice, or make a custom box. Time will tell lol. So I just need a big boy amp and ill be in business, untill I wanna re do the factory speakers and add dome tweeters front and rear. I'm keeping my eyes out for component sets on Craigslist. Lol love that website. I traded my toyota minivan for the 4runner , even trade. Traded a android tablet for the sony deck even trade. old pioneer deck for 15 inch kicker and half a box, even trade. So I have a 12 inch pioneer sub and a box for 2 , maybe I can trade for an amp lol.
Thanks jbert ill look into some info on that product, we get a lot of salts on the roads.
Im thinking anything on the rusy areas down low will be better than letting it sit and fester. Plus it gives me a good idea of what's going on underneath. I found a part off the sway bar that needs attention pretty quick, plus my sway bar bushings are done for. So gotta figure those issues out. Found out my tailpipe was what was banging around on when I started it, adjusted brackets "with hammer" and all good now.
Yea the sub was a good deal, the guy off Craigslist traded me my old pioneer deck for it. He asked if I could cut his box in half, I said sure. So he gave me the side with the missing end, no biggie I can fix it. I might just use it and extend it out about 8 or 10 inches and add a port. Make it look all nice, or make a custom box. Time will tell lol. So I just need a big boy amp and ill be in business, untill I wanna re do the factory speakers and add dome tweeters front and rear. I'm keeping my eyes out for component sets on Craigslist. Lol love that website. I traded my toyota minivan for the 4runner , even trade. Traded a android tablet for the sony deck even trade. old pioneer deck for 15 inch kicker and half a box, even trade. So I have a 12 inch pioneer sub and a box for 2 , maybe I can trade for an amp lol.
Thanks jbert ill look into some info on that product, we get a lot of salts on the roads.

 lol I didn't like the silver color
03-12-2013, 07:32 PM
lol I didn't like the silver color
03-12-2013, 07:32 PM
#38
Registered User
Heres some poly sway bar bushings:
http://www.wheelersoffroad.com/4runswaykit.htm
And while your doing bushings look at your steering rack. Replacing those was probably the best thing I've done for $20.
http://www.wheelersoffroad.com/4runnerrackbushkit.htm
http://www.wheelersoffroad.com/4runswaykit.htm
And while your doing bushings look at your steering rack. Replacing those was probably the best thing I've done for $20.
http://www.wheelersoffroad.com/4runnerrackbushkit.htm
 03-12-2013, 08:22 PM
#40
That's sweet man, thanks ill definitely get an order in soon, mine are in bad shape up front. I wanna tighten up the underside as much as I can. Those prices are really reasonable too. I'm gonna start looking for some air tools soon to make my life a little easier when working on stuff.
Thats a good idea , Ill look into oil on the frame method, I've been looking at this rubberized spray can gunk from the bondo company. Its on sale this month at menards " hardware store " its around 3 bucks a can . Id need about 5 cans to cover everything underneath and have a little left over. I hope lol. I don't think it goes as far as a spray can. So I said 5 . Plus with putting a sub in the rear, id like to spray all under the spare tire area to help with sound and any kinda weird rattles from under there. I might take out the rear tailgate area carpet and plastics, and spray all that too for soundproofing. So maybe more cans. Lol it just never ends
Ill


