When you click on links to various merchants on this site and make a purchase, this can result in this site earning a commission. Affiliate programs and affiliations include, but are not limited to, the eBay Partner Network.
wow nice buck man! i would have let the 6 walk myself, what are you shooting? and nice on the runner too, another thing you could look into, would be an sr5 guage cluster swap, pretty popular amoung everybody because we can see oil psi, volts, etc
Thanks, I shoot a Remington 700 in .270win. I hear you on the small 6, I probably should have let him walk but the freezer was empty and I wanted to get some meat.
I've been keeping my eyes open for a good price on an SR5 cluster with a tach. It's a swap I'd like to do but it's not super high on my priority list.
Last edited by v8stang289; 03-10-2013 at 05:25 AM.
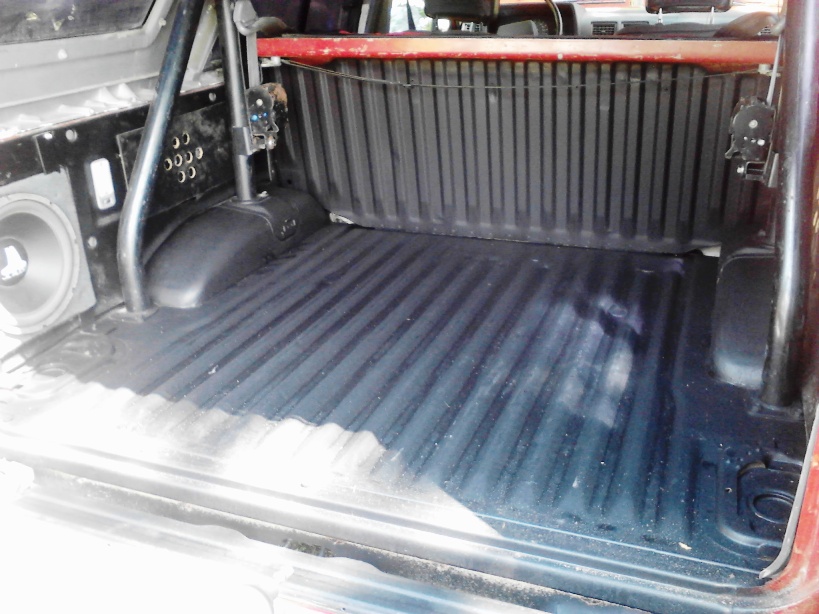
Hey guys, I haven't updated in a while. Mostly because I haven't really done anything to the 4runner. I still need to rip the crappy carpet out of the back and bedline the cargo area, but I'm going to wait until the weather is a little warmer.
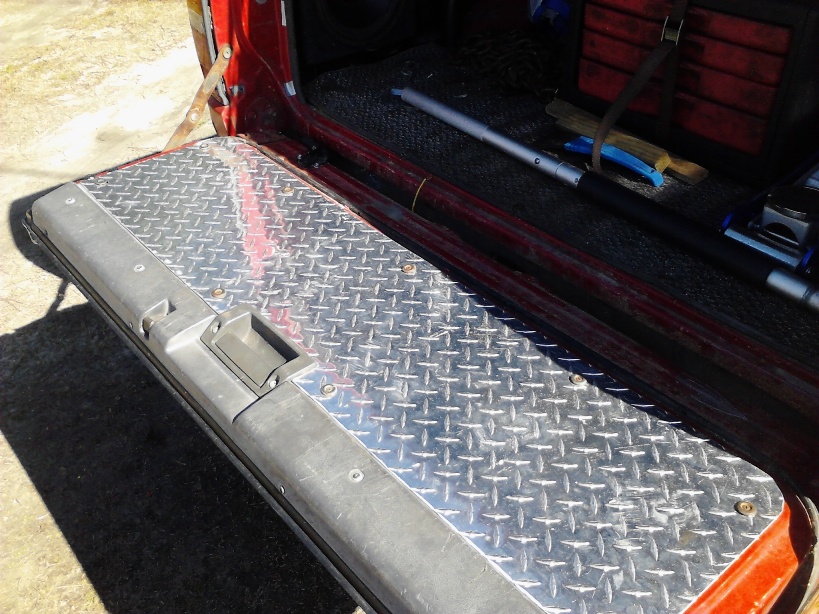
I got tired of the carpet/cardboard thing that was covering the inside of the tailgate. It was ripped, stained, and warped. So I replaced it with a piece of diamond plate aluminum. It looks better, and isn't as flimsy.
I also made some patch panels for the interior quarters(they are just thin paneling, but look better than gaping jagged holes). And I moved the rear speakers behind the quarter plastics to get rid of those boxes and free up cargo area space.
My rear window would only operate through the interior switches, and I wanted to be able to operate it with the key from the back, so I went to work on it. I didn't know when I started but the po had hacked into the window wiring at some previous time, and that's why the rear key switch wouldn't work. Unfortunately, I found this out when I was trying to reconnect the switch and toasted the window module.
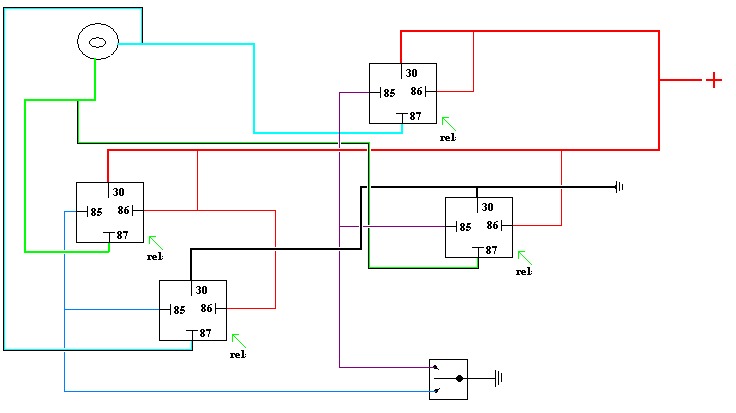
At this point I said screw it and put together a relay pack to operate the window. I used 4 relays and wired them so that when one trigger wire was grounded 2 relays come on and send + and - to different terminals on the window motor. When the other trigger wire is grounded the other 2 relays come on and send the opposite polarity of the 1st 2 relays. This makes so grounding one wire makes the window go up, and grounding the other wire makes it go down. Don't ground both at the same time, it will either blow the fuse or mess up the relays.
Here is a wiring diagram of the circuit I used. I did use a 40 amp fuse though it doesn't show it in the diagram. I teed off of each trigger wire and ran them to the front switch and to the key switch in the tailgate. Now the window works from both the interior switch and the key at the rear, whether the key is on or off (because I used full time power). There is probably an easier way to do this, but I had the relays and harnesses on hand so that's how I did it.
Last edited by v8stang289; 03-09-2013 at 11:46 AM.
Since I had was running power to the back for the window, I decided to go ahead and run power and RCA cables to hook up an amp and sub. I just wanted a little bit of low end to my music that the dash speakers and add in 6x9's were not providing.
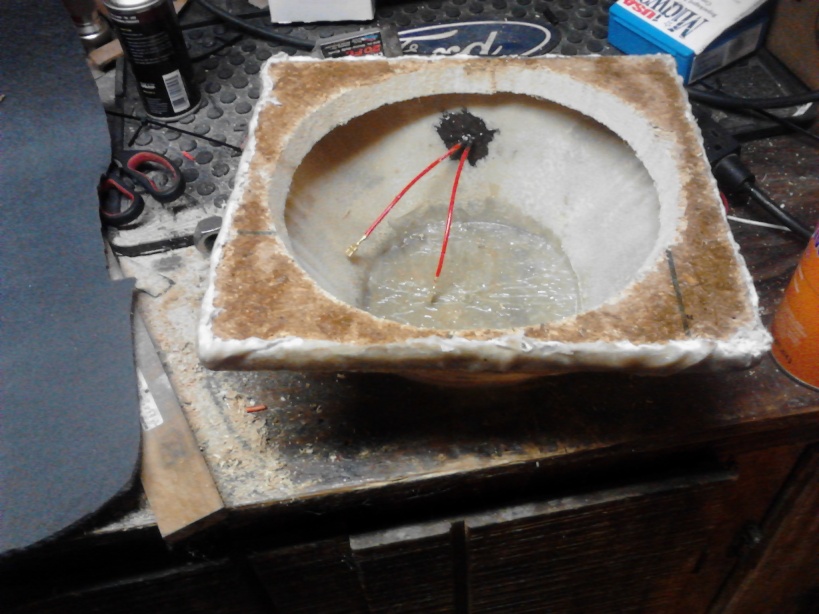
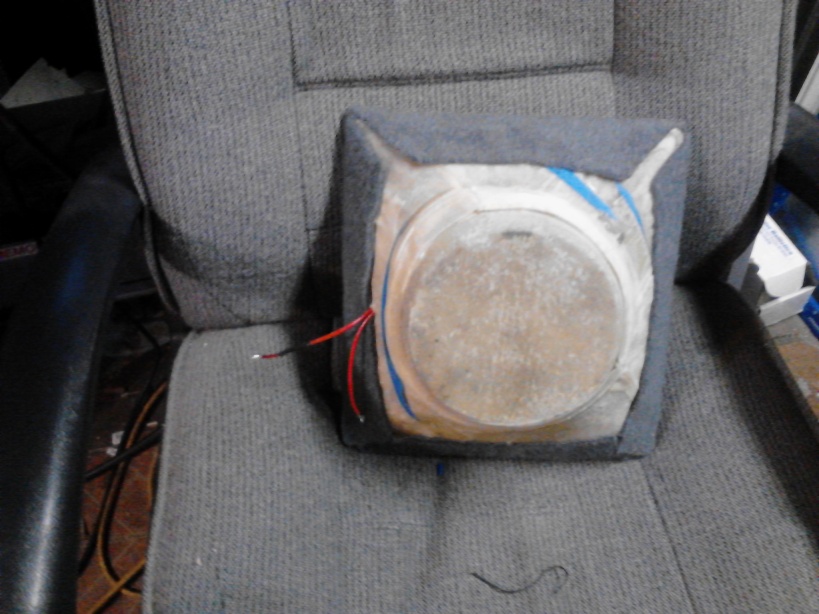
I didn't want to take up room in the cargo area so I decided to build a box that would fit in one of the "cubby" storage areas. I used a piece of 3/4 plywood and some scrap wood to make a frame, and then covered it with cloth and brushed fiberglass resin over it.
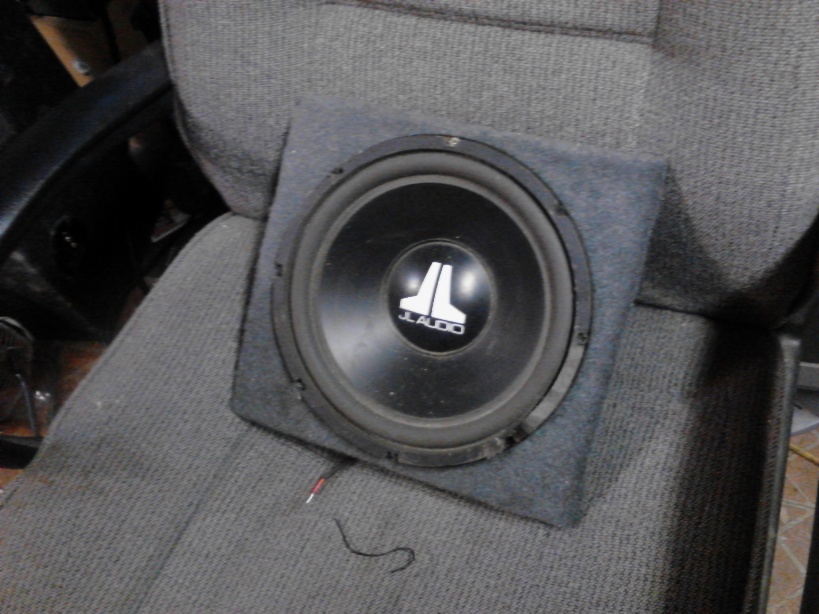
Then I covered the front in gray cloth so it would look halfway decent.
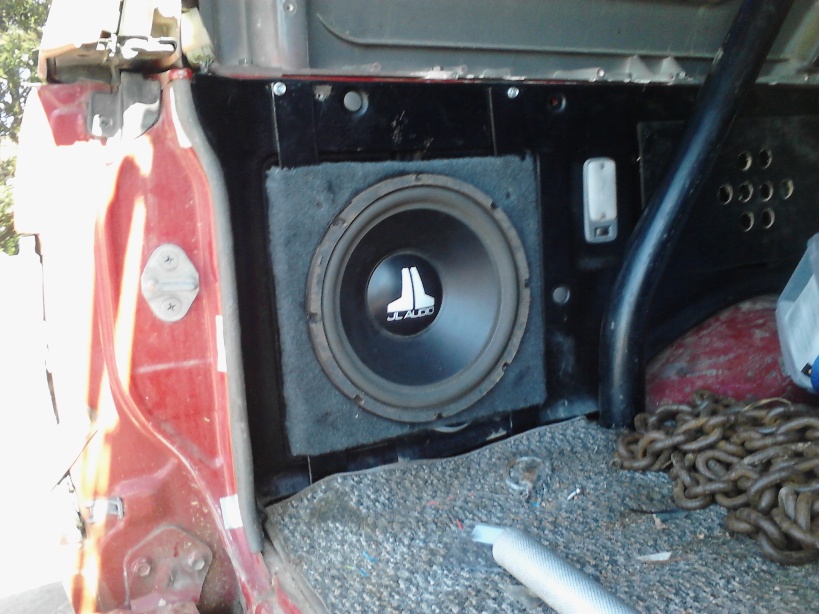
Then I made some aluminum brackets and installed the sub in the cubby. The amplifier is behind the sub where the washer reservoir would be.
The results aren't perfect, but it's not too bad. The enclosure doesn't have the volume required for the woofer so it's a bit of a compromise, but it still adds a lot of low end and balances out the sound.
That's all I've done lately. I've got my 91 pickup fixed so I can go back to DDing it and pick up the pace on the 4runner.
Last edited by v8stang289; 03-10-2013 at 05:27 AM.
Am I interpreting that right, you used random bed sheet/cotton? No vent/port hole, should get better response with a vent hole or did you check the manufacturer data?
It is a sealed enclosure, made with plywood and layers of cotton cloth and fiberglass resin. JL specifies .75 cubic feet of volume for a sealed enclosure for the sub to work best. I couldn't make a box with the correct volume to fit in the location I wanted. Having it out of the way was top priority and I knew that It would be a compromise from the beginning.
The enclosure I built has at most .25 cubic feet of volume, A port or vent in an enclosure that small would be counter-productive. I have a ported enclosure purpose built for that sub that I could install but it is 1.5 cubic feet and takes up quite a bit of room. I'd rather sacrifice on the sound a little and have more room in the cargo area. It really doesn't sound too bad for the box to be so undersized, it just doesn't hit as hard as it could.
I could have gone with a smaller sub that would be more efficient with the smaller volume, but I've had this 10" laying around for years and wanted to use it.
Last edited by v8stang289; 03-09-2013 at 06:42 PM.
It's been a while since I've updated this thread. The 4runner developed a weird miss at highway speeds that I couldn't track down. It would only happen at steady cruising speed and I couldn't get it to replicate when sitting still. I finally got aggravated enough to tear into it.
At first I thought it was a vacuum leak but I couldn't find one. Fuel pressure, Compression, timing, and TPS all checked fine, and it didn't seem to be spark related. It seemed like a lean miss and I suspected an injector issue, especially considering the way the injector wires come together.
I pulled the upper intake plenum and found 3 of the injector connectors were coming apart and brittle and 2 of them wouldn't snap tight. I soldered new plug ends on the harness (courtesy of a junk explorer injector harness I had lying around) and inspected the wiring harness where the injector wires come together, surprisingly finding no corrosion. I re-wrapped the harness and put it all back together but the miss was still there, but a little more intermittent.
At this point I was pissed with it and decided to come back to it later. I had been reading about swapping to later intakes to get improved power and to get the newer style IAC. My Dad had a 94 upper plenum I could get so I decided to do the swap. It was pretty straight forward.
Intake Swap
You have to swap the TPS and the TPS actuator from the old throttle body to the new one. The actuator is the small metal "washer" with 2 tabs that moves the inside of the TPS in conjunction with the throttle blade. It is under the TPS and is held on by one 10mm nut and a small washer, it swaps over with no modifications. Don't forget to recalibrate the TPS.
I also had to swap the Cold Start Injector as the plug is different.
The old IAC that bolts below the lower intake can be completely removed and you run the coolant line that went to it to the bottom of the new Throttle body. Every thing else connects pretty much like the original intake, including the throttle cable and the EGR.
I reused the original air inlet tube as well. It sticks up a little higher due to the different throttle body angle but doesn't seem to be hitting the hood or posing a problem.
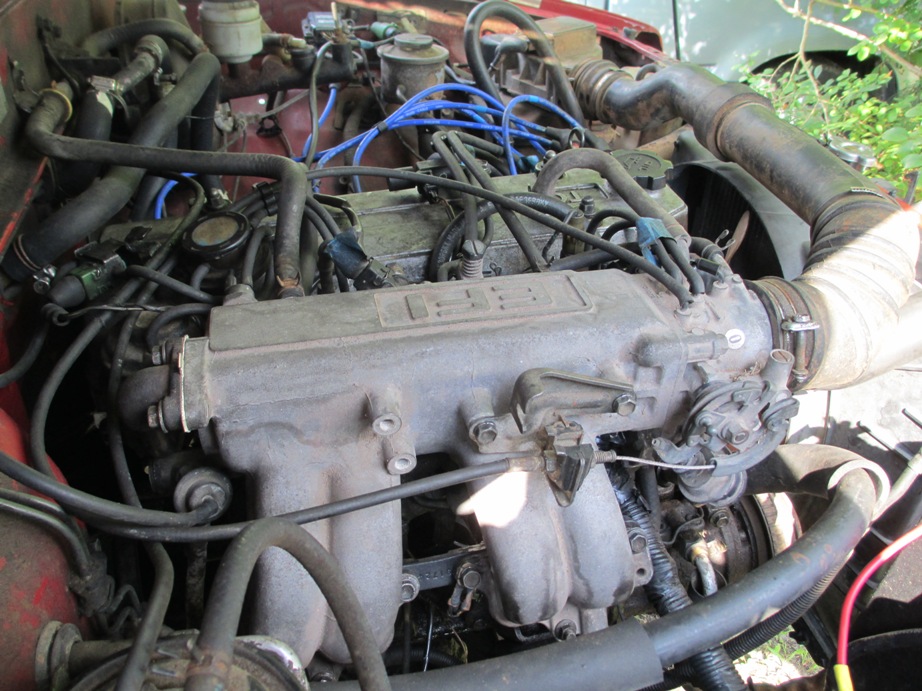
The difference is phenomenal. Itt cranks better, idles better, and has more power than it did. And to top it all off, the miss went away when I switched uppers.
I'm guessing it was an issue with the factory idle air thing or something else with the intake that I couldn't find. I'm not really sure, but at this point I don't really care, as long as it's fixed.
Pic with the new upper
Last edited by v8stang289; 07-16-2013 at 03:41 PM.
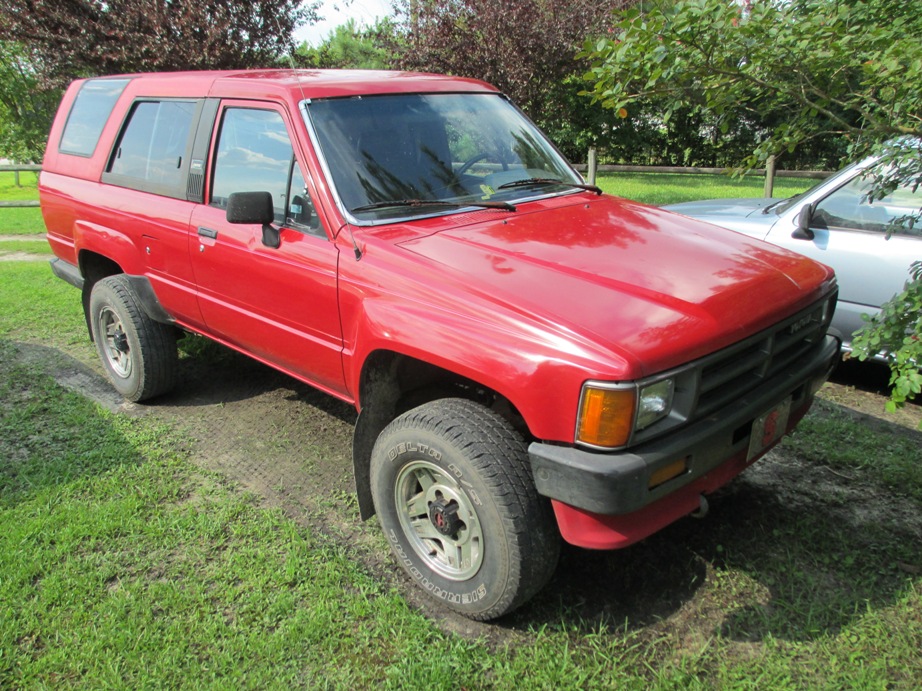
I also finally got off my butt and broke out the polish. It cleaned up really well with minimal effort. Just hand polishing it (rub on, wipe off) really brought out the shine. Except for the lower valance, it is still kinda faded. It looks like a different truck. Now I need to finally get around to cleaning up the interior and bed-lining the cargo area.
Last edited by v8stang289; 07-16-2013 at 03:24 PM.
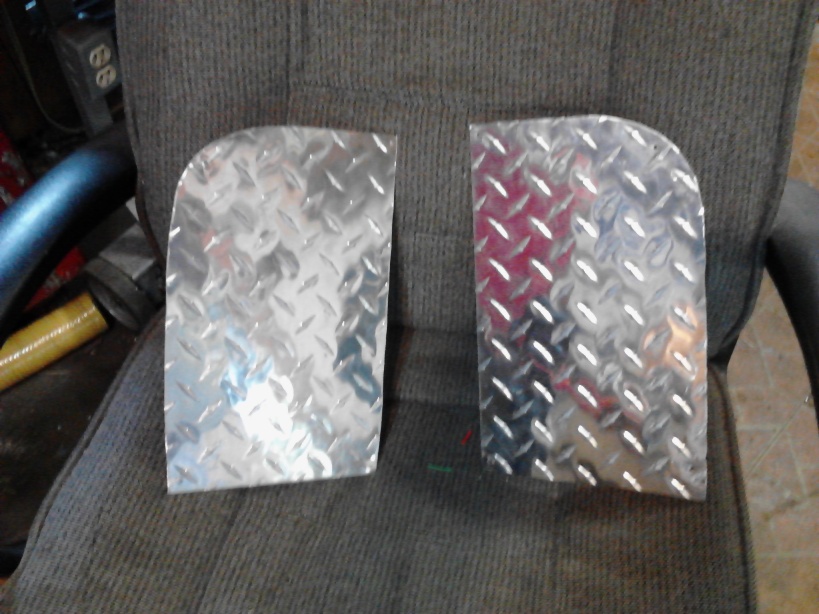
You can see in an earlier picture that my door panel is torn on the drivers side at the bottom front. I glued it back in place but my foot tends to hit that area when I get out of the truck and over time it keeps tearing loose. To fix it I decided to make some panels to cover that area of the door.
I cut them out of aluminum diamond plate.
Scuffed and sprayed them with Duplicolor Bed Armor.
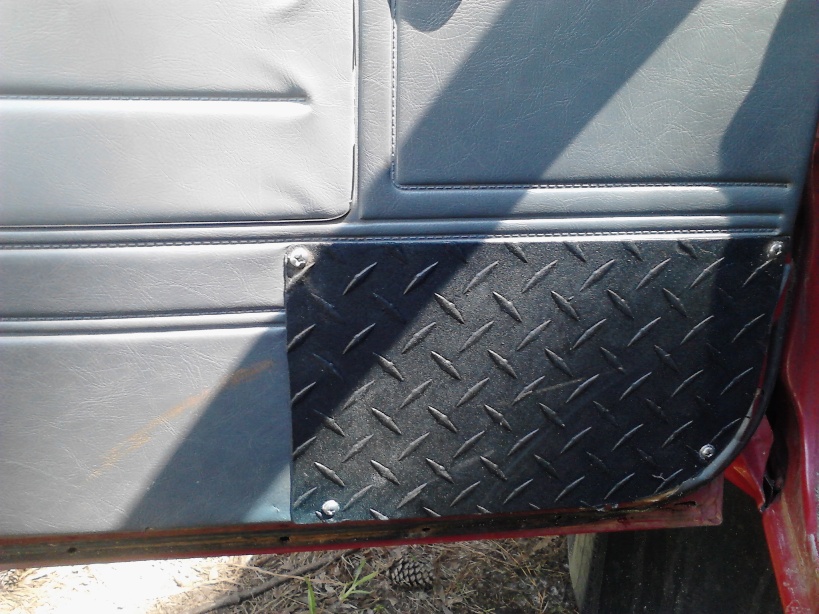
And fastened them to the door with Stainless hardware.
They're not perfect, but they turned out pretty good and should do the job.
Last edited by v8stang289; 07-20-2013 at 03:33 PM.
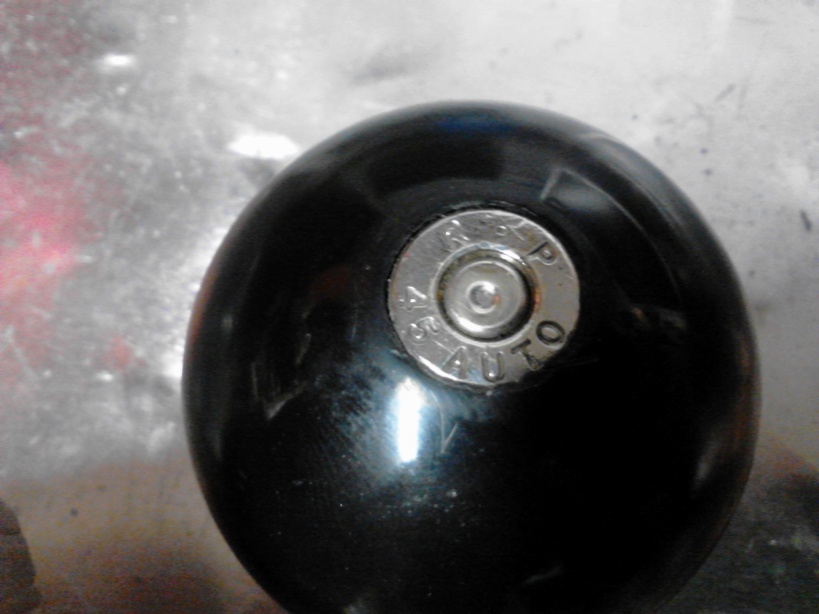
I was bored and had this old shift ball laying around so I decided to make something. It's just a universal round plastic shift ball that I picked up cheap several years ago. I drilled a shallow hole and sank a .45acp case head flush. It fits the yota shifter perfectly.
The repair on the door panel is brilliant. The paint looks so much better. Most people don't realize that they used single stage paint on the red. I was looking back at your build. If you need seats, the seats from a gen 2 4Runner will work, both back and front. But for the front passenger seat you need to trade the sliding rail on to it.
Thanks guys. Nervo19, I've been keeping an eye out for a 2nd gen in the local salvage yards, but they rarely get Toyota trucks. When they do they're either already beat to death or they get stripped clean quickly.
Wanted to update this, it's been a long long while. Not long after my last post, I picked up an 09 Timberland Mica Tacoma TRD Sport 4x4 that replaced the 4runner as my daily.
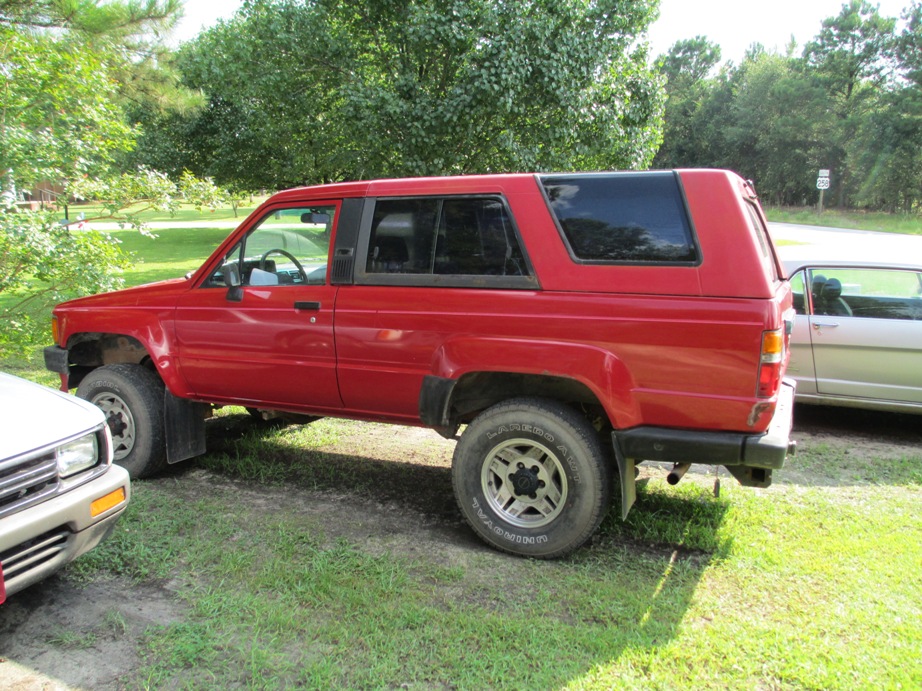
I still have the 4runner. I've added a tube rear bumper and off road lights over the years, and I recently repainted it.
Thanks for the update! Really nice to see it still in your possession, and being maintained. Fewer and fewer of these around. I have one that my wife daily drives, and one I recently purchased and am fixing up for myself. Both '89's.
 11-11-2012, 09:29 PM