87blackbeauty Bought Another 87 4runner
 02-24-2013, 08:42 AM
#1
Registered User
Thread Starter
87blackbeauty Bought Another 87 4runner
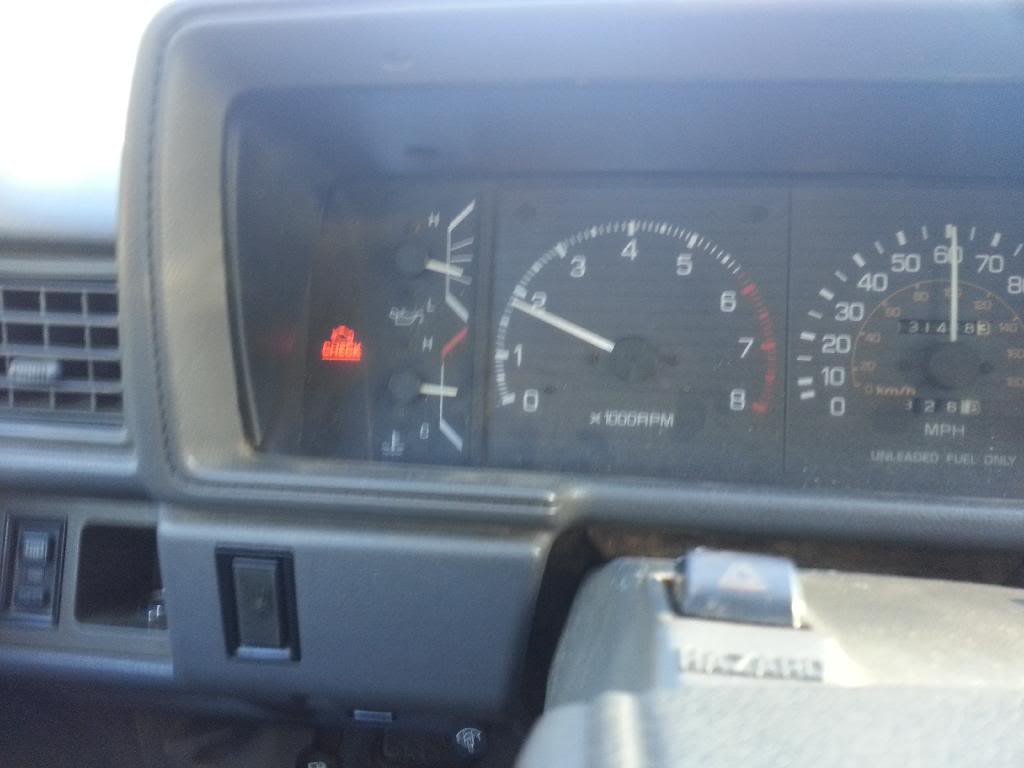
Hello guys, I thought I'd start my own build thread so I can refer to it through the process that I am preparing to undergo. As a few of you may know from my newbert style ramblings on your threads, I'm just a young guy that loves his truck, and that truck recently had a timing chain break and some valve bending going on. Soooooo, we were between having our mechanic put in a new engine or rebuild the 307,xxx mile one already in it. During this time, I saw another 87 sr5 for sale with 124,xxx on the engine and decided I'd just have 2 4runners instead of one. So now the trucks are home from the mechanics place, and the focus is to swap the engines. Also, depending on the condition of the one coming out of Black Beauty, we may just set it on the bench for a bigtime rebuild, and then put in in #2. Otherwise, it's a chain, head job, and into #2. Anyway, since I haven't truly started, let me give you a few pictures to look at as you ponder my silly kiddie moves.
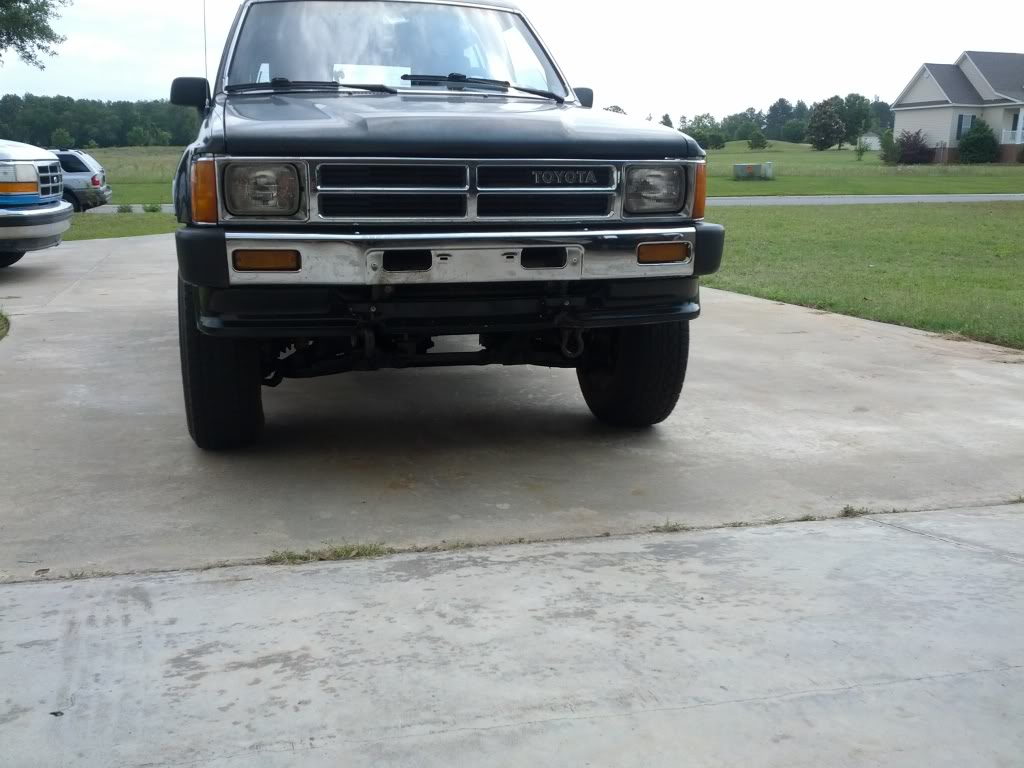
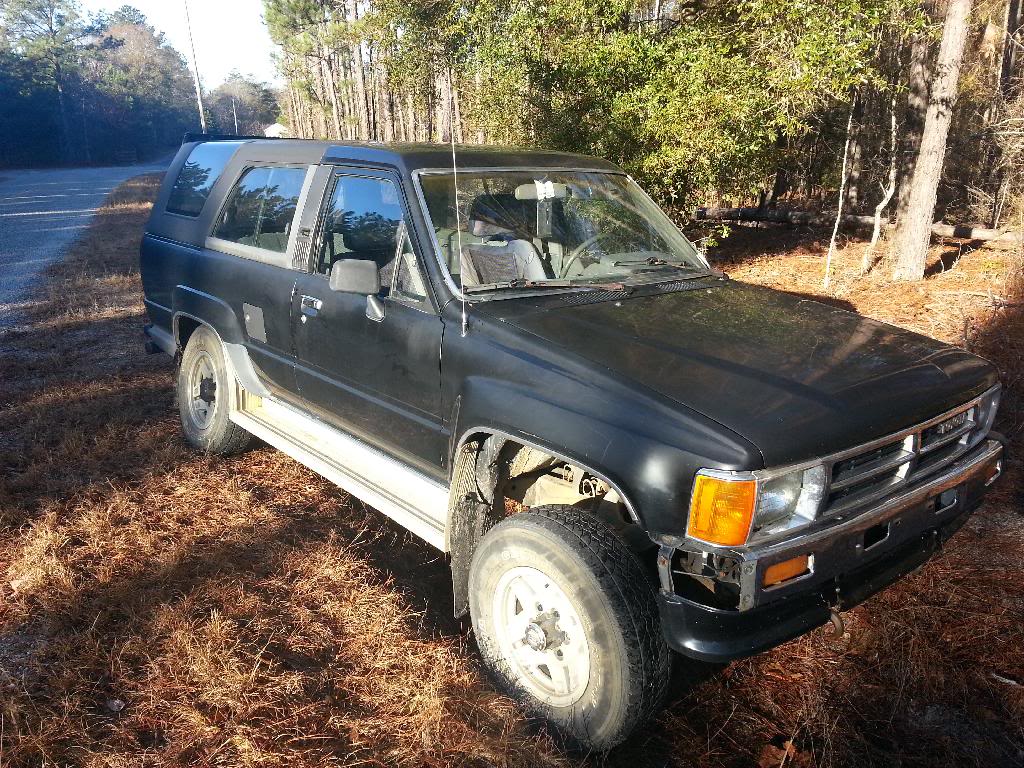
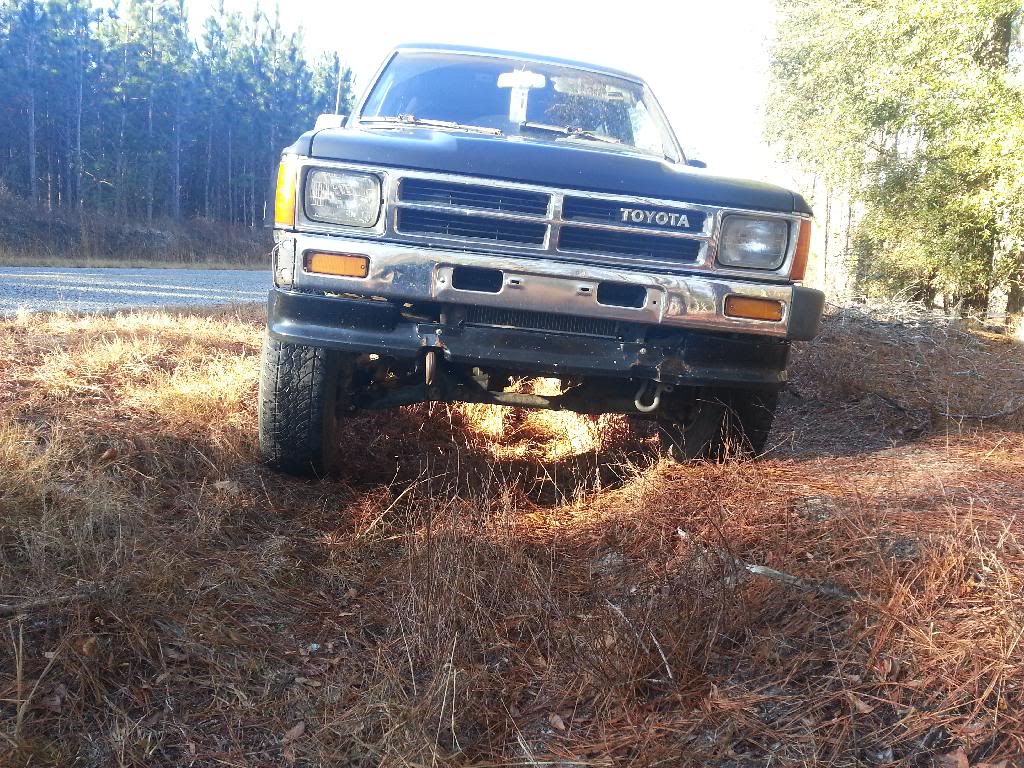
This first one is my second truck, aptly named #2.
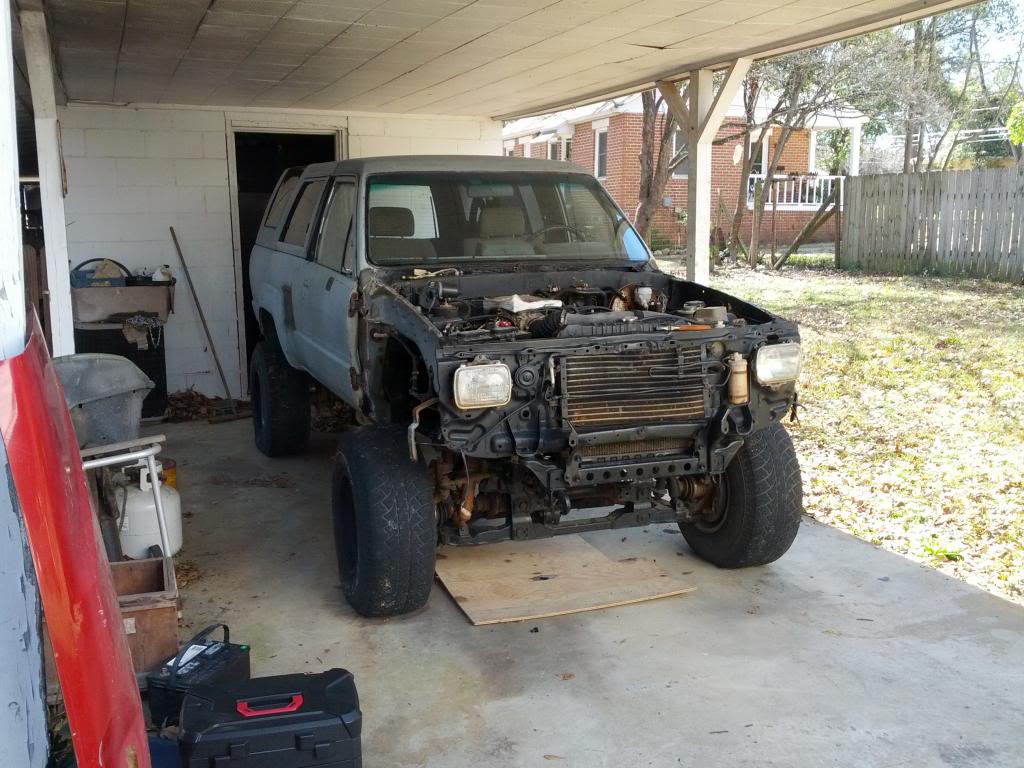
And here is my sweet Black Beauty

I'll be back with more, especially seeing as there are connectors on #2's fuel injector that aren't even hooked up! It's actually turning out to look like a lot of work to go through all the things the PO or PO(s) did to it.
Also! I'm picture happy, and as you can see from that first paragraph, the MAIN purpose of this thread is to document the engine swapping, and then follow any building I do to Black Beauty. There currently are no plans to scrap ithe second truck, but we'll see what happens. Thanks for reading guys! I'll be relying on you guys when I get hung up.
This first one is my second truck, aptly named #2.
And here is my sweet Black Beauty
I'll be back with more, especially seeing as there are connectors on #2's fuel injector that aren't even hooked up! It's actually turning out to look like a lot of work to go through all the things the PO or PO(s) did to it.
Also! I'm picture happy, and as you can see from that first paragraph, the MAIN purpose of this thread is to document the engine swapping, and then follow any building I do to Black Beauty. There currently are no plans to scrap ithe second truck, but we'll see what happens. Thanks for reading guys! I'll be relying on you guys when I get hung up.
Last edited by 87blackbeauty; 08-02-2013 at 03:48 AM.
 02-24-2013, 01:21 PM
#2
Registered User
Join Date: Mar 2011
Location: Massachusetts
Posts: 30
Likes: 0
Received 0 Likes
on
0 Posts
Black Beauty looks sweet man, nice and clean..! #2 looks like it needs some love for sure, but its got plenty of potential. Good luck with the motor swap..!
Last edited by 51willysjeep; 02-24-2013 at 01:23 PM.
03-03-2013, 01:36 PM
#3
Registered User
Thread Starter
Okay, I got some progress done today.
Black Beauty:
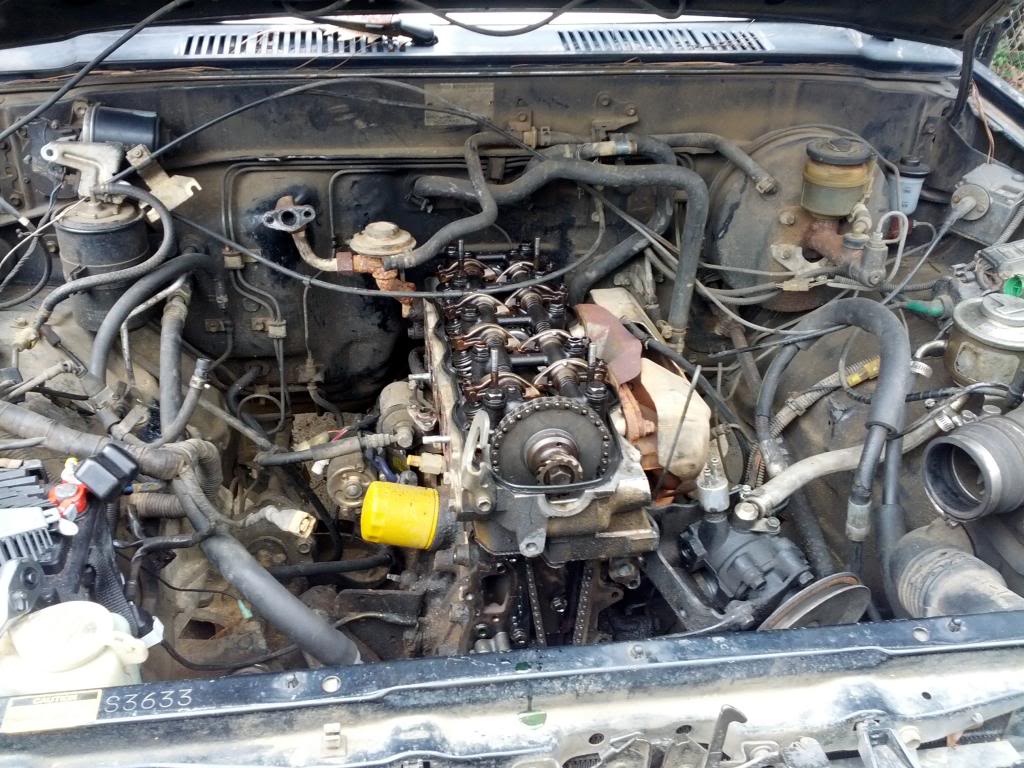
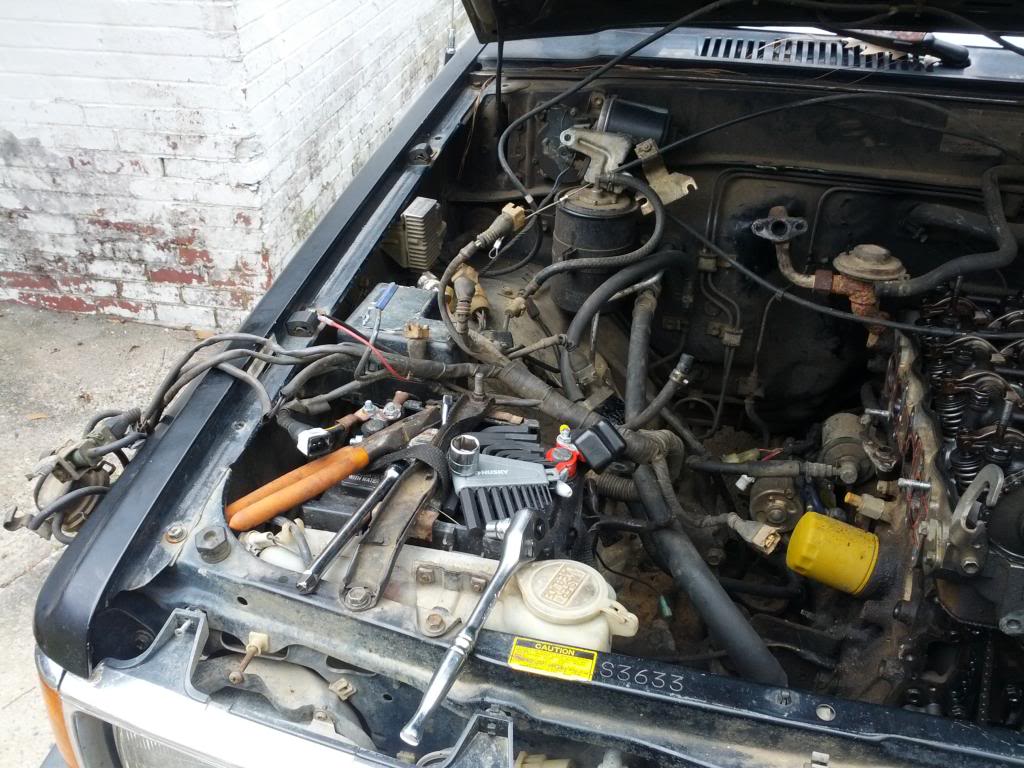
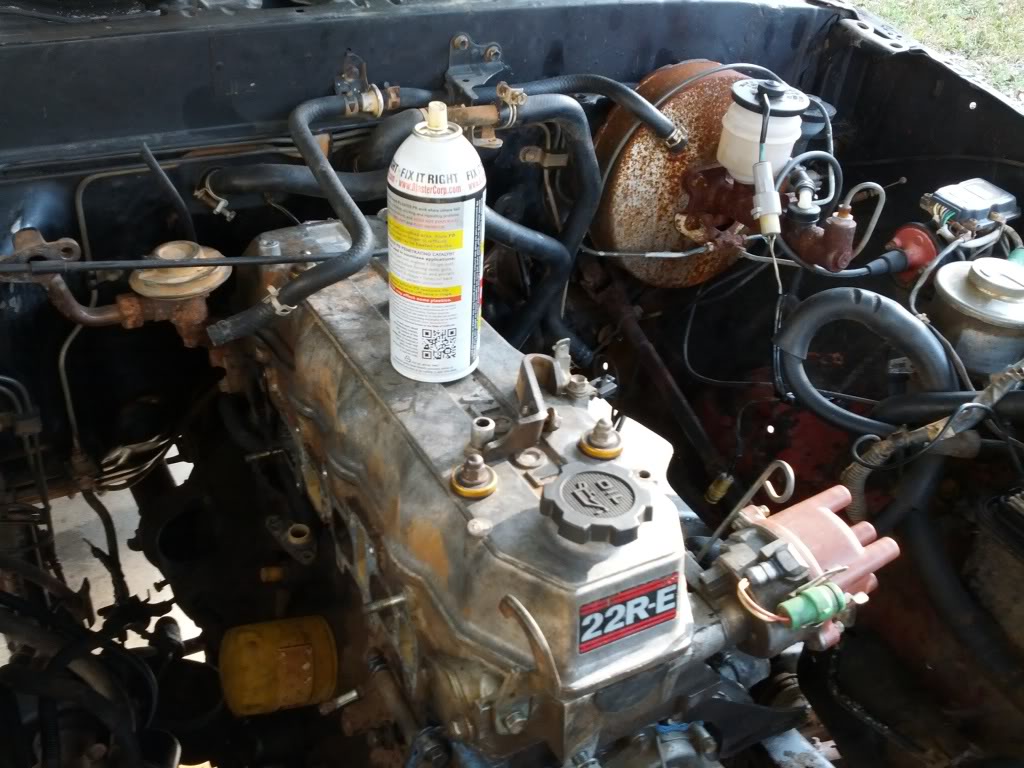
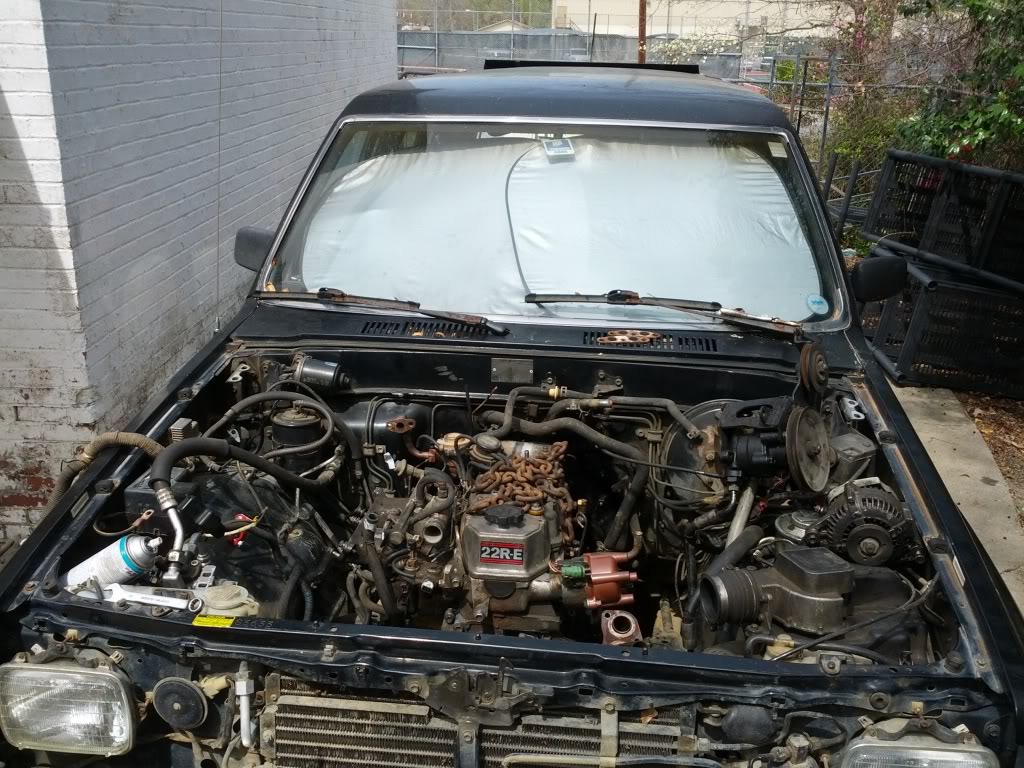
The intake is removed and the wiring harness is fully disconnected, as well as the starter has been removed. So the passenger side is ready to go for the removal of the engine after the fuel filter is removed. Here's a pic of right before I pulled the starter. Shows where it's at. And the valve cover and timing cover are only removed because my mechanic pulled those to assess the timing chain issue it had.
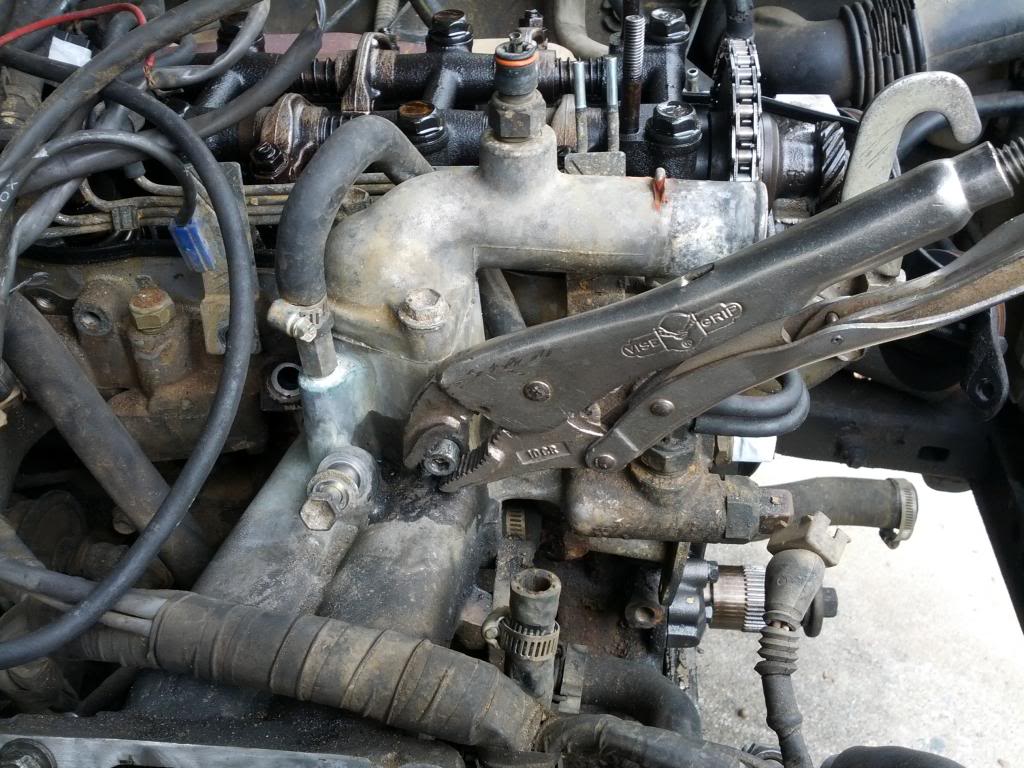
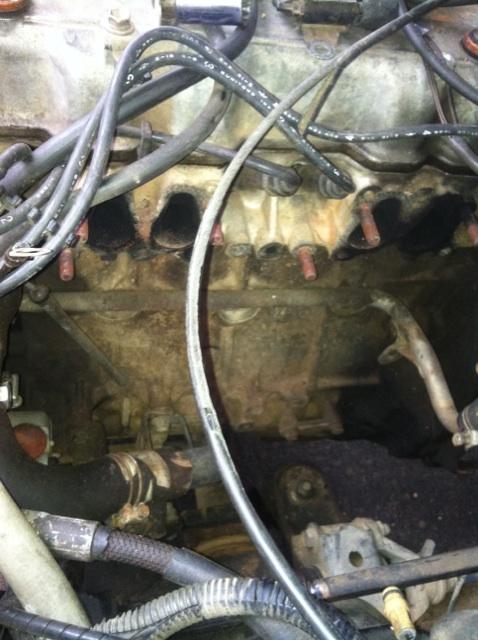
This next photo is the top of the injector, purely for my own future reference, feel free to observe though.
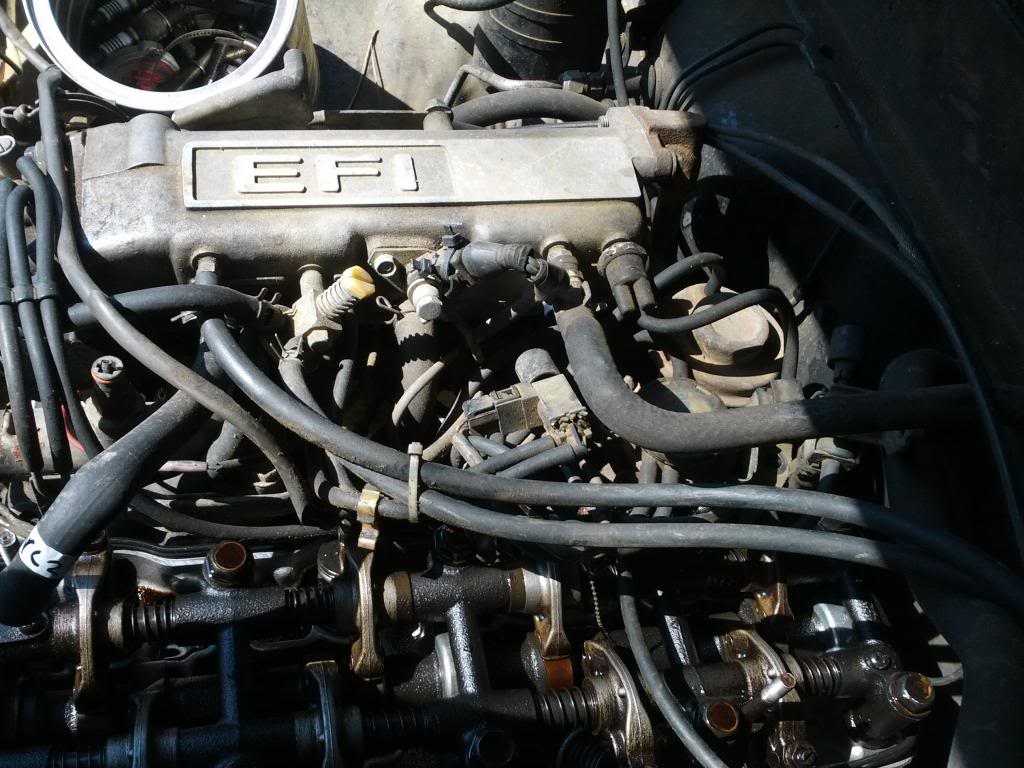
And one more reference photo if you guys don't mind. This one's kind of far off, but I hope it'll still help me later.
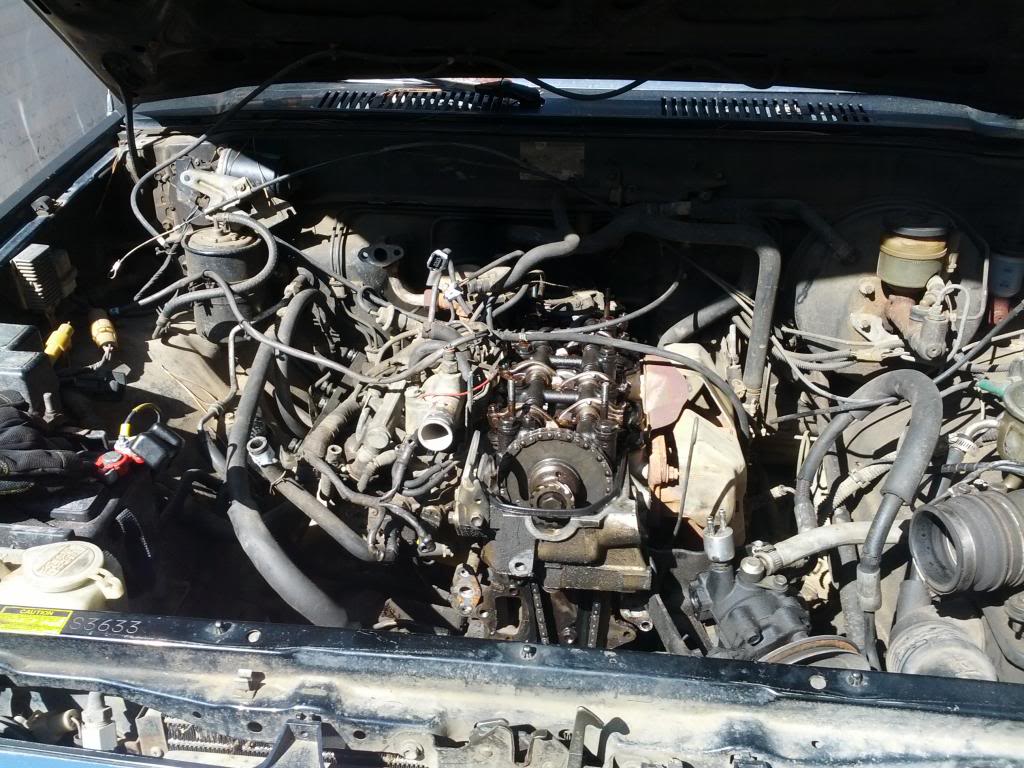
And guys, this is what scares me. I labeled anyhting that didn't seem obvious, but once I pulled the harness away, I began to worry that maybe there's a lot more on there than I thought that isn't as obvious as it seemed. Let's hope that's just my first timers jitters.
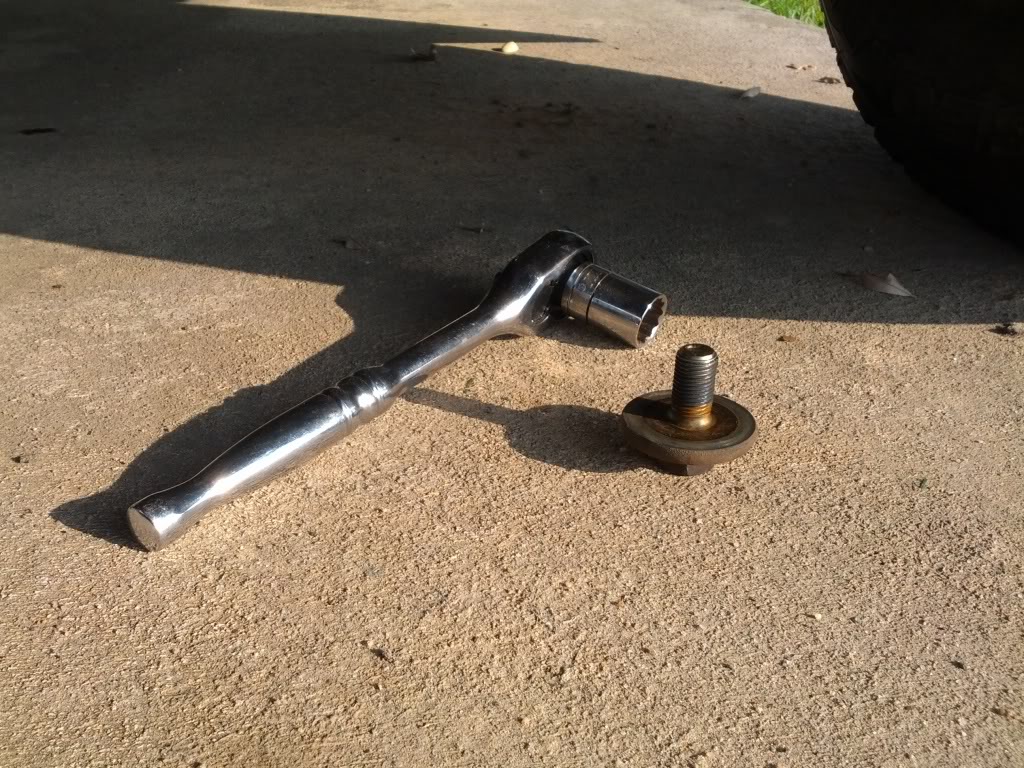
If you strip your allen bolt, just do this. It's so super easy and gets it right out.
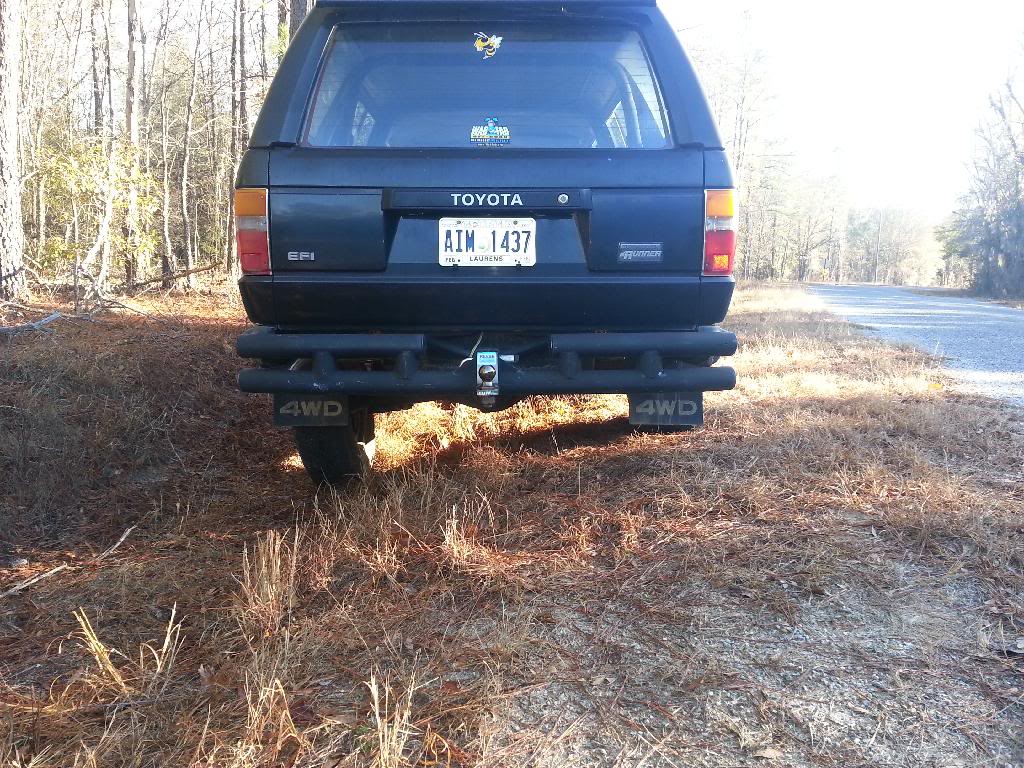
Okay, so that wraps up Black Beauty, besides the fact that I pulled the rear bumper as well because I'm putting a Smittybilt in it's place and moving the stocker over to #2.
#2:
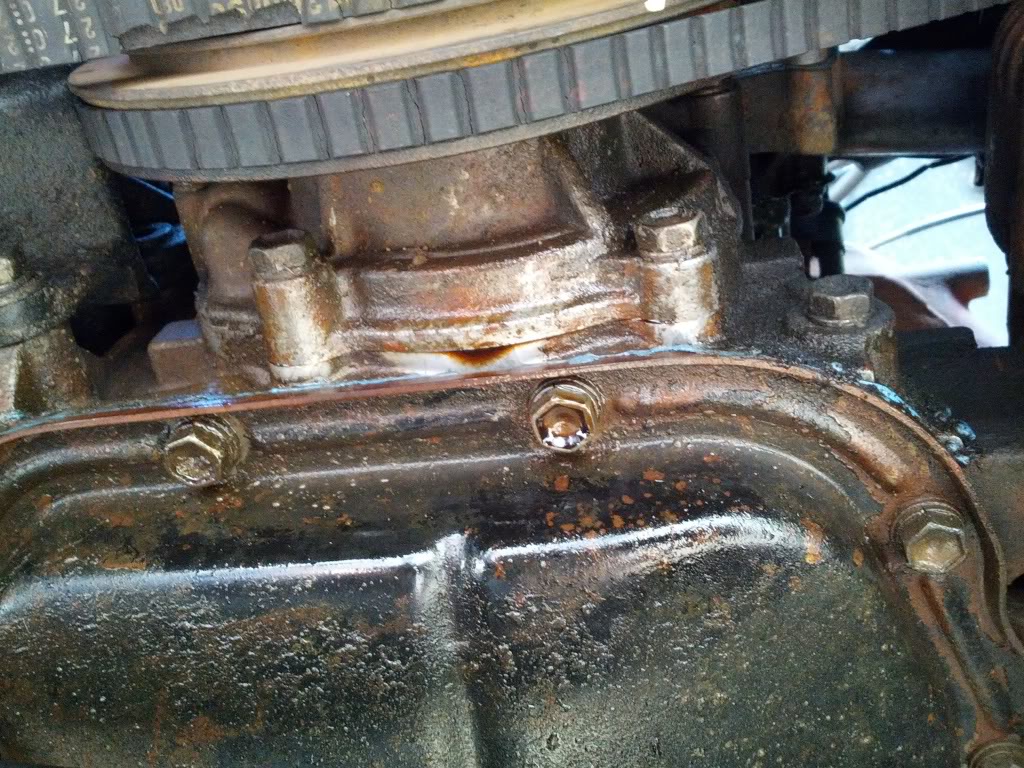
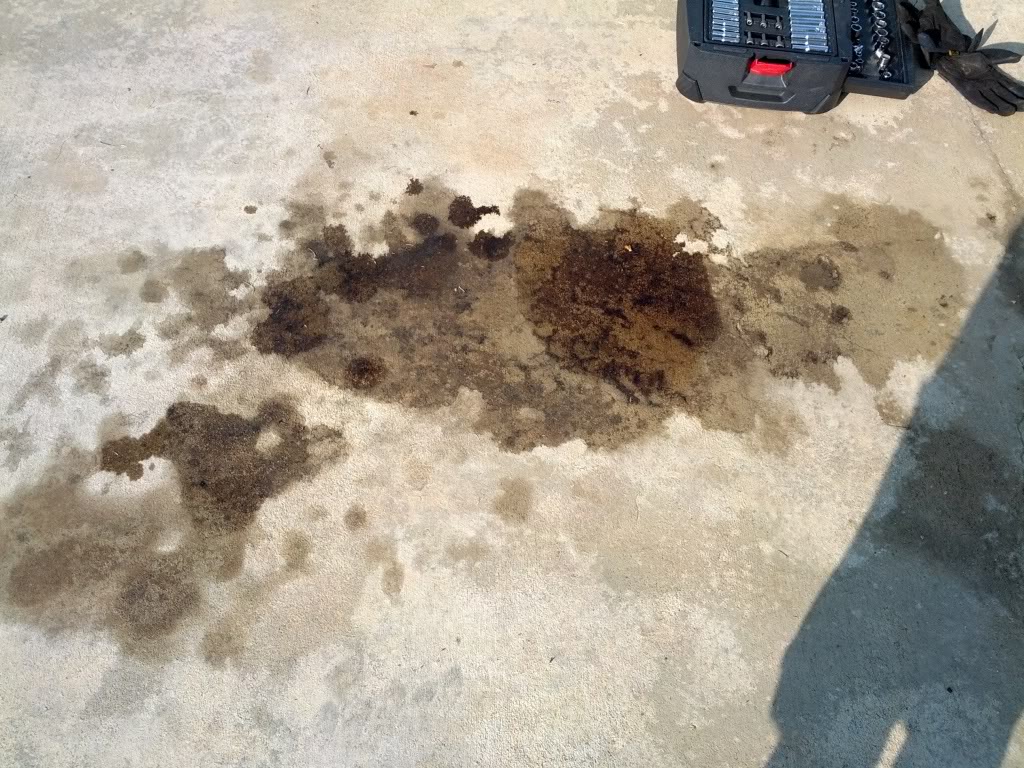
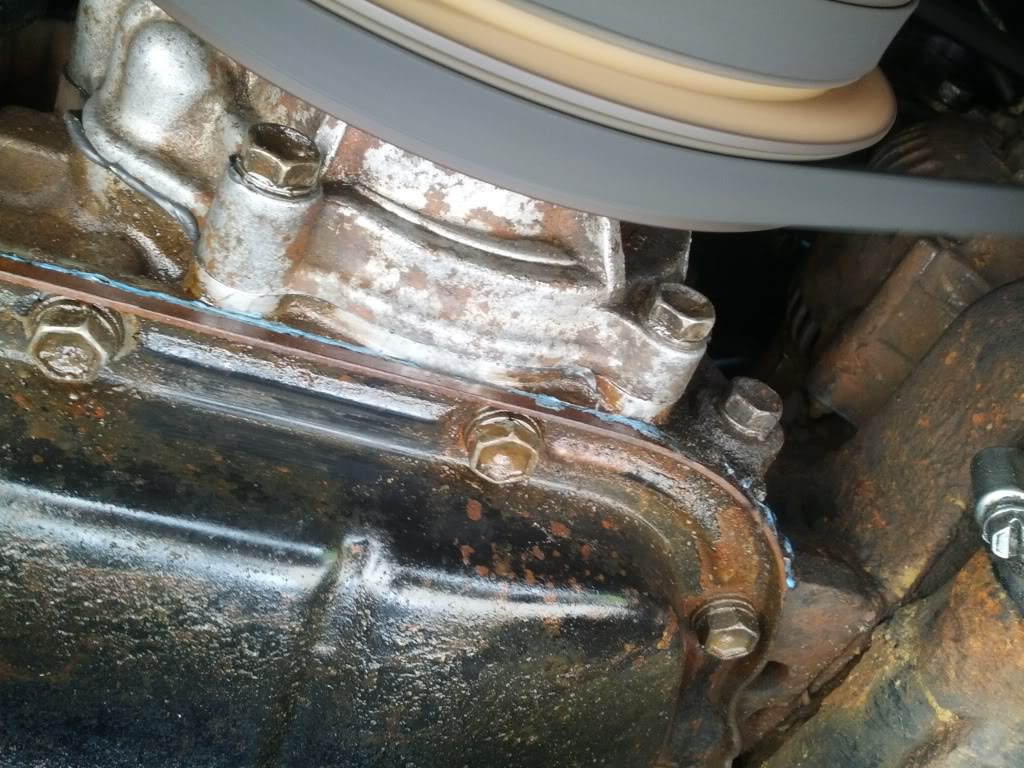
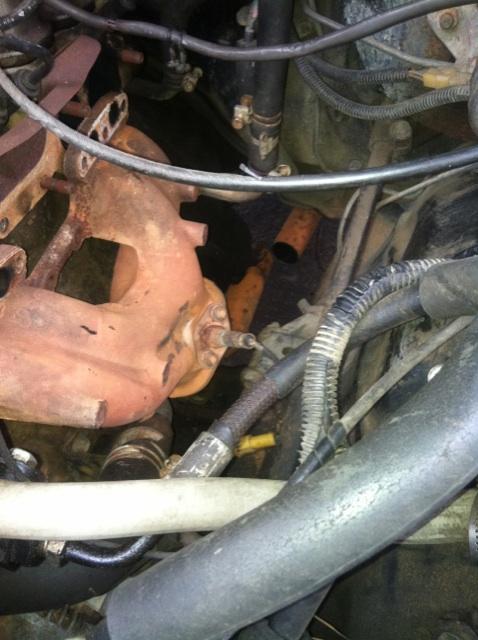
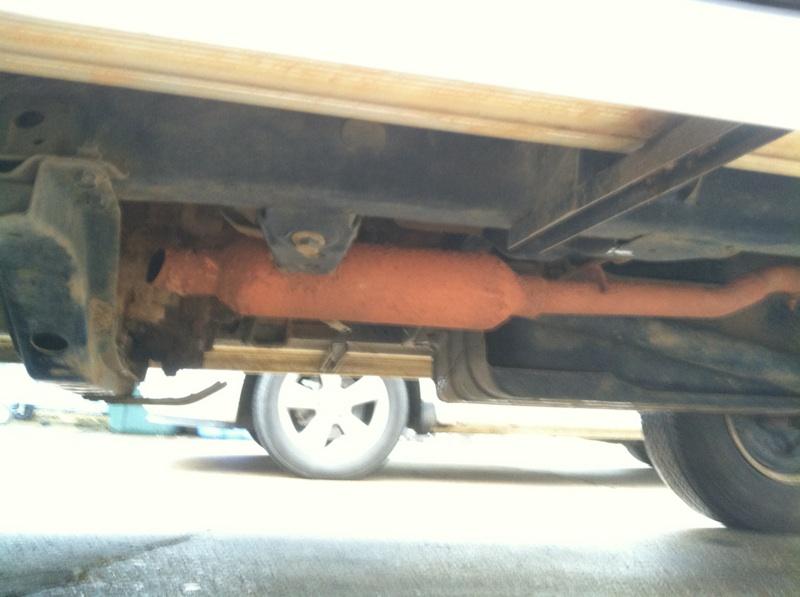
Got nothing done. How it looks in the first post is how it is right now. I did notice an oil leak though. From right here:
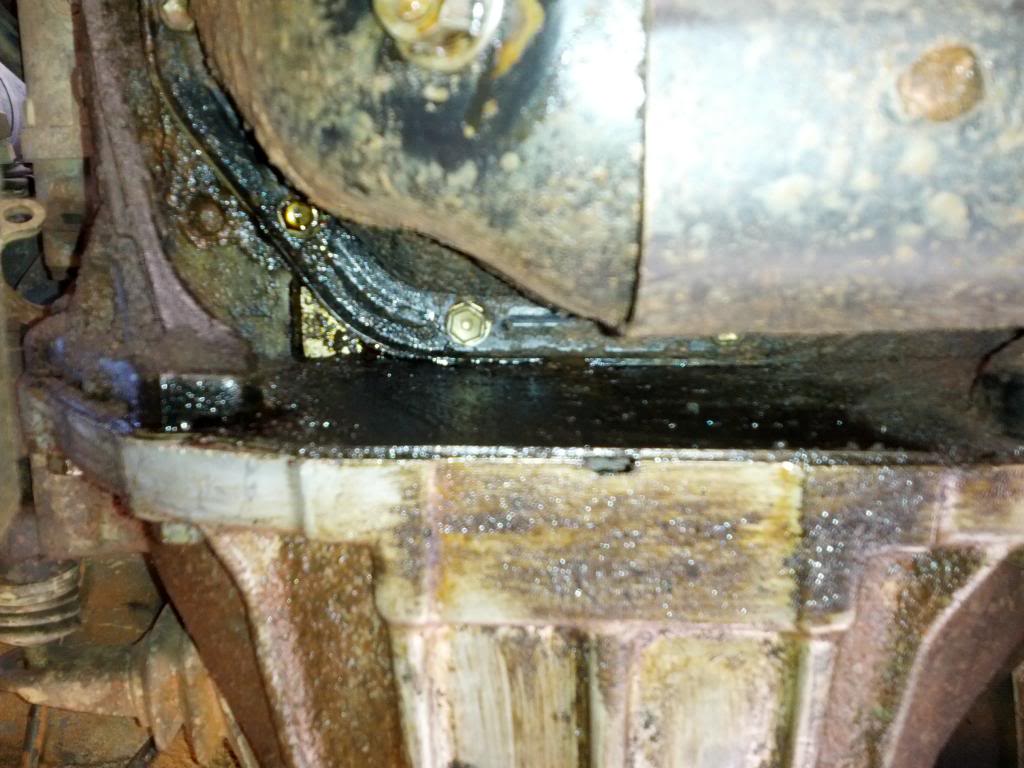
Rear main seal, am I right guys? I plan to replace it while it's out of the truck. Because I hate oil leaks, no matter how small they are.
Black Beauty:
The intake is removed and the wiring harness is fully disconnected, as well as the starter has been removed. So the passenger side is ready to go for the removal of the engine after the fuel filter is removed. Here's a pic of right before I pulled the starter. Shows where it's at. And the valve cover and timing cover are only removed because my mechanic pulled those to assess the timing chain issue it had.
This next photo is the top of the injector, purely for my own future reference, feel free to observe though.
And one more reference photo if you guys don't mind. This one's kind of far off, but I hope it'll still help me later.
And guys, this is what scares me. I labeled anyhting that didn't seem obvious, but once I pulled the harness away, I began to worry that maybe there's a lot more on there than I thought that isn't as obvious as it seemed. Let's hope that's just my first timers jitters.
If you strip your allen bolt, just do this. It's so super easy and gets it right out.
Okay, so that wraps up Black Beauty, besides the fact that I pulled the rear bumper as well because I'm putting a Smittybilt in it's place and moving the stocker over to #2.
#2:
Got nothing done. How it looks in the first post is how it is right now. I did notice an oil leak though. From right here:
Rear main seal, am I right guys? I plan to replace it while it's out of the truck. Because I hate oil leaks, no matter how small they are.
03-03-2013, 02:30 PM
#4
Registered User
Thread Starter
Also, I'm off from school this week and I an going to be able to borrow an engine hoist, so we can expect the brunt of this first project done this week if all goes as planned, which it sometimes doesn't.
That said, the project following this one will just be to get the exterior done on #2 while we rebuild the engine that will go into it. Hopefully I can get some interior pieces for it too. But that's the future.
Also, would it be a good idea to get a pickup for about $400 to swap parts off of for the body on #2? I heard from the guy I bought the 4runner from that there is a guy close to me that has two for sale at scrap price.
Thanks for reading guys!
Please respond with any input you'd like to give! I'm happy to respond to any questions or suggestions.
Catch ya later.
Last edited by 87blackbeauty; 03-03-2013 at 02:33 PM.
 04-16-2013, 06:42 AM
#6
Registered User
Thread Starter
Hello folks. The engine from number 2 is in Black Beauty now. Running beautifully. But... I have a question. Why would the truck leak the same amount of oil from the rear of the engine every time I drive it. After I turn it off, it leaks a certain amount, makes about a hand sized oil stain or less, and then stops leaking? I put a new rear main in, though I know that doesn't guarantee anything, but do you think the oil pan isn't sealing up at the back or would that be a different leak? Also, is there any way to know for sure it's the oil pan and not the rear main?
Pictures to come once I get on the computer.
Pictures to come once I get on the computer.
05-18-2013, 07:45 AM
#7
Registered User
Thread Starter
Hey guys, the question above this one is still open. Also, it's leaking a little bit from the front. It looks like it's coming out of the bottom of the timing cover really. Does that mean I have to pull it off and redo its seal, or is that how a front main leaks? The oil isn't dropping down from the crank pulley, it's from the bottom of my timing cover. Any help is appreciated. I'll update this thread when I get pics off my phone and onto the computer. The only update for the secondary vehicle in this thread, the one that looks rough, is that there is now a bird nest in it.
Last edited by 87blackbeauty; 01-23-2014 at 03:18 PM.
Trending Topics
05-18-2013, 11:18 AM
#9
Registered User
Thread Starter
I'm going to do the oil pan for the rear leak, because that's what I'm pretty sure it is. I've already got the oil pan specific silicone from Toyota. But the front leak is while it's running. I'm trying to figure out if I need to pull apart my front end just for a resealing of my timing cover or if a new front main and oil pan gasket will do.
05-18-2013, 09:28 PM
#10
Registered User
Thread Starter
Found this thread.
https://www.yotatech.com/forums/f114/what-earth-going-22r-front-main-seal-leak-again-again-227307/
Good info in it for sure. My leak is where his is, the little black mark between the oil pump and timing cover. I said that wrong earlier. I know I said timing cover to engine, but I meant oil pump to timing cover. The front main would leak at the pulley and a failed oil pump would leak at its bottom, is that correct? So by that assumption, I need to get a new oil pump?
Last edited by 87blackbeauty; 05-19-2013 at 03:57 AM.
08-02-2013, 05:09 AM
#11
Registered User
Thread Starter
What's up guys. I thought I should add some of the pictures I've been taking to get up to date and maybe I'll keep up with the updates of this thread better.
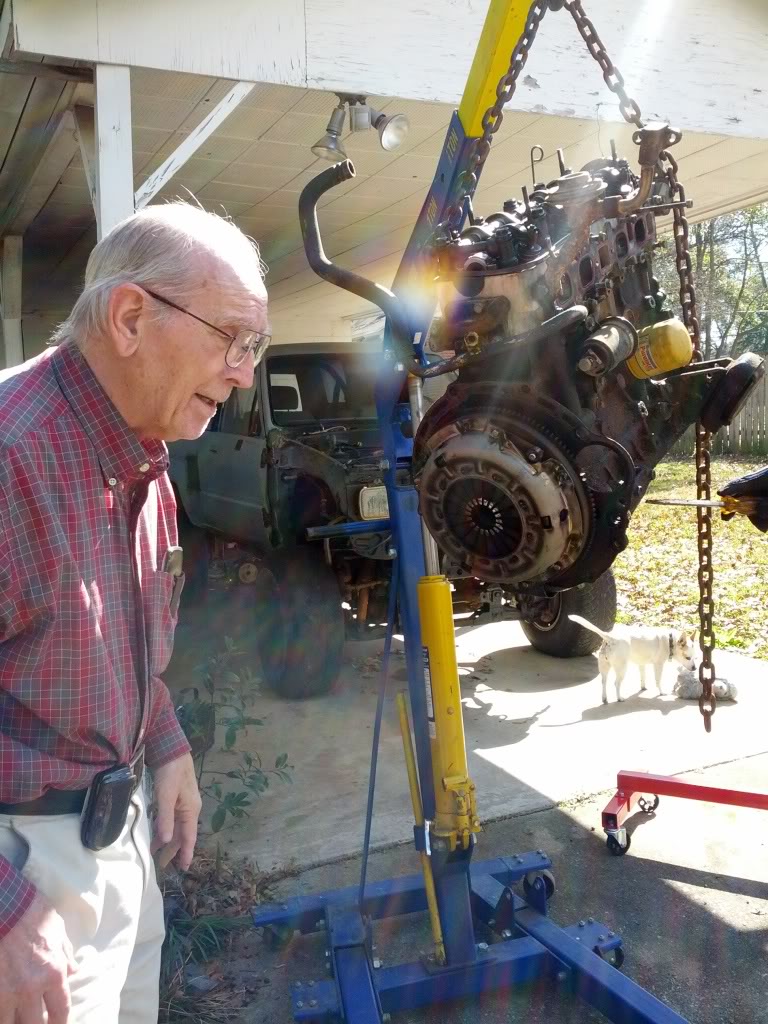
First off, here are a few pictures of the engine swap and getting it done up. The first one is right after the engine came out. The man in the picture is my grandfather, he helped me to get it out as it clung to the transmission.
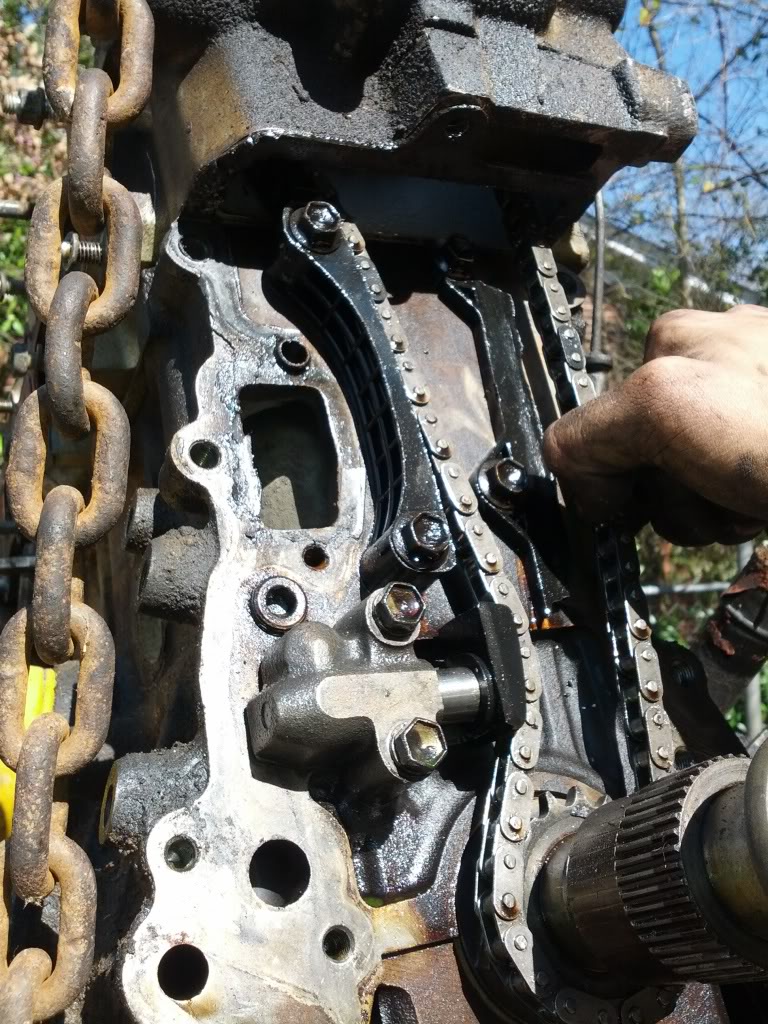
A picture of what caused all this...
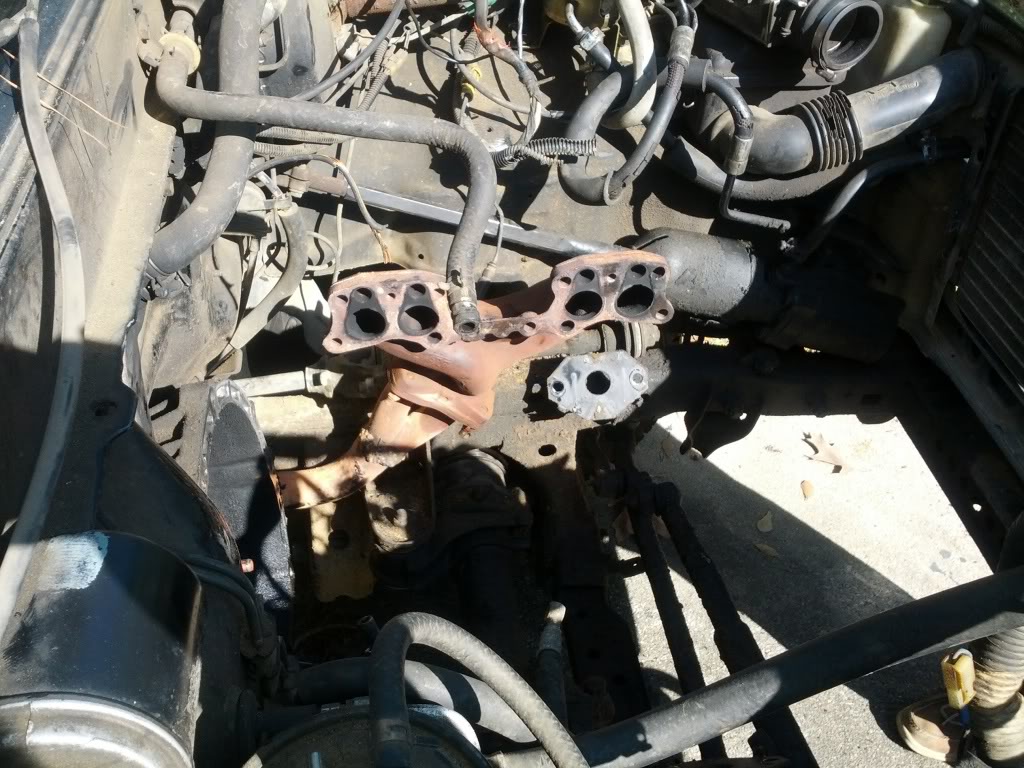
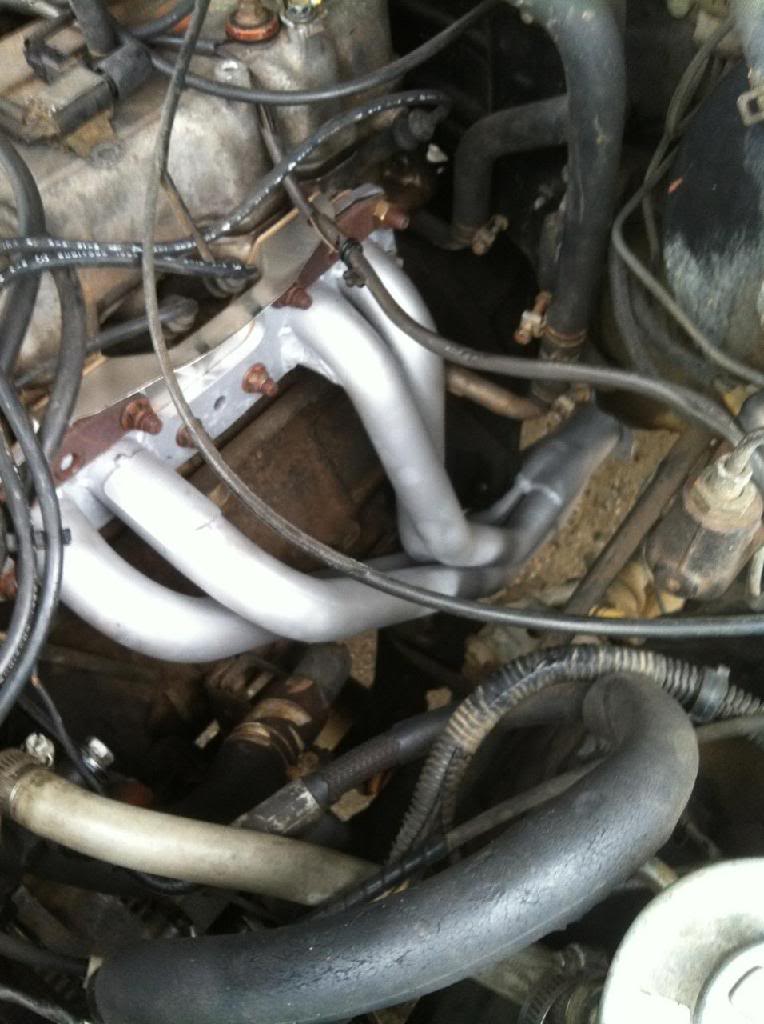
This is one of the engine bay, and my beautifully orange header. I'd like to get an LCE one when I can afford it, but that time is not now.
And now we got started on getting the other trucks engine out.
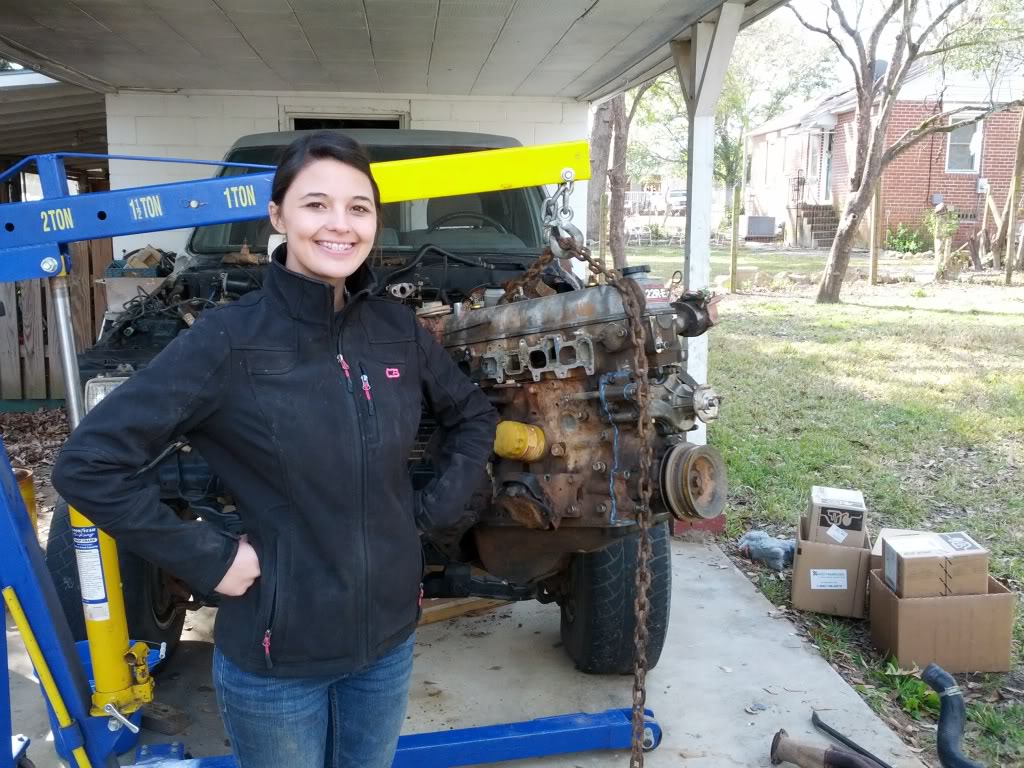
And then it was out. The girlfriend wanted her picture with it. She actually took the manifold off for me, which was pretty cool.
And the BING, BANG, BONG! One clutch kit and flywheel resurfacing later, it's in Black Beauty.
That's all I took for the engine swap, didn't feel the need to take a picture every minute with the buttoning up portion. Word to the wise though, once you pull out your 300k injectors, put new seals on them. Truck ran like crap when I first started it, and I was bummed at first, but it turns out that the EGR valve that connects to the manifold was missing a bolt and the injector seals were bad. Now this was some time ago, but I also just set the timing by feel, so does anyone think I'll run into any problems with that?
First off, here are a few pictures of the engine swap and getting it done up. The first one is right after the engine came out. The man in the picture is my grandfather, he helped me to get it out as it clung to the transmission.

A picture of what caused all this...

This is one of the engine bay, and my beautifully orange header. I'd like to get an LCE one when I can afford it, but that time is not now.

And now we got started on getting the other trucks engine out.

And then it was out. The girlfriend wanted her picture with it. She actually took the manifold off for me, which was pretty cool.

And the BING, BANG, BONG! One clutch kit and flywheel resurfacing later, it's in Black Beauty.

That's all I took for the engine swap, didn't feel the need to take a picture every minute with the buttoning up portion. Word to the wise though, once you pull out your 300k injectors, put new seals on them. Truck ran like crap when I first started it, and I was bummed at first, but it turns out that the EGR valve that connects to the manifold was missing a bolt and the injector seals were bad. Now this was some time ago, but I also just set the timing by feel, so does anyone think I'll run into any problems with that?
08-02-2013, 05:36 AM
#12
Registered User
Thread Starter
Oil Leaks
O em gee! An oil leak!
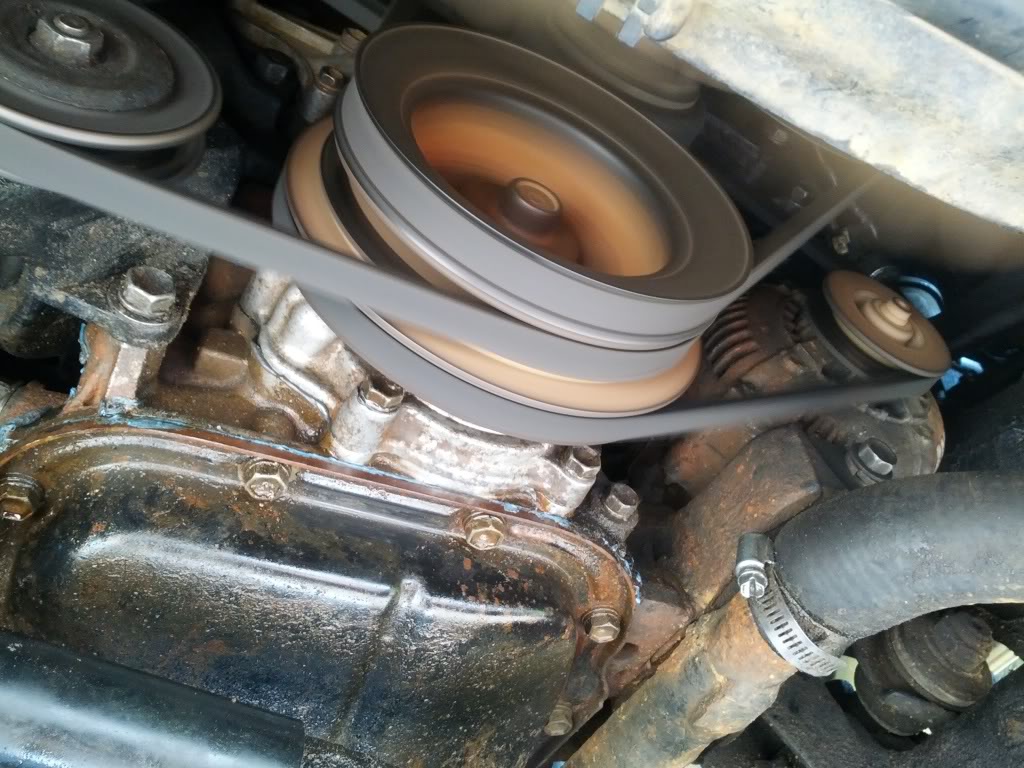
Guess it's time to get the tools and get to work. To get off my crank pulley, I used just my 1/2" drive ratchet and it came right off. But put it back on with your torque wrench at the specified 116 ft. lb.s or whatever it is. Because I'm not just some nerd that knows this from 3 months ago off the top of my head or anything.
Then I pulled off the pulley and stuffed my accessory belts out of the way, like so.
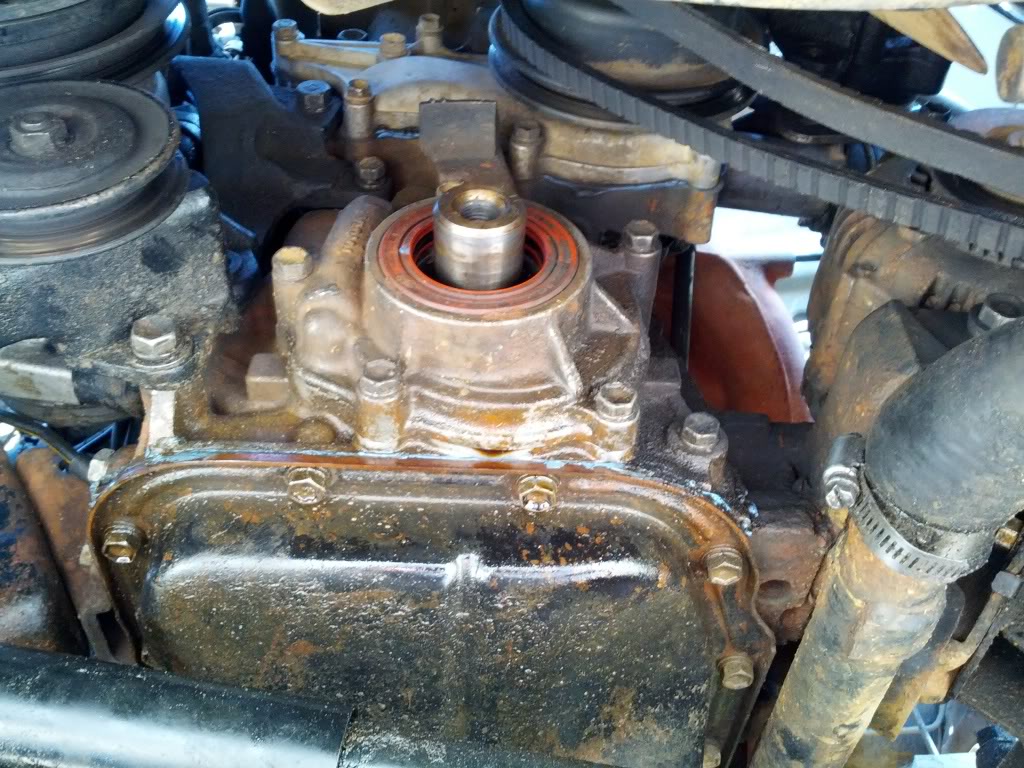
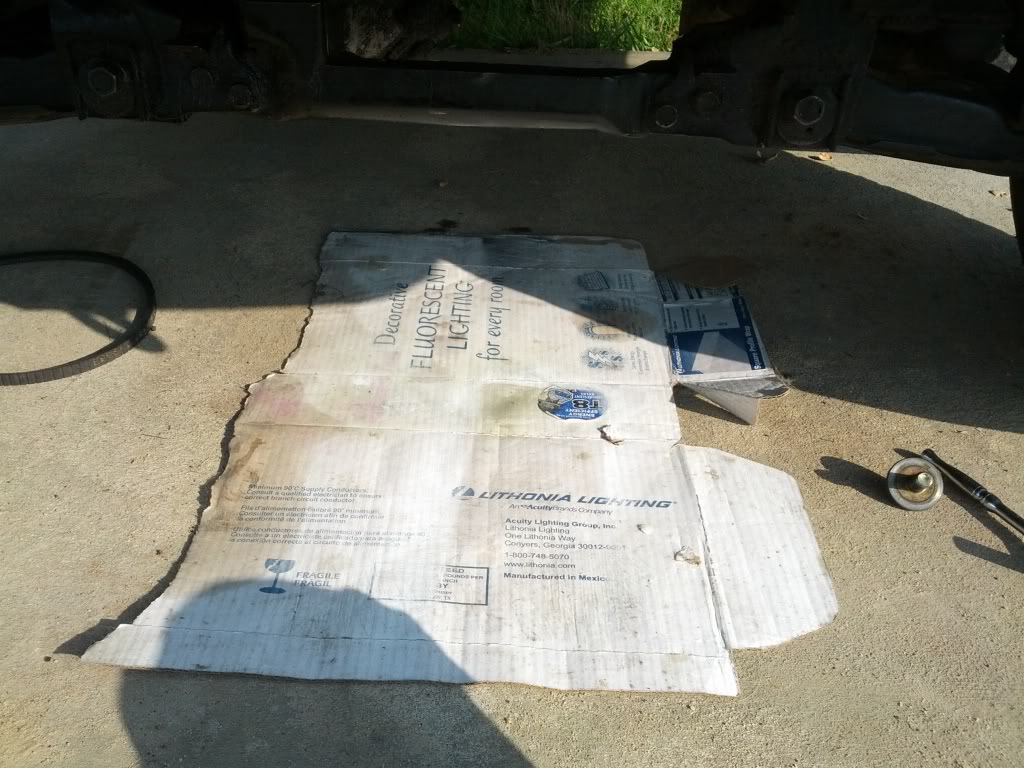
I then loosened up the oil pump bolts with this under it to catch any and all spillage.
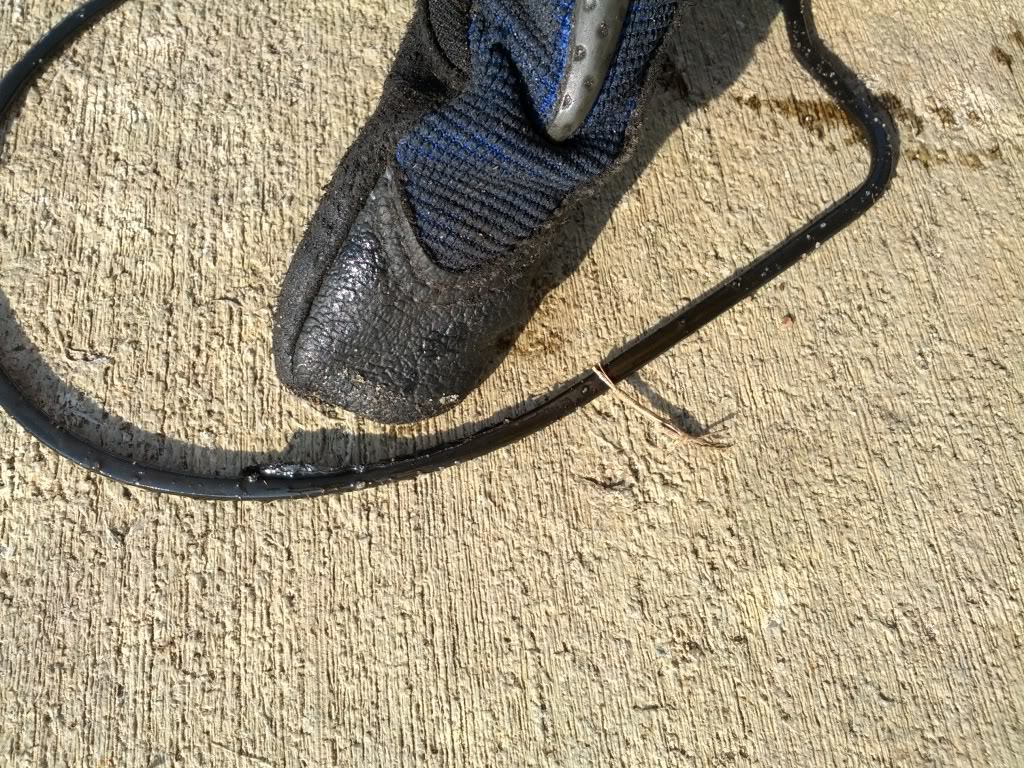
And then reminded myself why I was doing this, because I was a little tired.
This must be the problem!!!
Get a hammer and a flat stock of wood to install your new front main that you're installing because you took off your crack pulley and if you're like me, put a thinny thin thin layer of RTV on the oil pump gasket just to tell it to seal perfect. I'm sure it's somewhat unneeded but I did it anyway. Then as I said before, torque your things that need torque! And then... CHECK FOR LEAKS!
And you're done! Now pull out you're front diff and do your oil pan gasket.
  A lot of folks say you can just undo the motor mounts and jack up the engine, to which I agree, but the room you gain from pulling your diff makes it worthwhile to me. Also helped me find that my passenger side axle was leaking some fluid, so I traded diffs with #2, as is hopefully shown in my post to follow.

Guess it's time to get the tools and get to work. To get off my crank pulley, I used just my 1/2" drive ratchet and it came right off. But put it back on with your torque wrench at the specified 116 ft. lb.s or whatever it is. Because I'm not just some nerd that knows this from 3 months ago off the top of my head or anything.

Then I pulled off the pulley and stuffed my accessory belts out of the way, like so.

I then loosened up the oil pump bolts with this under it to catch any and all spillage.

And then reminded myself why I was doing this, because I was a little tired.

This must be the problem!!!

Get a hammer and a flat stock of wood to install your new front main that you're installing because you took off your crack pulley
and if you're like me, put a thinny thin thin layer of RTV on the oil pump gasket just to tell it to seal perfect. I'm sure it's somewhat unneeded but I did it anyway. Then as I said before, torque your things that need torque! And then... CHECK FOR LEAKS!


And you're done!
Now pull out you're front diff and do your oil pan gasket. A lot of folks say you can just undo the motor mounts and jack up the engine, to which I agree, but the room you gain from pulling your diff makes it worthwhile to me. Also helped me find that my passenger side axle was leaking some fluid, so I traded diffs with #2, as is hopefully shown in my post to follow.
Last edited by 87blackbeauty; 01-15-2014 at 05:47 AM.
08-02-2013, 05:46 AM
#13
Registered User
Thread Starter
4 Wheel Drive
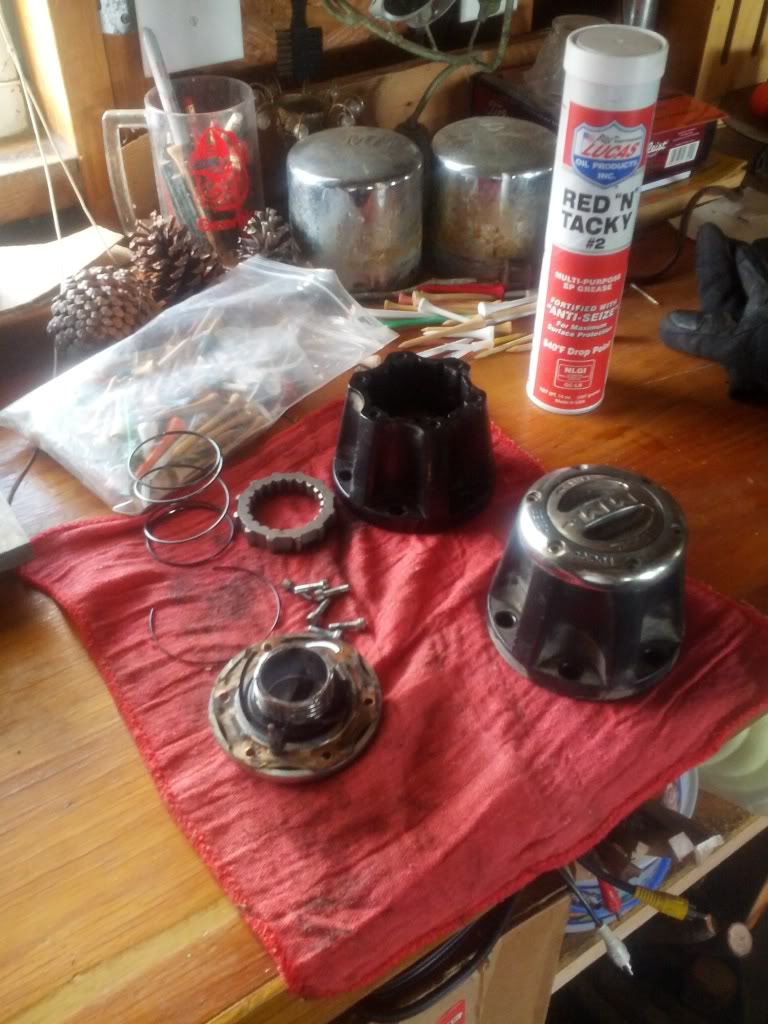
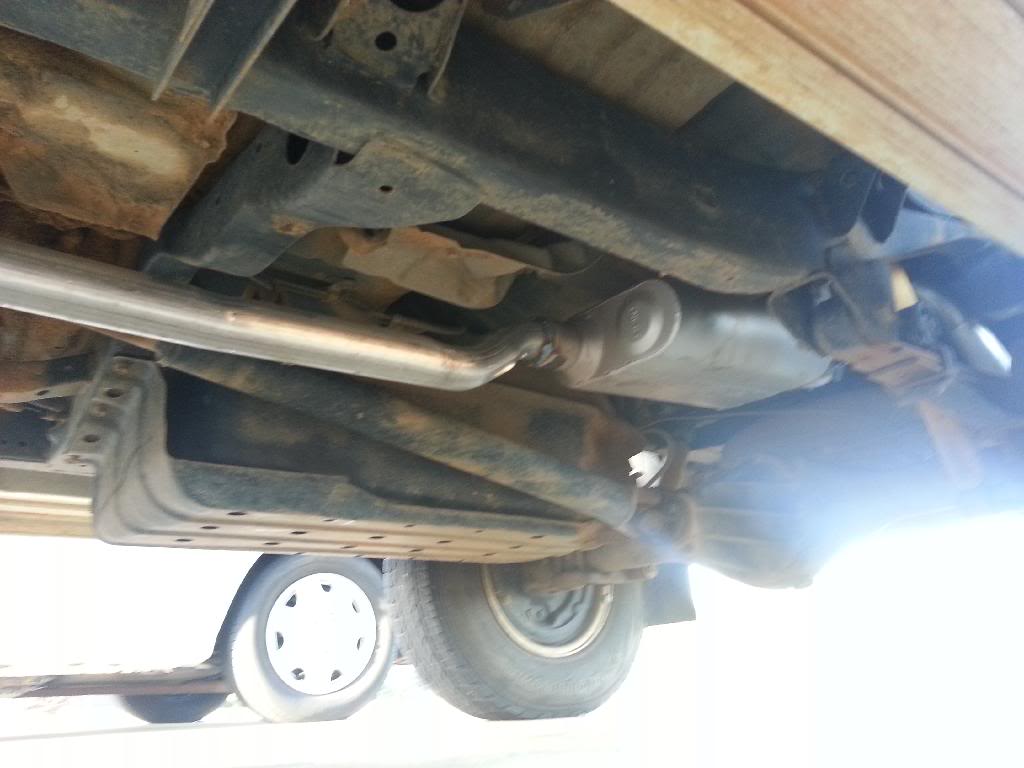
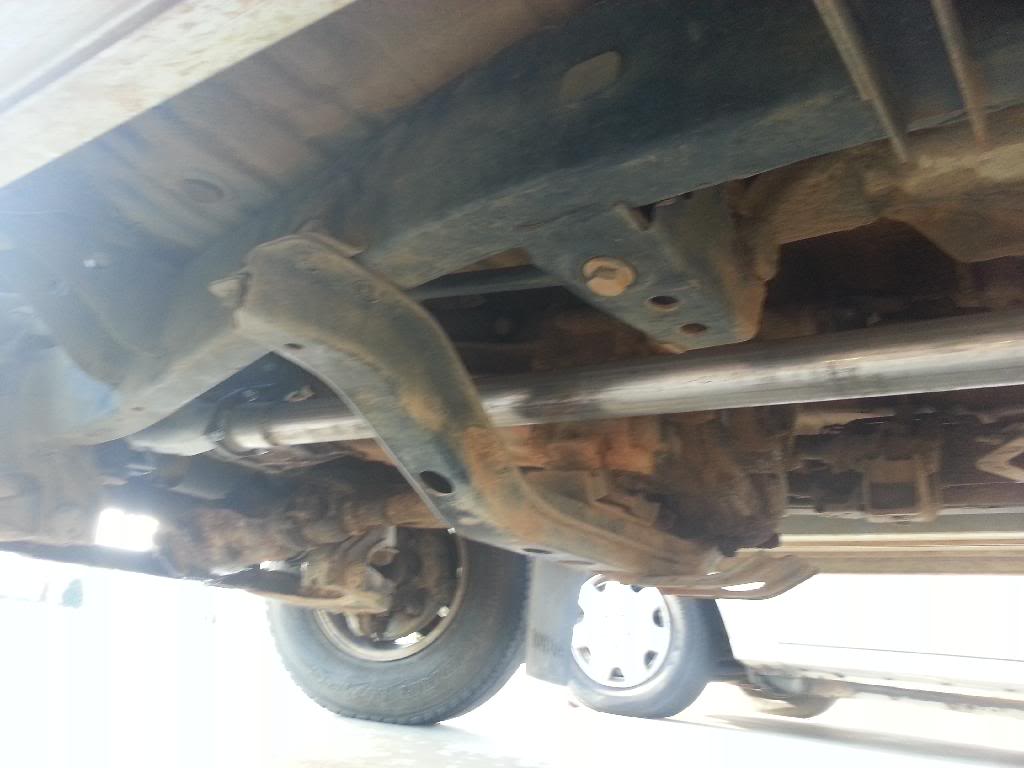
At this point, I needed something to do, So I fixed my 4 Wheel Drive system. First thing I did was remove (for now) my Aisin hubs and replace them with these sweet easy to use long body hubs. This picture is from when I regreased them.
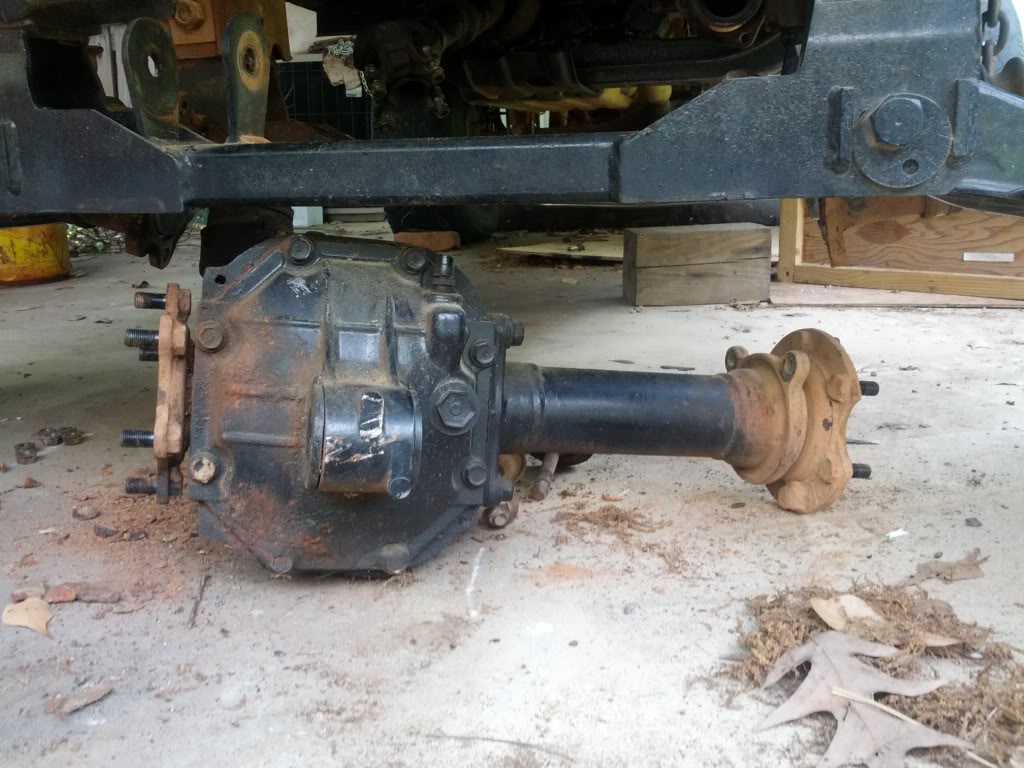
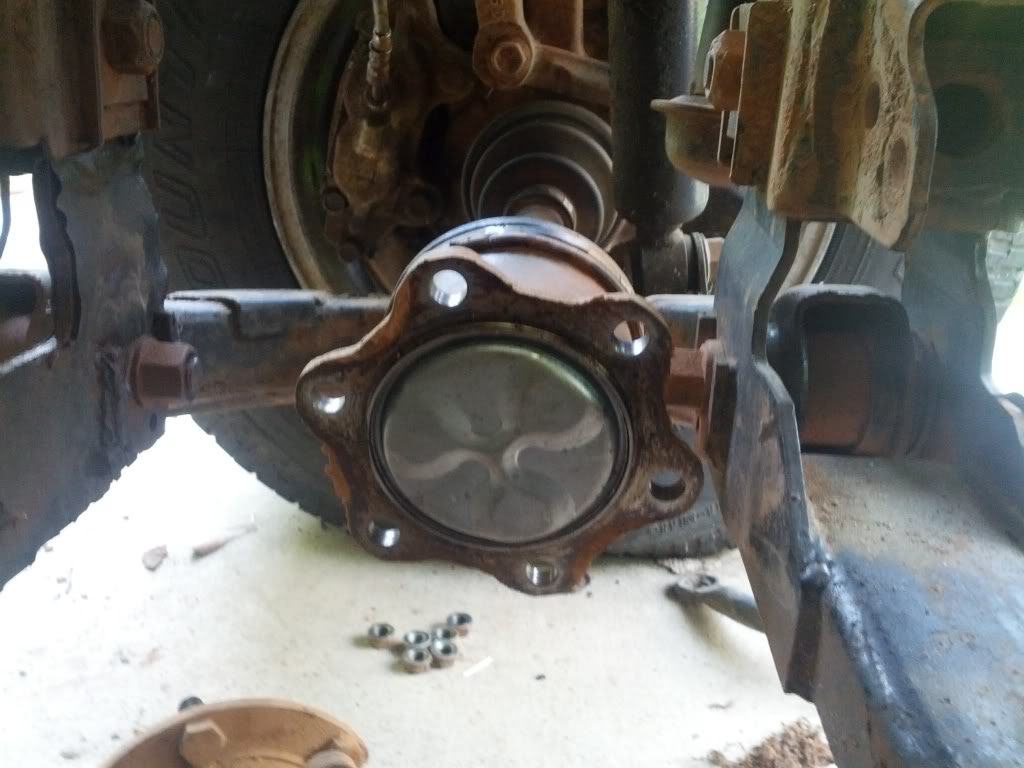
And now if you're reading this thread and not just thumbing through the pictures, you'll remember that my pas. side axle seal in the front diff is leaking, and has up and down play. No es bueno! So I went over to #2, which is rapidly becoming a parts truck, and took this out of it.
As the truck sits, the CV's are held up by the control arms to some extent, is there anything I can do about that while I wait until I put a new diff in, though I may wind up parting out this vehicle, still undecided. Here'sa picture of the angle, not too bad if you ask me, I think they're holding themselves up.
Anyway, that's all for now, I'll come back later with an update, but right now I'm down in Florida enjoying Mexico Beach. So thanks for reading what I've got so far, and stay tuned for more of my broke and busted budget building!

And now if you're reading this thread and not just thumbing through the pictures, you'll remember that my pas. side axle seal in the front diff is leaking, and has up and down play. No es bueno! So I went over to #2, which is rapidly becoming a parts truck, and took this out of it.

As the truck sits, the CV's are held up by the control arms to some extent, is there anything I can do about that while I wait until I put a new diff in, though I may wind up parting out this vehicle, still undecided. Here'sa picture of the angle, not too bad if you ask me, I think they're holding themselves up.

Anyway, that's all for now, I'll come back later with an update, but right now I'm down in Florida enjoying Mexico Beach. So thanks for reading what I've got so far, and stay tuned for more of my broke and busted budget building!
12-11-2013, 10:19 AM
#14
Registered User
Thread Starter
Hello Yotatech, I'm looking for a little guidance here if possible. The truck is running pretty good, but I'm contemplating a different engine. The original one actually, since an actual swap is still light years away. I started thinking that rebuilding the engine that was originally in here would be cool, and I mean all out, a full on Chefyota4x4-esque rebuild (As most of us have read atk least page one of his build). Just without the machinist issues. I have one that I like that has built plenty of Toyota R engines though. Anybody have any opinion on the subject?
Oh yeah, got a little offroading done, for hunting. hahaha. I must admit, fully stock, with just the sway bar removed, I'm impressed with this IFS front end, as far as IFS front ends go. I'm putting the sway bar back in soon though, I plan to buy quick disconnects. No pictures since I was busy hunting really, but use your imagination for slightly better than stock IFS flex.
Oh yeah, got a little offroading done, for hunting. hahaha. I must admit, fully stock, with just the sway bar removed, I'm impressed with this IFS front end, as far as IFS front ends go. I'm putting the sway bar back in soon though, I plan to buy quick disconnects. No pictures since I was busy hunting really, but use your imagination for slightly better than stock IFS flex.
Last edited by rworegon; 08-21-2014 at 03:32 PM.
01-03-2014, 05:34 AM
#15
Registered User
Thread Starter
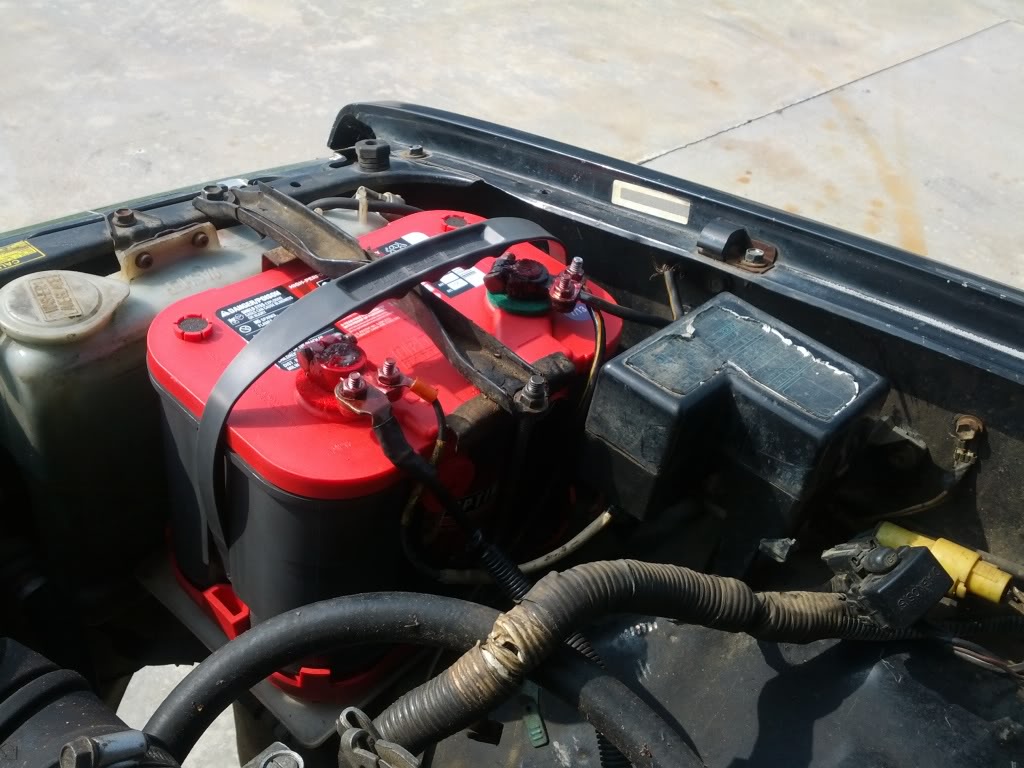
What's up guys! Small update, more really soon! This really is so I can see if I can pay pictures from my phone. I installed an optima red top probably the day after my last post or the oil pump stuff, quite a while ago, but I had to because my battery was needed in what I thought was my boat so it could leave forever, but that's a different story and I can vent elsewhere. So... Optima red top!
 01-03-2014, 06:02 AM
#16
Registered User
Thread Starter
That seemed to work, so I'll continue. Here's something cool.
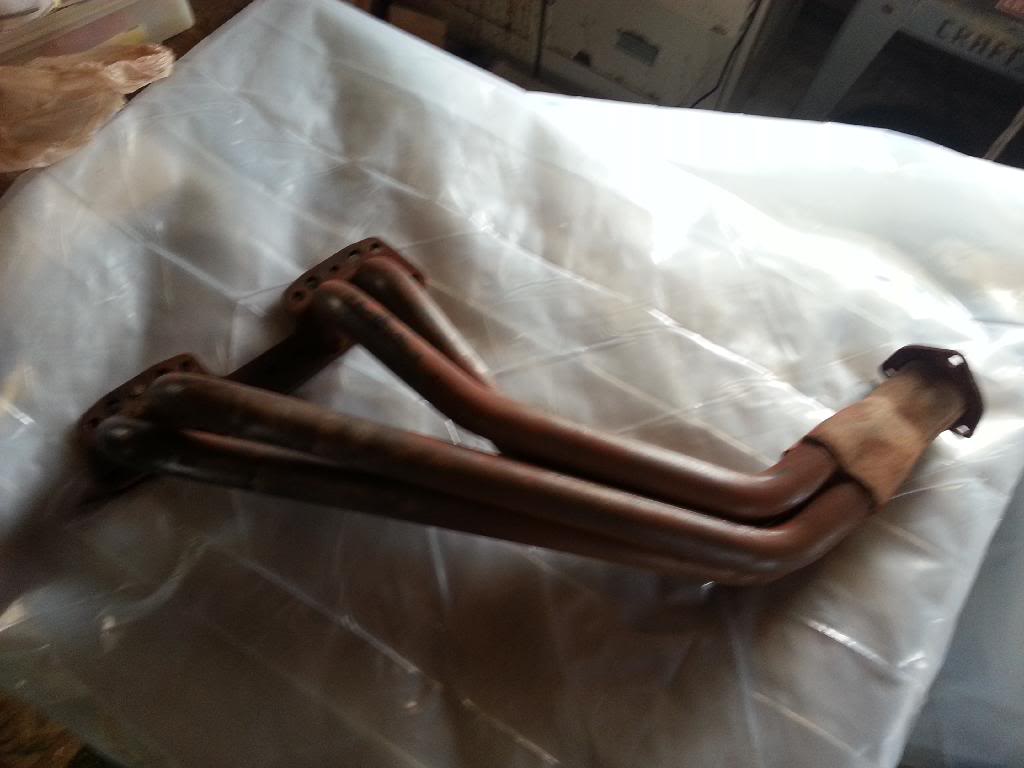
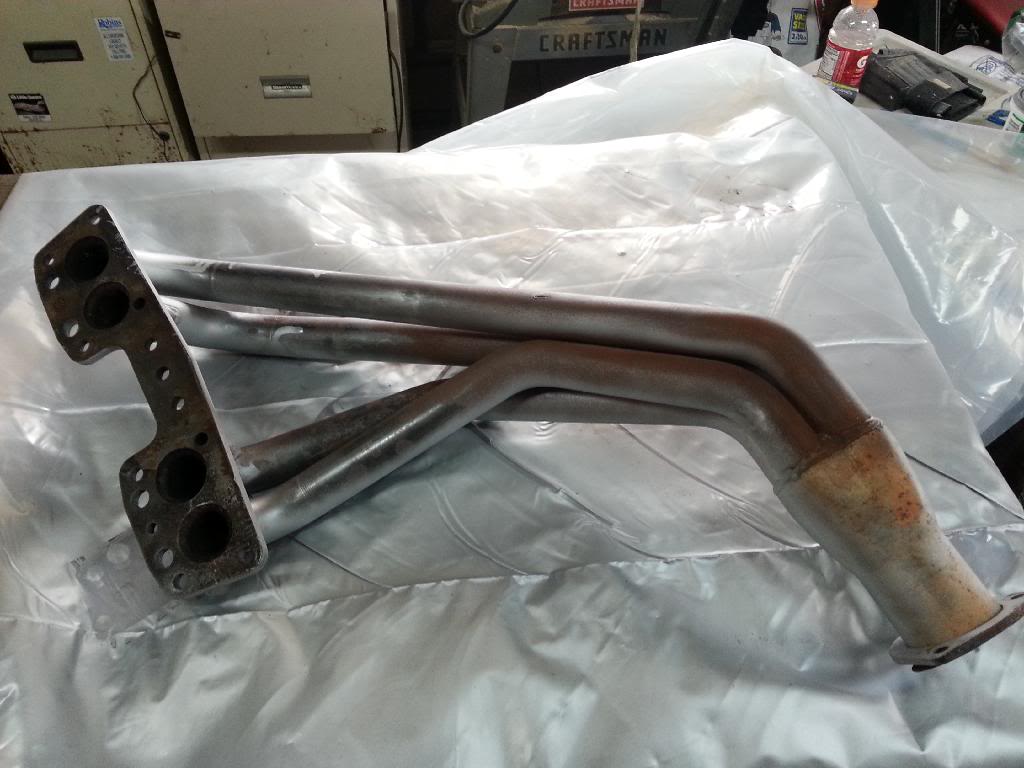
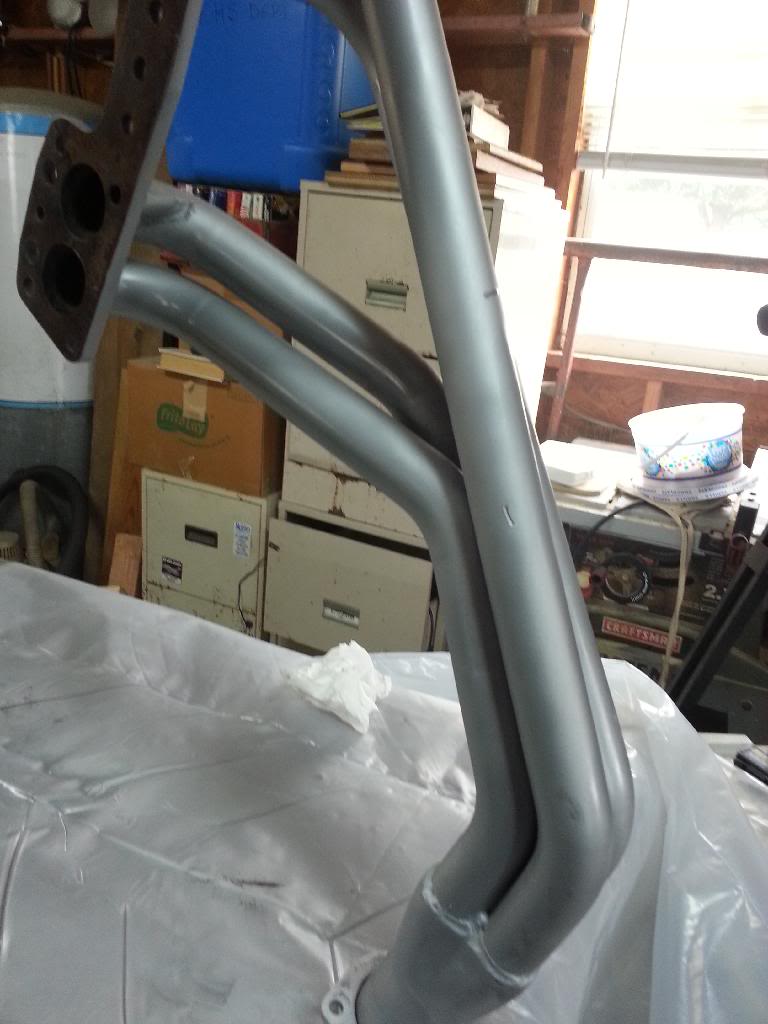
Cool, right? Idk, maybe I'm just easily excited... but the reason I'm excited is that this thing cost me $6.2x total and the header looks new. It's a Pacesetter and I've seen mixed reviews, but I'm going to give it a go. I was ready for a new exhaust anyway so this was awesome! Anyway, I know that this requires very little explanation so I'll just post more pictures.

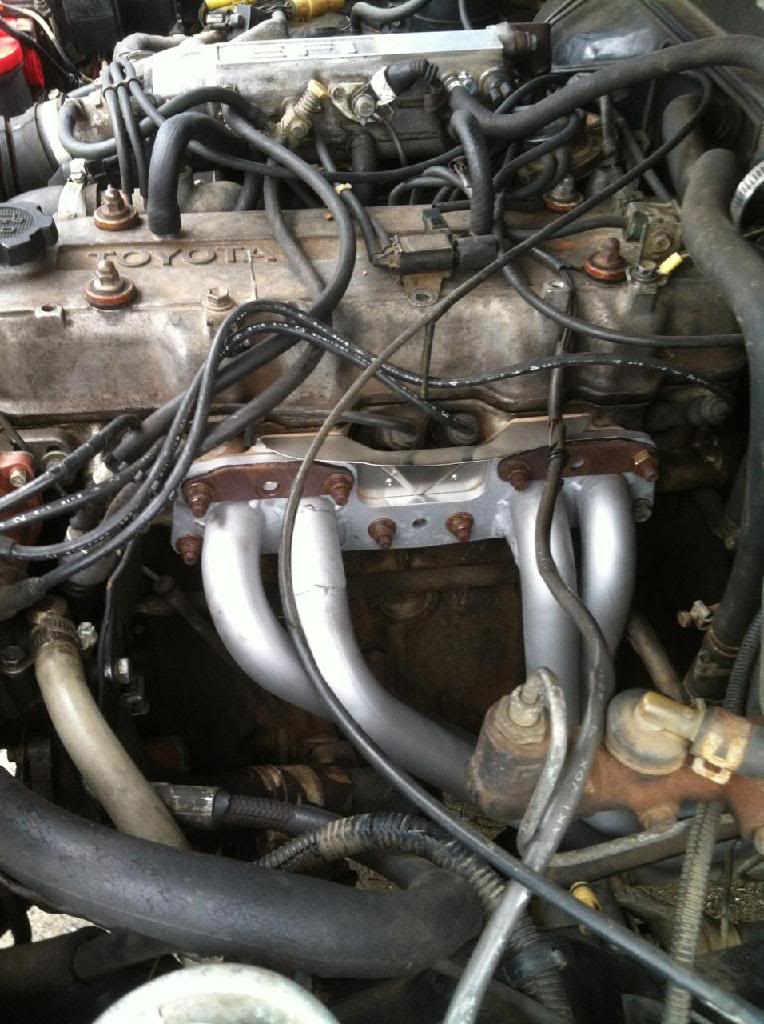
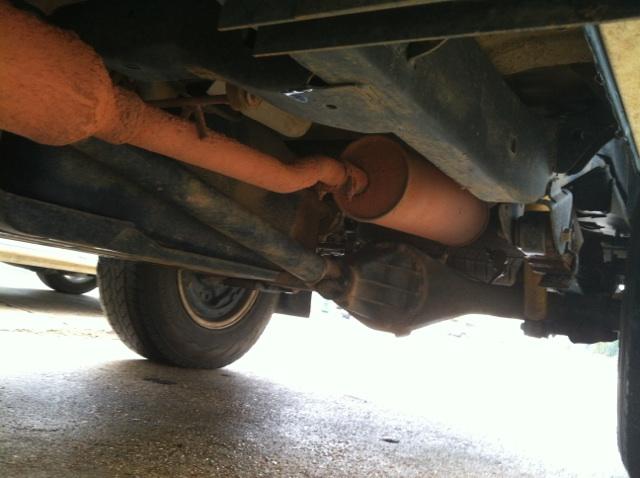
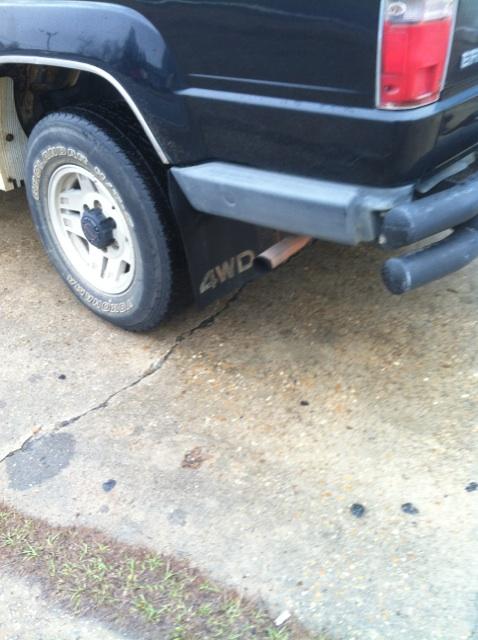
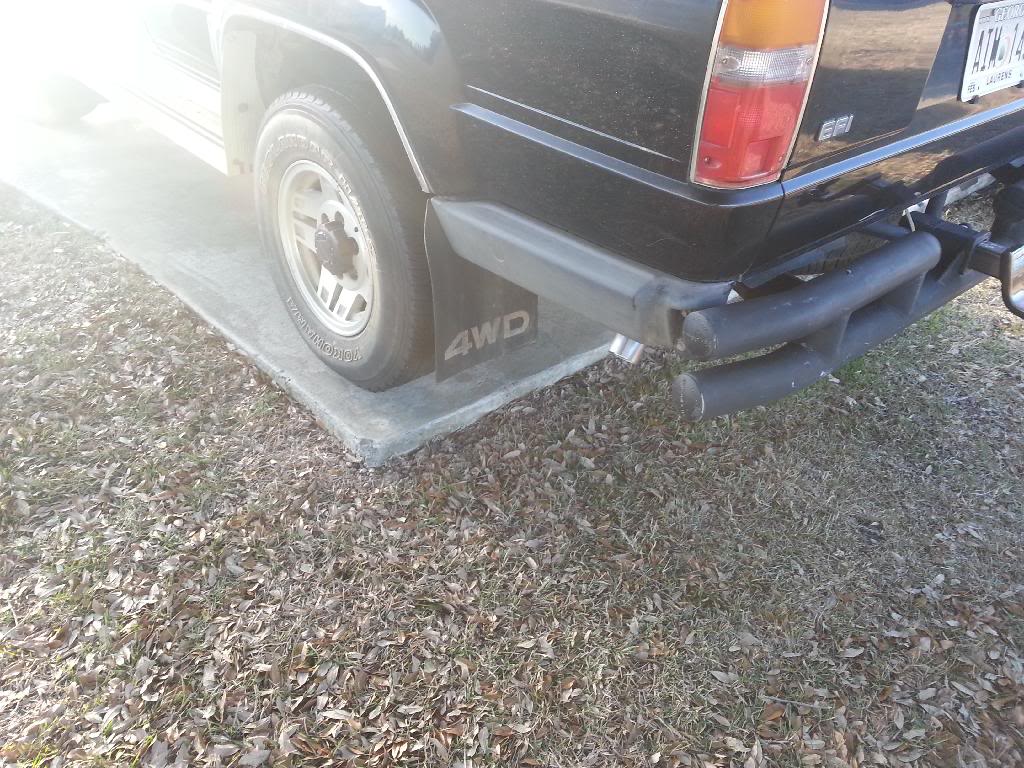
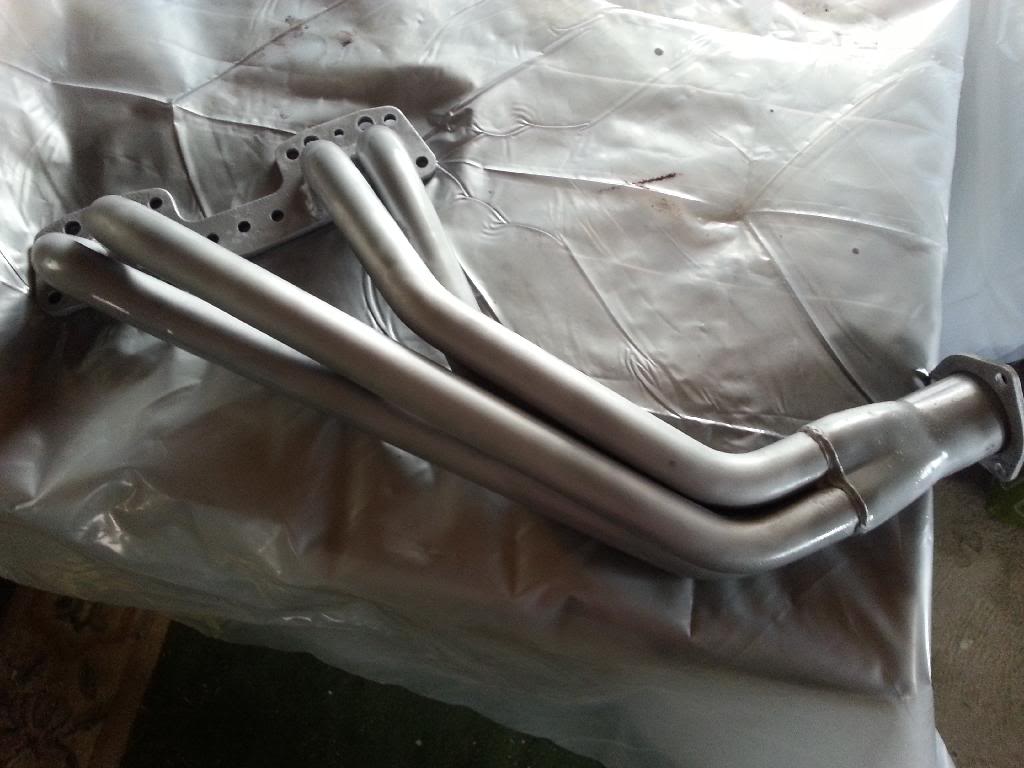
How about it guys? Yay or neigh? It sounds really cool, I gotta say I've always loved the 22-RE's idle through a flowmaster 40 series. It's kinda loud so I may be going back to have it quieted down some. Something else I'm bothered by is that you may notice the lack of O2 sensor. Anyone know if I can buy just the pipe with the O2 bung in it that usually comes with a header new? Or can I just bung it myself? Idk... I'm still too new to this stuff to be honest. I didn't understand what the exhaust shop guy was telling me. I have an O2 sensor and he had a bung to weld on, but he said there's one more part I needed from my original manifold. Really confusing. I thought he'd just bung it, I screw in the new Bosch O2 I bought, "bang, bang, bang, I'm back before weeks end, we spend the money. How is this a bad plan?" King's to you if you get the reference. But really, what am I missing here? And a final picture to bother you with...
And thank you to anyone that reads this, reply or not. It's just cool to me to see you guys are interested, even a little. hahaha
! EDIT !
Ignore the hardware for the header in that picture. I'm getting new hardware from Toyota today. In about 2 hours hopefully. They said lunchtime. And I'm east coast.


Cool, right? Idk, maybe I'm just easily excited... but the reason I'm excited is that this thing cost me $6.2x total and the header looks new. It's a Pacesetter and I've seen mixed reviews, but I'm going to give it a go. I was ready for a new exhaust anyway so this was awesome! Anyway, I know that this requires very little explanation so I'll just post more pictures.


How about it guys? Yay or neigh? It sounds really cool, I gotta say I've always loved the 22-RE's idle through a flowmaster 40 series. It's kinda loud so I may be going back to have it quieted down some. Something else I'm bothered by is that you may notice the lack of O2 sensor. Anyone know if I can buy just the pipe with the O2 bung in it that usually comes with a header new? Or can I just bung it myself? Idk... I'm still too new to this stuff to be honest. I didn't understand what the exhaust shop guy was telling me. I have an O2 sensor and he had a bung to weld on, but he said there's one more part I needed from my original manifold. Really confusing. I thought he'd just bung it, I screw in the new Bosch O2 I bought, "bang, bang, bang, I'm back before weeks end, we spend the money. How is this a bad plan?" King's to you if you get the reference. But really, what am I missing here? And a final picture to bother you with...

And thank you to anyone that reads this, reply or not. It's just cool to me to see you guys are interested, even a little. hahaha
! EDIT !
Ignore the hardware for the header in that picture. I'm getting new hardware from Toyota today. In about 2 hours hopefully. They said lunchtime. And I'm east coast.
Last edited by 87blackbeauty; 02-14-2014 at 06:45 PM.
01-03-2014, 09:44 AM
#17
Registered User
Thread Starter
Well, no Toyota hardware for my manifold yet, but I did get a cool little welder today!
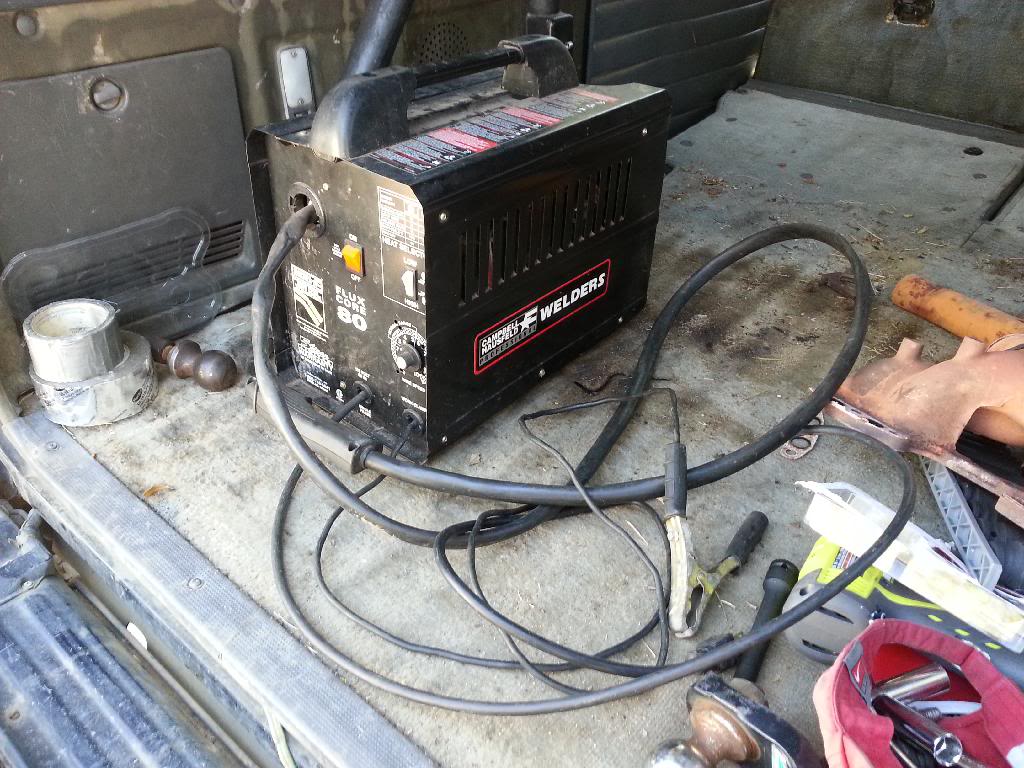
It's not much, but it's a MIG machine and I've never welded before so I'm sure it's a great starter machine.

It's not much, but it's a MIG machine and I've never welded before so I'm sure it's a great starter machine.
01-15-2014, 05:42 AM
#18
Registered User
Thread Starter
IFS Flex
Just some pictures of sweet IFS flex. Yes, that was sarcasm. I like the rear though.
Overview shot plus rear tuck!
Front
Closeup of lower control arms
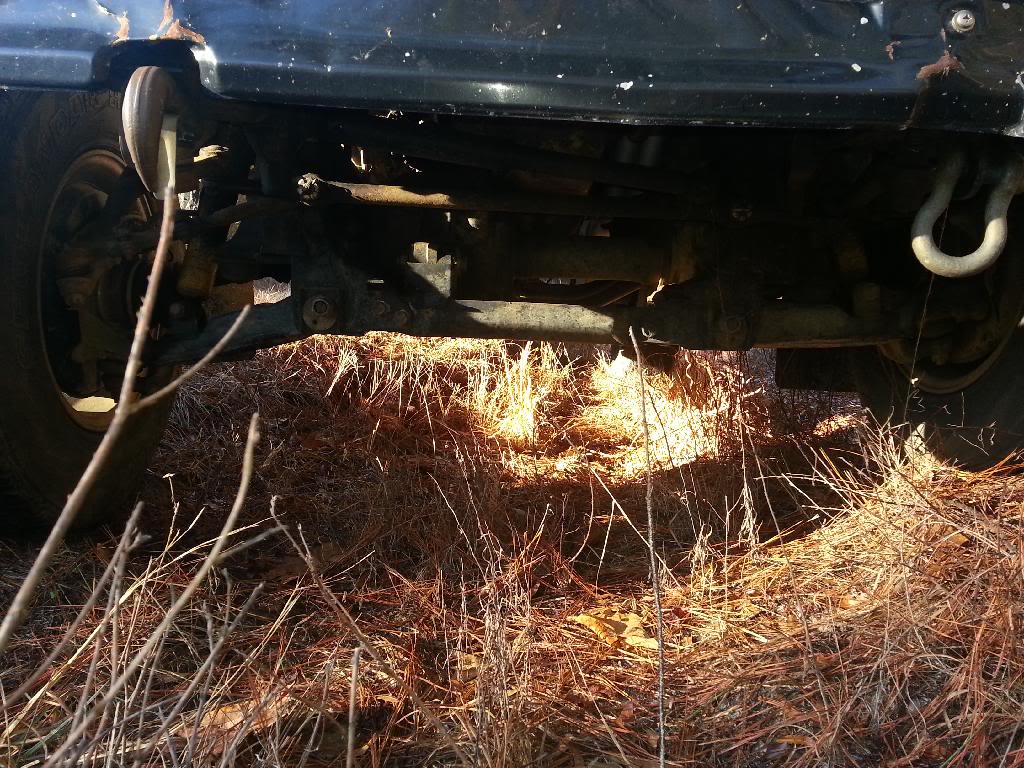
Overview other side and rear droop

And finally rear end overview
So there's some flex pic.s. Anybody likey? Anybody even reading? I probably post too many pictures for anybody to even consider reading.
Overview shot plus rear tuck!

Front

Closeup of lower control arms

Overview other side and rear droop

And finally rear end overview

So there's some flex pic.s. Anybody likey? Anybody even reading? I probably post too many pictures for anybody to even consider reading.
01-28-2014, 07:03 AM
#20
Registered User
Thread Starter
Mere moments ago I test fit my new rims. Not sure if I mentioned in any above posts, but I have a set of 05 trd prerunner rims to go on. They're 16x8's as opposed to the good ole sr5 15x7's on it currently.
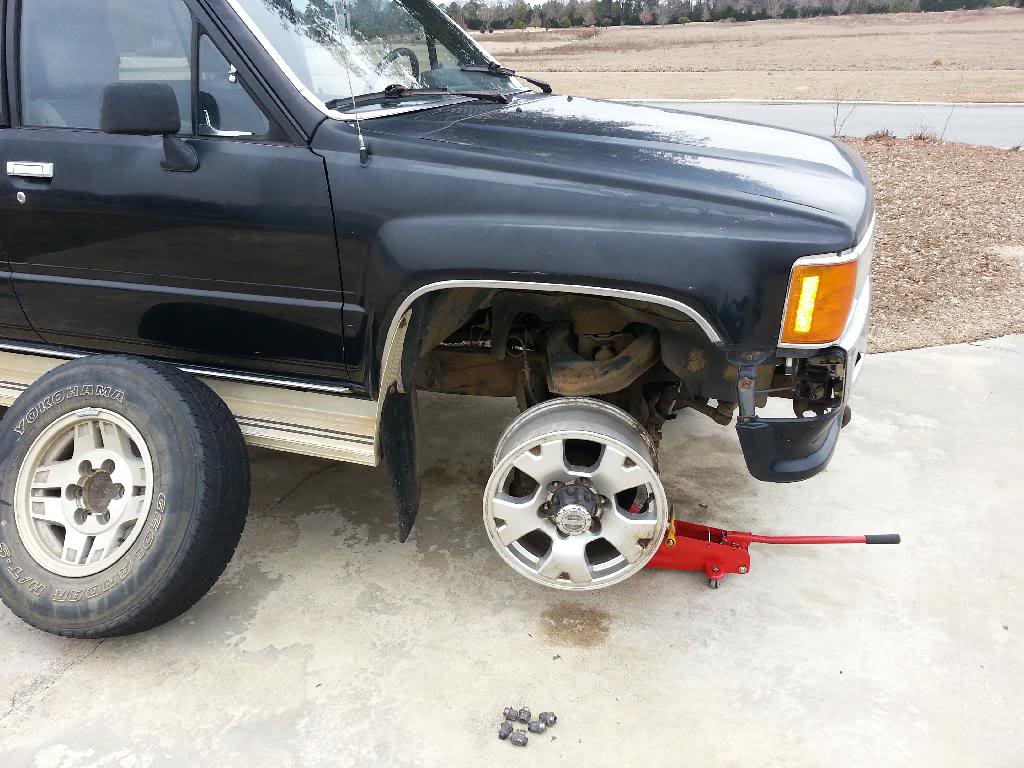
The only fitment issue is that the wheel weight will contact my tie rod end. I plan to run the minimum wheel spacer I can get away with, but that may be determined later. I'm not sure at all about it.
However, I was thinking that even though a 1" spacer will probably be enough, maybe 1.5" will be better for my comfort while off-road and under any heavy cornering, which I don't do because I have no sway bar (which feels NO different). I'm just not sure if 1.5" will be too much when I look down the side of the truck and see wheel sticking out. I also don't want body damage when the rear wheels tuck. I plan to talk to the wabbit before I order wheel spacers but I have seen next to no-one running these rims on these old trucks, and I don't see why? They're both hub centric rims off a Toyota, made of lightweight aluminum, and the 16" rim is easier to get tires for.
I'll also be getting the tire shops idea on it if they'll talk to me. I'm going by there sometime this week, because one of my friends wanted me to help him out with tire choice on his rsx-s. It's an awesome car too, hot hatches are fun. I'll be sure to post a pic even though it's off topic. I mean, the rims he got have a 3" lip. hahaha
Edit:
Does anyone else notice that those rims look tiny with no rubber on them? Optical illusion? hahaha
Last edited by 87blackbeauty; 01-28-2014 at 04:05 PM.


