Logan's '81 Pickup Build Thread
 12-18-2012, 04:52 PM
#81
Registered User
Thread Starter
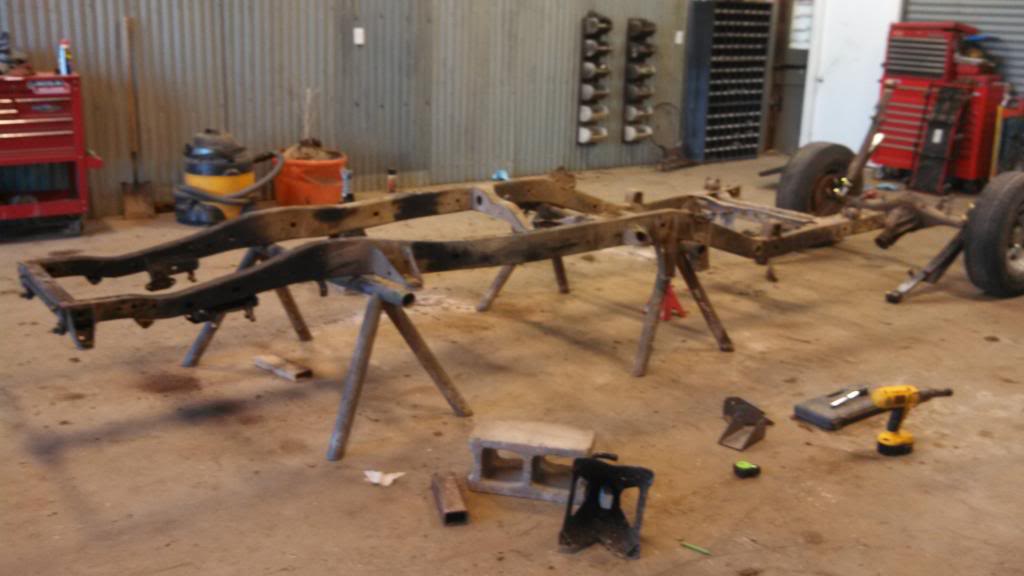
Change of plans. Moving the first gen cab over to the 86 frame, then SAS'ing it and putting the 63's on there. The frame has almost no rust, and is overall in real good condition.

Also, I've decided I really like Toyota bench seats, and so I'm going to get this one reupholstered and put it in my truck.


Also, I've decided I really like Toyota bench seats, and so I'm going to get this one reupholstered and put it in my truck.

 01-06-2013, 08:11 AM
#83
Registered User
Thread Starter
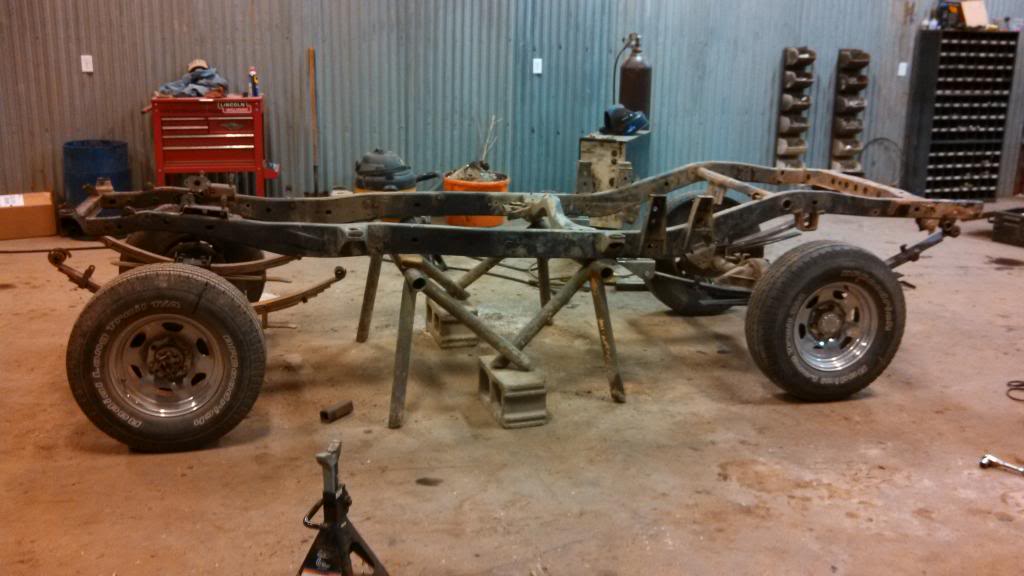
All wiring harnesses, transmission, transfer case, and crossmember are out. Now I just need to strip everything i need out of the engine bay and pull the engine, and then I can start prepping this frame for use.
I need to cut off the IFS, plate this weird indentation at the back of the frame (I've got no idea what it is, it's not bent, but it doesn't look like it's supposed to be there.), Make new hangars for front and rear, and figure out where I'm going to run tube through the frame for the front shackles. After I've got all that mounted I can paint the frame and start figuring out how I'm going to mount the cab on my 81 to that frame.
I need to cut off the IFS, plate this weird indentation at the back of the frame (I've got no idea what it is, it's not bent, but it doesn't look like it's supposed to be there.), Make new hangars for front and rear, and figure out where I'm going to run tube through the frame for the front shackles. After I've got all that mounted I can paint the frame and start figuring out how I'm going to mount the cab on my 81 to that frame.
01-06-2013, 11:50 AM
#84
Registered User
for converting to turbo theres a guy on here, his name is "toyotahonda", he has a 22rte that make 300 on a dyno and i think his is a daily driver
he hooked a honda ecu to to the engine and he swears by it more than megasquirt. hes currently build a 2.6l twin turbo 22rte pretty crazy looking.
https://www.yotatech.com/forums/f115...up-22r-262033/
he hooked a honda ecu to to the engine and he swears by it more than megasquirt. hes currently build a 2.6l twin turbo 22rte pretty crazy looking.
https://www.yotatech.com/forums/f115...up-22r-262033/
 yeah! nothing like solving a wiring nightmare twice
01-07-2013, 07:16 PM
yeah! nothing like solving a wiring nightmare twice
01-07-2013, 07:16 PM
#89
Registered User
Thread Starter

It's really weird seeing this, I used to have almost a whole truck here. I sure wish we had a working impact, cause it was a pain to unbolt all the body mounts by hand.

Didn't bother unbolting all the accessories this time, and cut most of the hoses with my knife. WAY faster. Also, turbo on the motor is bad, so that's a good enough excuse for me to get a good turbo and custom manifold. That's still a ways away tho.
Clutch was also toast, and coolant was rusty, from the rad I think. Is there a way I can use a normal radiator with a turbo?
I thought about mounting my 81 cab on this frame temporarily, so I could figure out if I have room for the engine, but I think I'll just wing it, since I may have to make new motor mounts if I make as much power as planned.
01-13-2013, 07:40 AM
#90
Registered User
Thread Starter
Most of the updates are on pirate from now on.
But so far this week I've chopped all the IFS off, ground everything down smooth, and am going to make frame plates and do some other stuff today.
I've got over 12 hours of work in so far this week, most of it being yesterday. I worked on it just about 8 hours.
But so far this week I've chopped all the IFS off, ground everything down smooth, and am going to make frame plates and do some other stuff today.
I've got over 12 hours of work in so far this week, most of it being yesterday. I worked on it just about 8 hours.
01-18-2013, 06:31 PM
#91
Registered User
Thread Starter
Actually got something done today:
Best thing about having a bare frame... i can flip it upside down and do all my work on it.

Ready for tacking. I finally started using a clamp after I moved it every time I went to hold it for welding after getting it in the perfect spot...
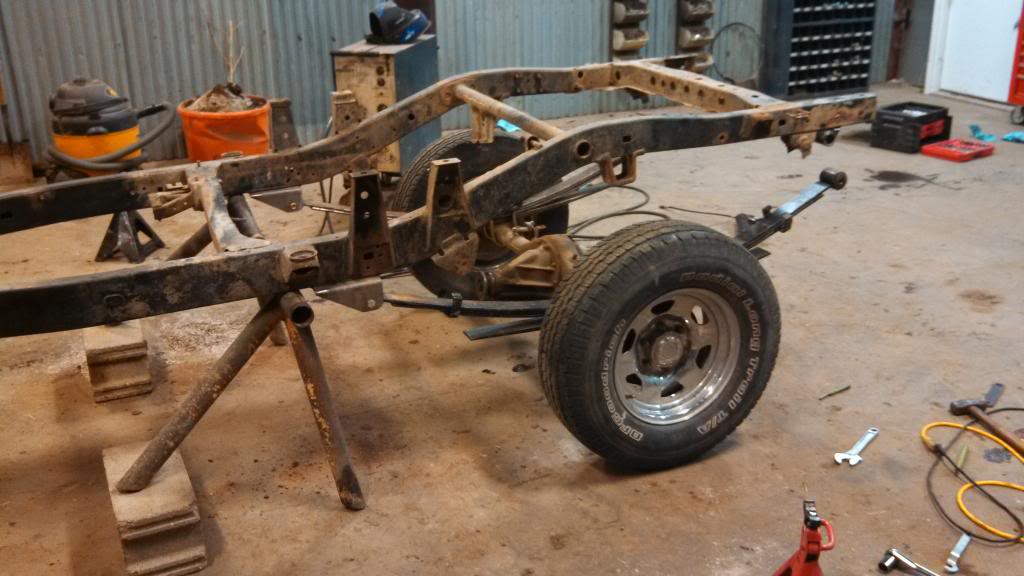
That's about the ride height I'll have in the rear.
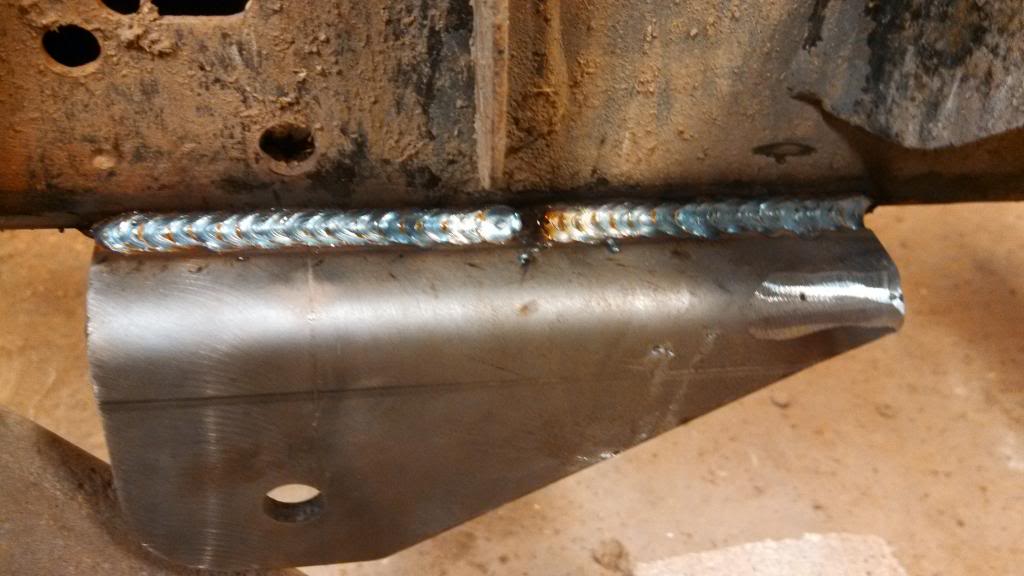
I think these should hold nicely.
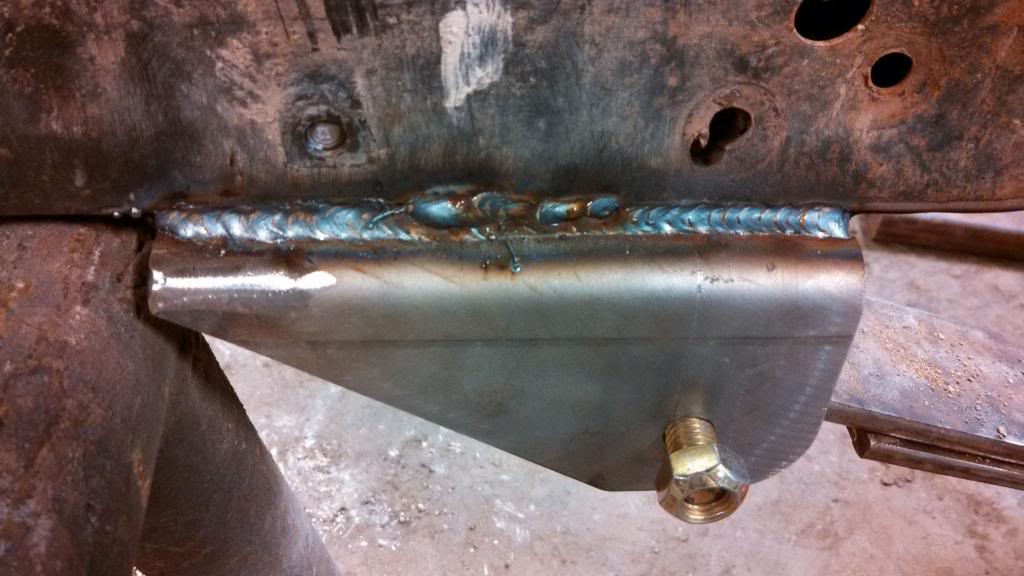
Was a little hot and burned through the inner frame rail. But a PO had bolted something through the frame, and it pulled the inner rail in a bit, so I'm going to plate over it, and weld the hanger to the plate.
Final ride height should be something like this, but the rear will be a bit higher (no shackles in pic, and the front should go down a bit for the engine, so I think the back wont be too far off from the front.
I still need to make spring clamps for the front, and change the bushings in one pack. It turns out the tubes I got for the frame shackles came with bushings (which I had bought a few weeks ago), and they're the same size as the rear spring eye. So I took the extras and ground them down so they'd fit in the spring.
Still need to make a front hanger, and put the shackle tubes in the frame, and make some shackles, then I can have this into a roller again. Once I get all the modifications done to the frame, I'm going to have it sandblasted and use POR 15 on it.
I need a job first though because I'm already really low on funds...
Best thing about having a bare frame... i can flip it upside down and do all my work on it.
Ready for tacking. I finally started using a clamp after I moved it every time I went to hold it for welding after getting it in the perfect spot...
That's about the ride height I'll have in the rear.
I think these should hold nicely.
Was a little hot and burned through the inner frame rail. But a PO had bolted something through the frame, and it pulled the inner rail in a bit, so I'm going to plate over it, and weld the hanger to the plate.
Final ride height should be something like this, but the rear will be a bit higher (no shackles in pic, and the front should go down a bit for the engine, so I think the back wont be too far off from the front.
I still need to make spring clamps for the front, and change the bushings in one pack. It turns out the tubes I got for the frame shackles came with bushings (which I had bought a few weeks ago), and they're the same size as the rear spring eye. So I took the extras and ground them down so they'd fit in the spring.
Still need to make a front hanger, and put the shackle tubes in the frame, and make some shackles, then I can have this into a roller again. Once I get all the modifications done to the frame, I'm going to have it sandblasted and use POR 15 on it.
I need a job first though because I'm already really low on funds...
01-24-2013, 05:22 PM
#92
Registered User
Thread Starter
[IMG] [/IMG]
[IMG] [/IMG]
Turned out looking alot better than I thought it would. A bit of grinding and all 4 pieces fit up almost exactly the same, with at most a 1/16" gap. Going to tack them all together real good and drill straight through all 4.
Used a stick of 3/8" x 4" bar stock, so due to size constraints I'm only putting two holes in it, 1.5" apart.
[/IMG][IMG]
[/IMG]Turned out looking alot better than I thought it would. A bit of grinding and all 4 pieces fit up almost exactly the same, with at most a 1/16" gap. Going to tack them all together real good and drill straight through all 4.
Used a stick of 3/8" x 4" bar stock, so due to size constraints I'm only putting two holes in it, 1.5" apart.
01-24-2013, 05:27 PM
#93
Registered User
I like all the room you seem to have there. Shop on property at home?
I see lots of OG fabbed stuff, stands benches. That shop got some soul to it.
Keep up the yota swapping action.
I see lots of OG fabbed stuff, stands benches. That shop got some soul to it.
Keep up the yota swapping action.
01-24-2013, 05:32 PM
#94
Registered User
Thread Starter
I only live a mile or so away though, so it basically is a shop at home, except I have to move most everything out at night, unless it's the weekend.
Edit: After reading through this whole thread my fabrication and welding skills have improved ALOT. And now I'm even more motivated to get this thing into a roller again.
Last edited by Logan81Pickup; 01-24-2013 at 05:56 PM.
01-25-2013, 03:18 PM
#95
Registered User
Thread Starter
Well, it took me 6 hours, but it's done. The inside pieces aren't perfect, but I was tired of working and it and just said ˟˟˟˟ it and burned them in best I could. It still bolts up fine and should hold up pretty good after I gusset it and get it welded on good. It will sit a little farther forward than in the pic though.
[IMG] [/IMG]
[IMG] [/IMG]
[IMG] [/IMG]
I ran out of gas at the very end though, so a few spots need ground and rewelded. I'm not really worried about strength, I had the heat cranked up and I can see the penetration everyw
[IMG]
[/IMG][IMG]
[/IMG][IMG]
[/IMG]I ran out of gas at the very end though, so a few spots need ground and rewelded. I'm not really worried about strength, I had the heat cranked up and I can see the penetration everyw
01-26-2013, 12:30 PM
#96
Registered User
Thread Starter
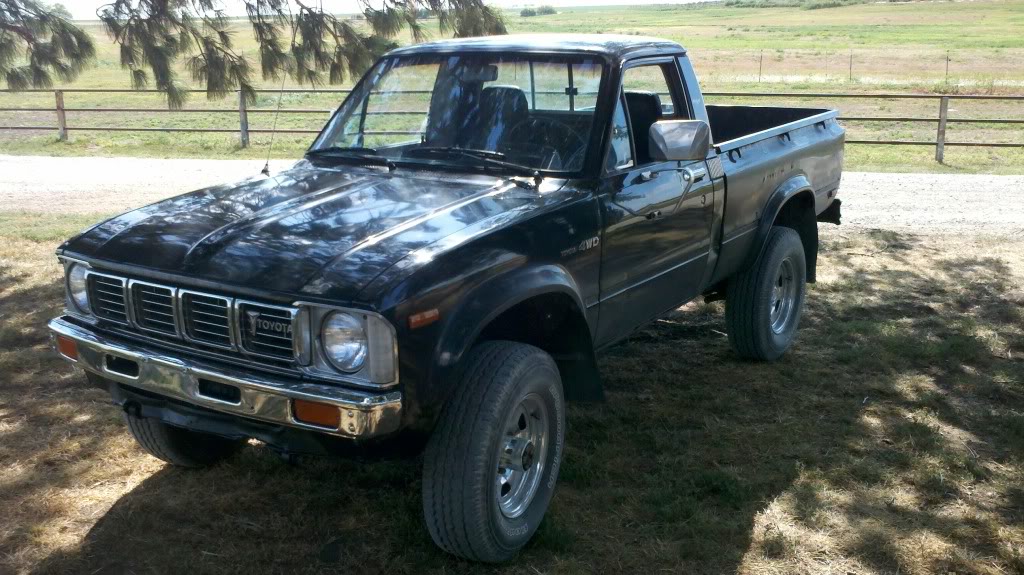
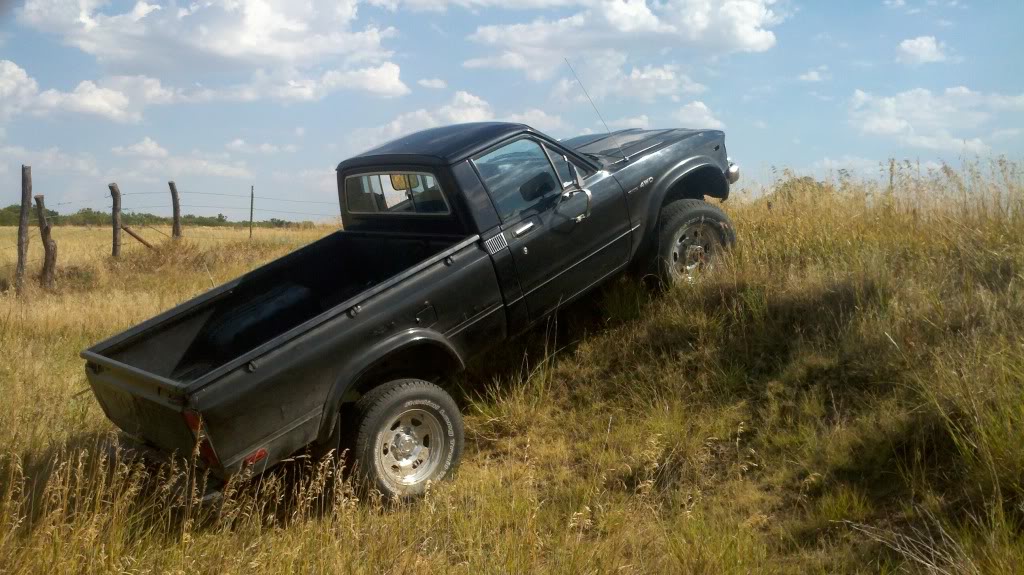
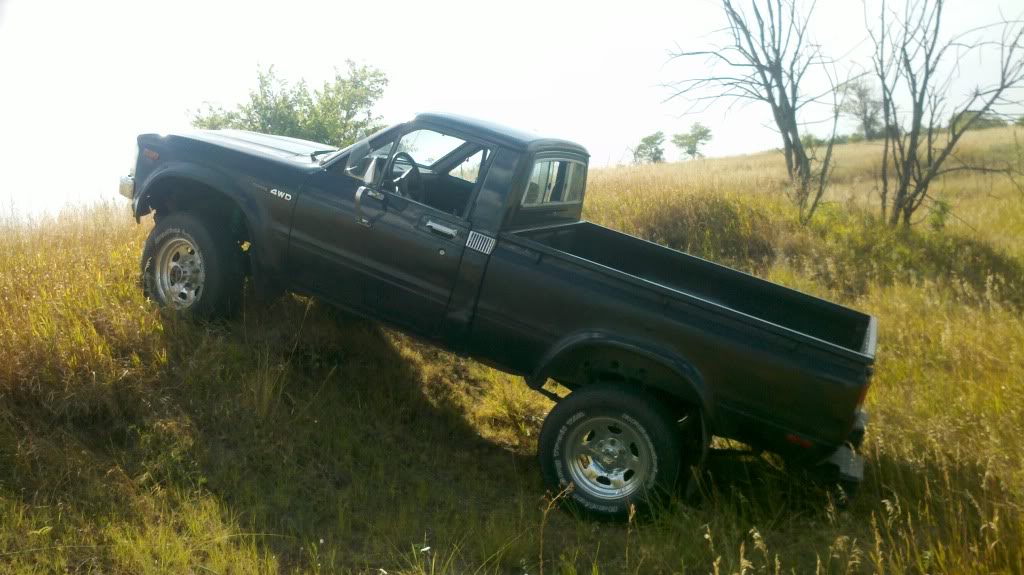
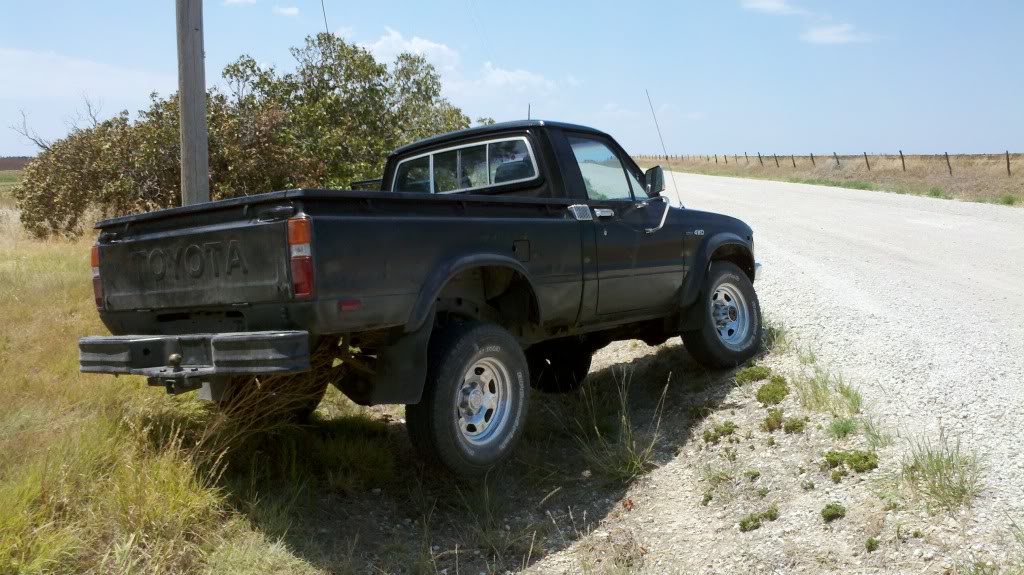
Combination depressing/motivational pic dump. Depressing because the trucks now in pieces, motivational so I can get it back on the road (and off it).
2012-07-28_16-46-03_758_zps4479a46d.jpg?t=1359235566
2012-07-29_16-46-32_272_zps8d640c32.jpg?t=1359235673
2012-07-29_16-46-15_498_zpsa8965796.jpg?t=1359235613
2012-07-29_13-50-59_421_zps1f337869.jpg?t=1359235566
2012-07-29_13-51-25_831_zps179dac1c.jpg?t=1359235622
Ignore the fact that I'm sorta in the road on those flex pics. It was technically still sorta our property.
02-23-2013, 07:24 AM
#97
Registered User
Thread Starter
Build is officially on hiatus now. I've been jobless for the past 3 months, and I don't think I'm going to be able to finish it before I go to school.
I think I may try to buy a 1984-5 pickup and drive it while I work on this one.
I think I may try to buy a 1984-5 pickup and drive it while I work on this one.
04-14-2013, 04:36 PM
#98
Registered User
Thread Starter
Decided to start tackling the the cab since I have access to a brand new welder instead of that old POS I was using.
Got 3/4 corners done, and tomorrow after I do the last one I'm going to start patching the floors, after I figure out where the mounts will be that is. At the very minimum I want to make this into a roller before I go to school.
I've also been looking for another toyota to drive when I go to school, but the only one I've found so far is real rusty and they want way too much for it. If I can't find one I may just get a Ranger as they're plentiful here.
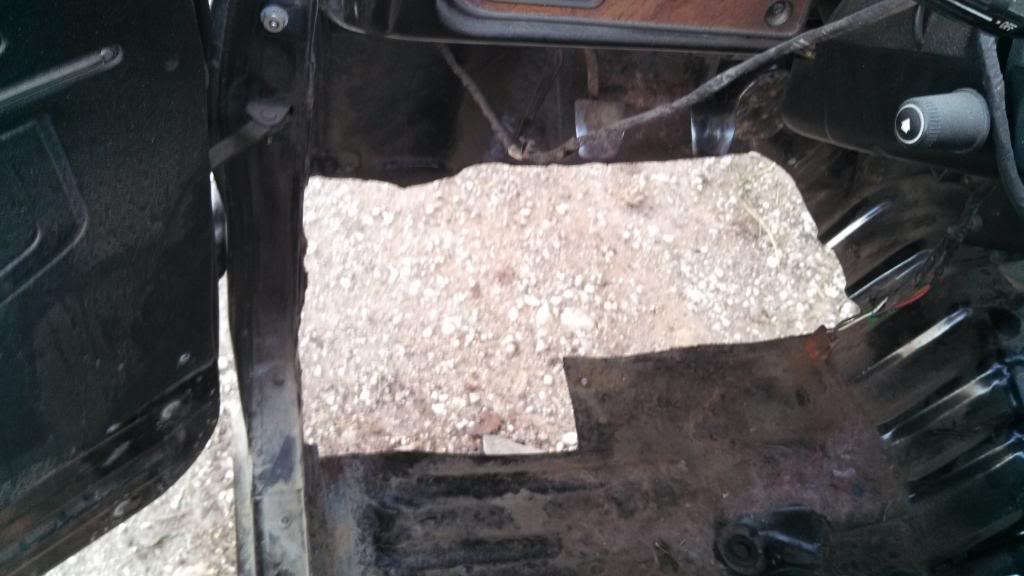
04-14-2013, 05:45 PM
#100
Registered User
Thread Starter
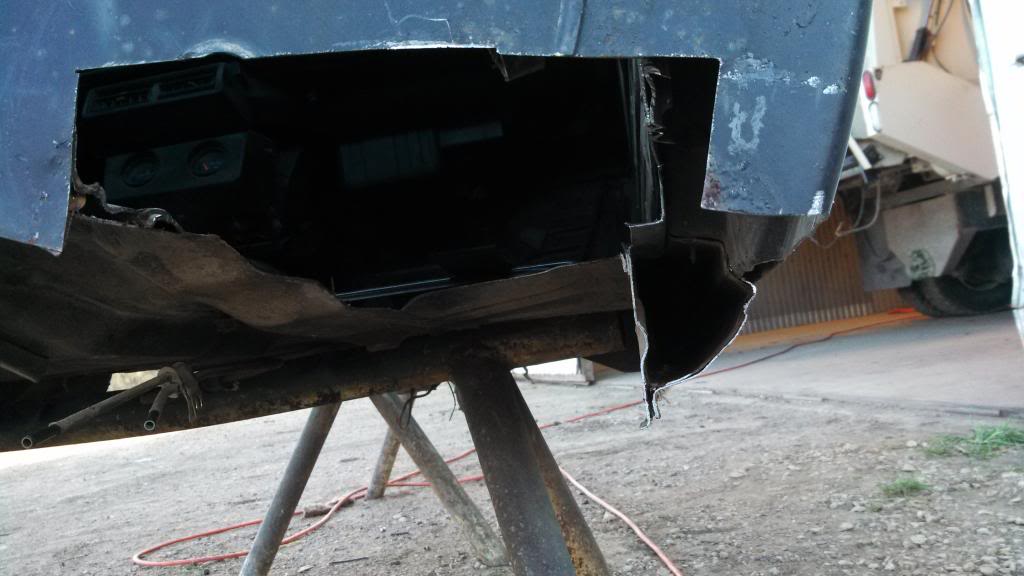
Forgot to mention I did ALL that with a Sawzall. It was a huge pain and I really could use a die grinder or something because it can get tricky using a sawzall to cut all the rust out.


