88 4runner 3.4l swap
 05-02-2013, 08:43 PM
#61
The reason its wrong is because he is using 88 brackets. 88 ONLY are stamped steel (who the heck knows why Toyota did this). If you ever compare an 88 3.0 block to 89+ 3.0 blocks, you will see the difference in mounting bosses, and the different mounts. Again, they only did this for ONE year (1988) and it changed in 1989.
He has to find cast brackets from an 89-95 V6 truck or 4Runner, which are thicker and accommodate the AC bracket from the 3.4.
He has to find cast brackets from an 89-95 V6 truck or 4Runner, which are thicker and accommodate the AC bracket from the 3.4.
Last edited by DeathCougar; 05-02-2013 at 08:46 PM.
 05-02-2013, 08:50 PM
#62
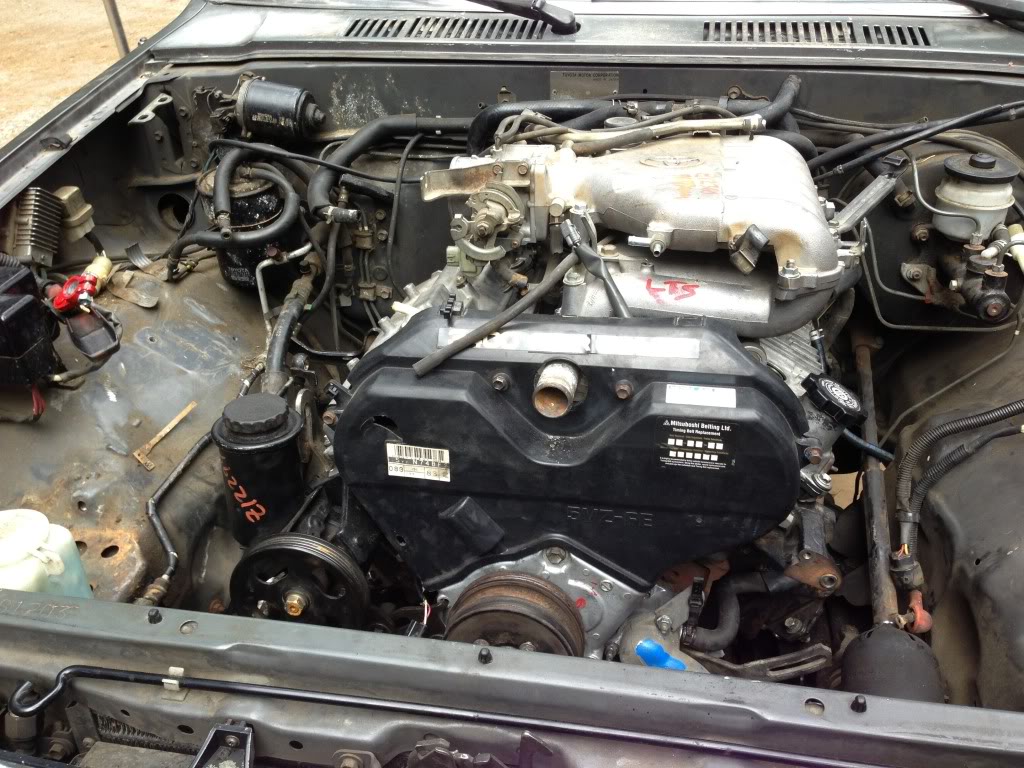
Here's my problem. Real pissed about it. Don't want to spend to much on this bit want my a/c compressor on. This is how it matched up when I put it on. The pulley is off you can see that it's wrong. Can I just get a new pulley out of a 3.4 or do I need to replace the whole damn compressor? Keep in mind it's not R134. If I just replace the whole thing will that be converting it to R134 and killing two birds with one stone? 
Also, what year did your AC bracket come from? It matters greatly since they changed the bracket in 1999 when they went (back) to stamped steel motor mounts, instead of cast.
Last edited by DeathCougar; 05-02-2013 at 08:52 PM.
05-02-2013, 10:44 PM
#63
Registered User
Thread Starter

Join Date: Feb 2013
Posts: 224
Likes: 0
Received 0 Likes
on
0 Posts
Ya, SacRunner had mentioned that about replacing the compressor pulley from a 3.4 compressor. Salvage yard won't sell me just the clutch pulley. Every one of them say they'll only sell it as a whole so I was just gonna pick one up next time I get down there. Looks like it'll be sooner rather than later. Id assume that it would swap my R12 a/c to R134 so I guess it'll pay off. And that's rough about the 1988 doing that. It looks wrong to me to. Thanks for the information. Y'all are a huge help, I was just lost today with it. Ready to get my engine in. Ill have to double check on my receipt as to what year my a/c bracket it off. Probably try to get those engine mounts tomorrow. Thanks
05-03-2013, 09:59 AM
#65
Registered User
Thread Starter
Join Date: Feb 2013
Posts: 224
Likes: 0
Received 0 Likes
on
0 Posts
Alright got the right engine mounts( i hope) a new a/c compressor, and my downpipe to connect to my crossover. Heading home to try to line her up and get er bolted in. I think ill need to pull my steering stabalizer bar to get it lined up because it hits my oil pan right now. Hopefully that doesn't take me too long. Thanks for the help everyone. Getting there
05-03-2013, 11:16 AM
#66
Alright got the right engine mounts( i hope) a new a/c compressor, and my downpipe to connect to my crossover. Heading home to try to line her up and get er bolted in. I think ill need to pull my steering stabalizer bar to get it lined up because it hits my oil pan right now. Hopefully that doesn't take me too long. Thanks for the help everyone. Getting there
05-03-2013, 11:35 AM
#67
Registered User
Thread Starter
Join Date: Feb 2013
Posts: 224
Likes: 0
Received 0 Likes
on
0 Posts
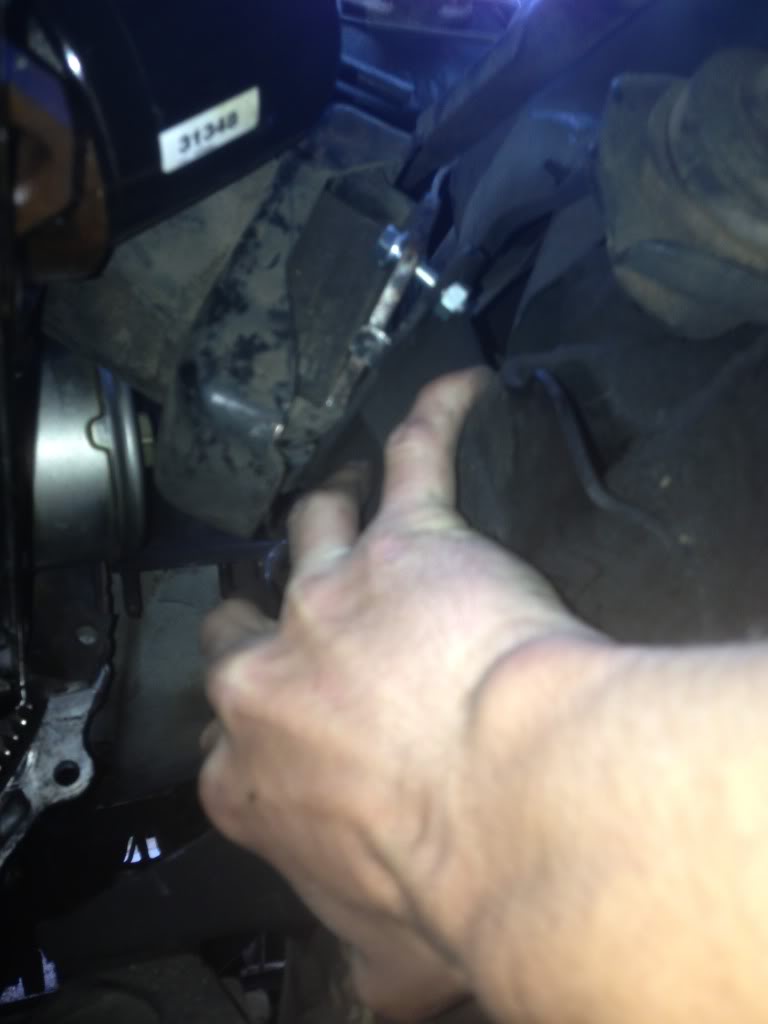
Well lot of beating with a hammer to get that relay road off but it's clear. Now to the spout that hits my engine mount.
SacRunner. - With that spout, if I just remove it, do I have to tap and plug it with a bolt? I'd assume I would. Notching mine out sounds like a pain in the ass. No cutting tools hah
SacRunner. - With that spout, if I just remove it, do I have to tap and plug it with a bolt? I'd assume I would. Notching mine out sounds like a pain in the ass. No cutting tools hah
05-03-2013, 11:51 AM
#68
Registered User
The brass/copper plug above that spout is what actually keeps the coolant in the block. I would imagine that you wouldn't need to do anything so long as you don't loosen that plug.
05-03-2013, 07:35 PM
#69
Registered User
Thread Starter
Join Date: Feb 2013
Posts: 224
Likes: 0
Received 0 Likes
on
0 Posts
I got the oil pan from ORS, just couldnt get it over the stabalizer bar, now that its over it looks like it'll clear ok once i put it back on. I ended notching my engine mount to clear the spout. Just seemed easiest and fastest. Not the cleanest cut, but it works.
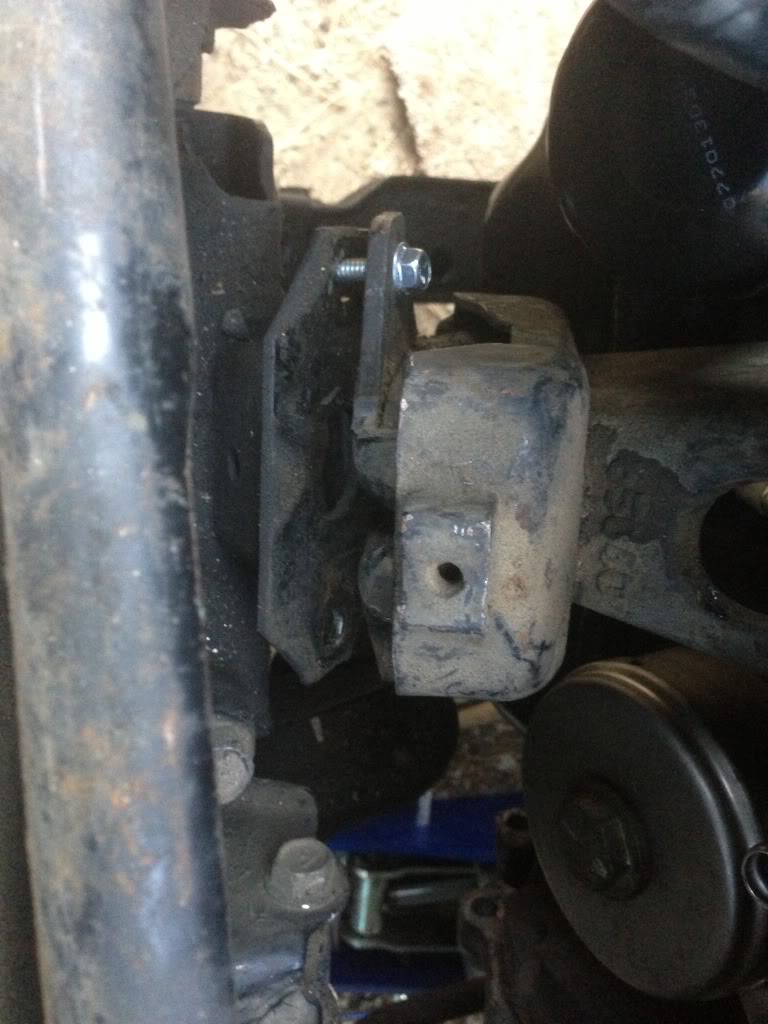
I'm really Struggling with my engine mounts. I feel like they're still wrong. I got them off of a 94 3.0. They look like everyone elses do, and clear my a/c bracket perfect. But i've got a quite the gap between my Engine mount on my block and where it is supposed to line up to my frame mounting holes. [/IMG] I put a small bolt and nut on this Drivers side so my tranny spline wouldnt slip back out of place (was quite difficult to line up)
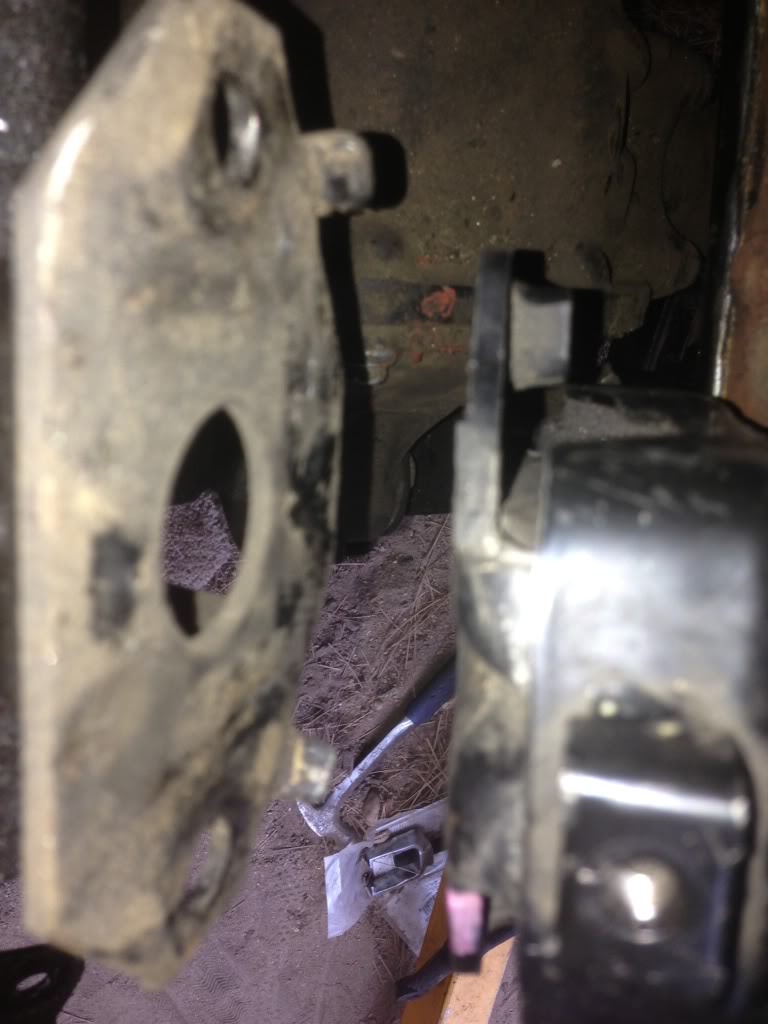
 [/IMG] This is my passenger side. There's a pretty big gap, i dont understand why. Makes me question if they're wrong. Here's more pics/different views.
  [/IMG]
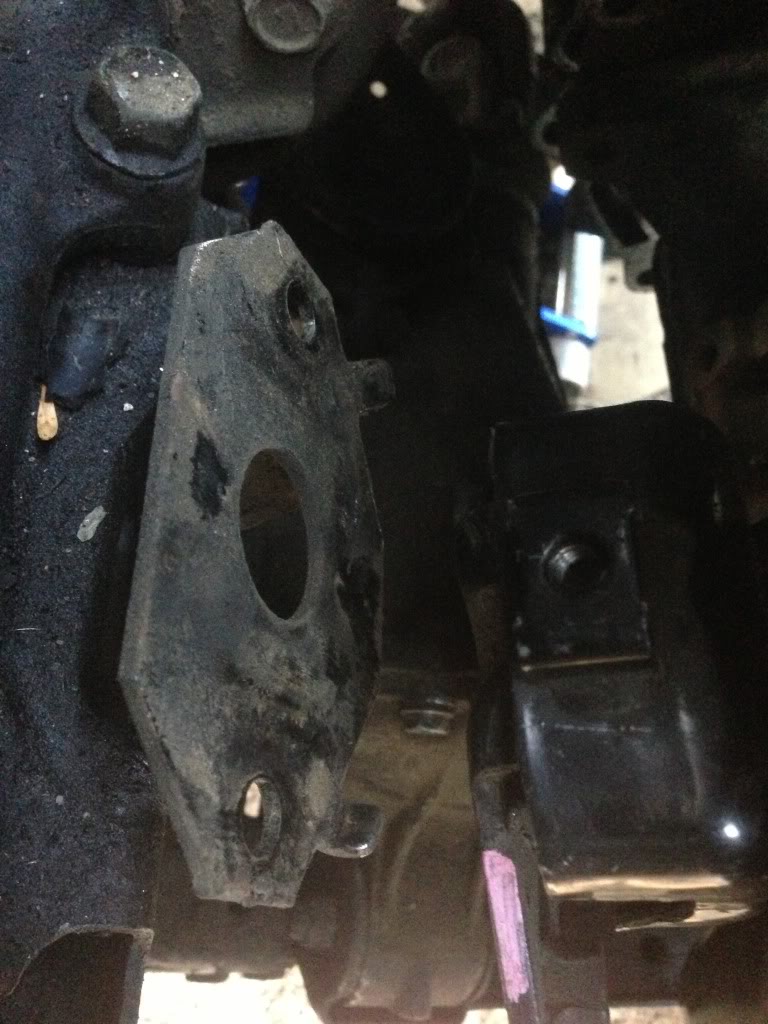
 [/IMG]Back to drivers side you can see that small bolt and nut i put on it just to hold it in place.
  [/IMG]
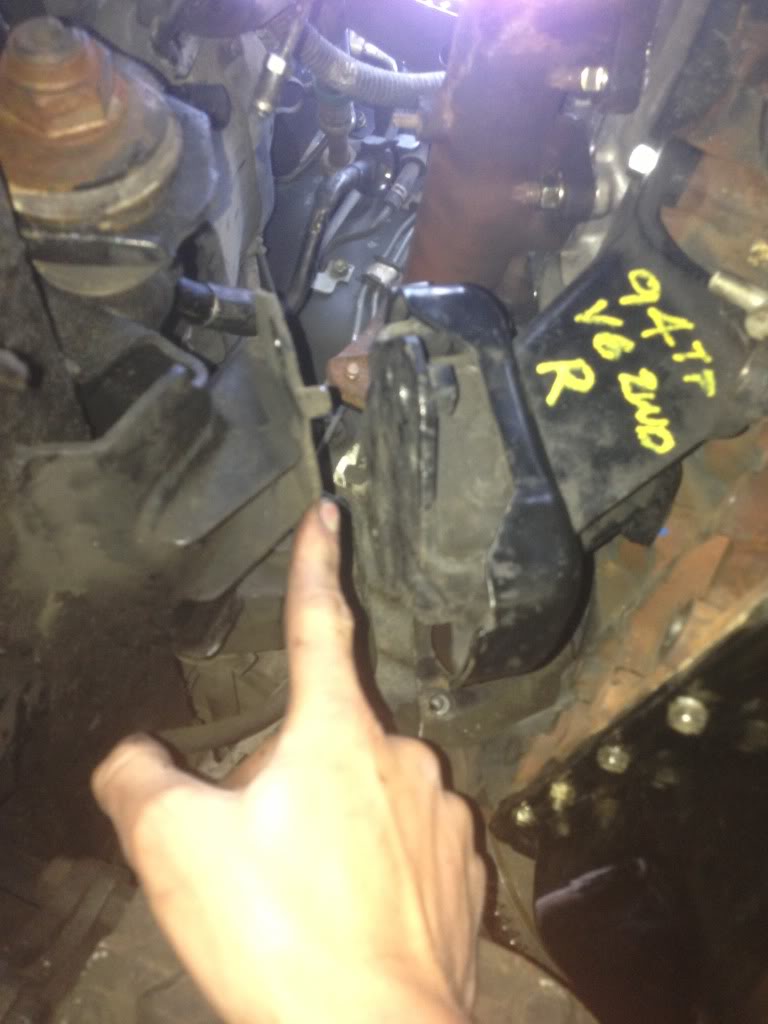
Here's how close my tranny is so the spline on the tranny must be in.. I could put my started bolt through and tighten it if i wanted just worried about cross threading. Engine mount that far off stopped me from continuing. This is the left (drivers side) [/IMG] Last one of my tranny. Starter side.
  [/IMG]
I'm lost as to what to do. my problem is, On my drivers side i still have a little gap between my engine mount. Even with the bolt in holding it. Then on my Pass Side it's about a inch and a half off to bolting on. If i pulled my engine over towards the passenger side, im just going to even out a gap on each side.
Sorry guys. Hope i'm not being too much of a pain in the ass. =/
I'm really Struggling with my engine mounts. I feel like they're still wrong. I got them off of a 94 3.0. They look like everyone elses do, and clear my a/c bracket perfect. But i've got a quite the gap between my Engine mount on my block and where it is supposed to line up to my frame mounting holes.
[/IMG] I put a small bolt and nut on this Drivers side so my tranny spline wouldnt slip back out of place (was quite difficult to line up) [/IMG] This is my passenger side. There's a pretty big gap, i dont understand why. Makes me question if they're wrong. Here's more pics/different views. [/IMG][/IMG]Back to drivers side you can see that small bolt and nut i put on it just to hold it in place. [/IMG]Here's how close my tranny is so the spline on the tranny must be in.. I could put my started bolt through and tighten it if i wanted just worried about cross threading. Engine mount that far off stopped me from continuing. This is the left (drivers side)
[/IMG] Last one of my tranny. Starter side. [/IMG] I'm lost as to what to do. my problem is, On my drivers side i still have a little gap between my engine mount. Even with the bolt in holding it. Then on my Pass Side it's about a inch and a half off to bolting on. If i pulled my engine over towards the passenger side, im just going to even out a gap on each side.
Sorry guys. Hope i'm not being too much of a pain in the ass. =/
 drivers side has that little bolt. Pass side
 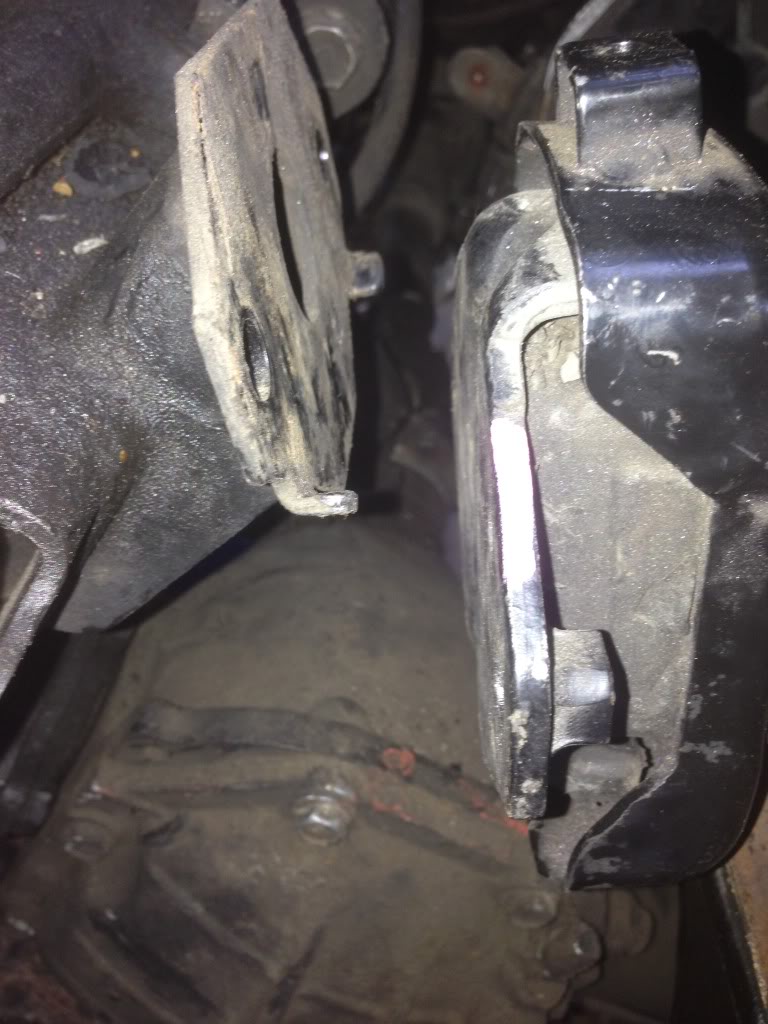 .
.  .
. 
 . Tranny. Drivers side
 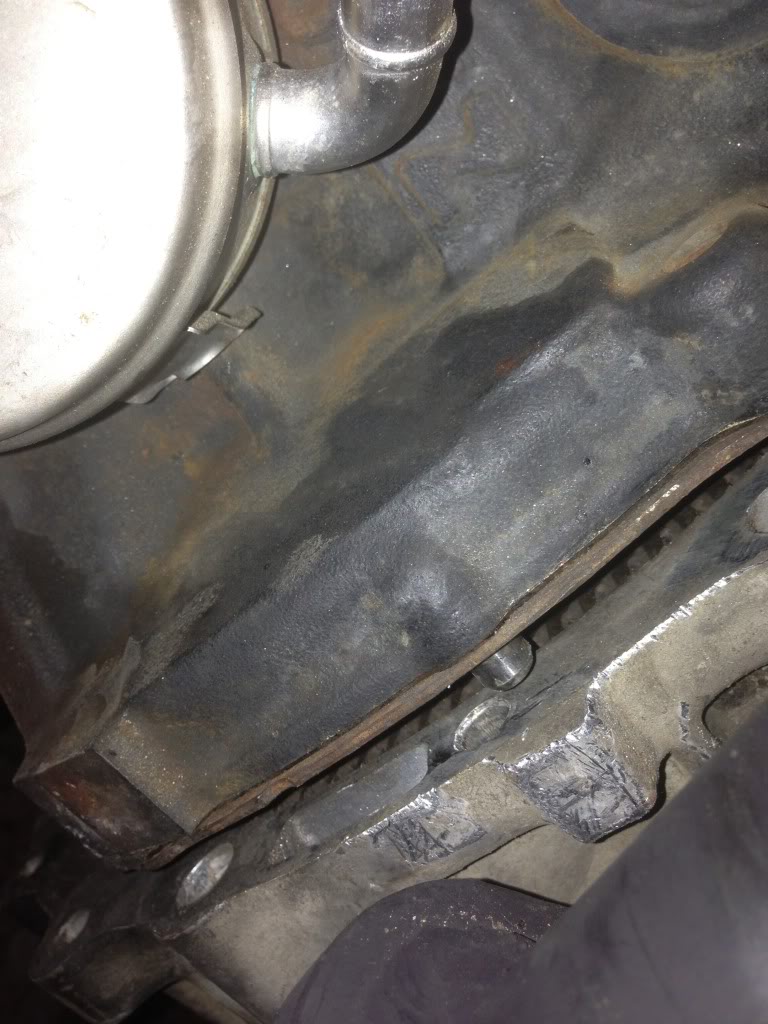 . Pass side, starter
 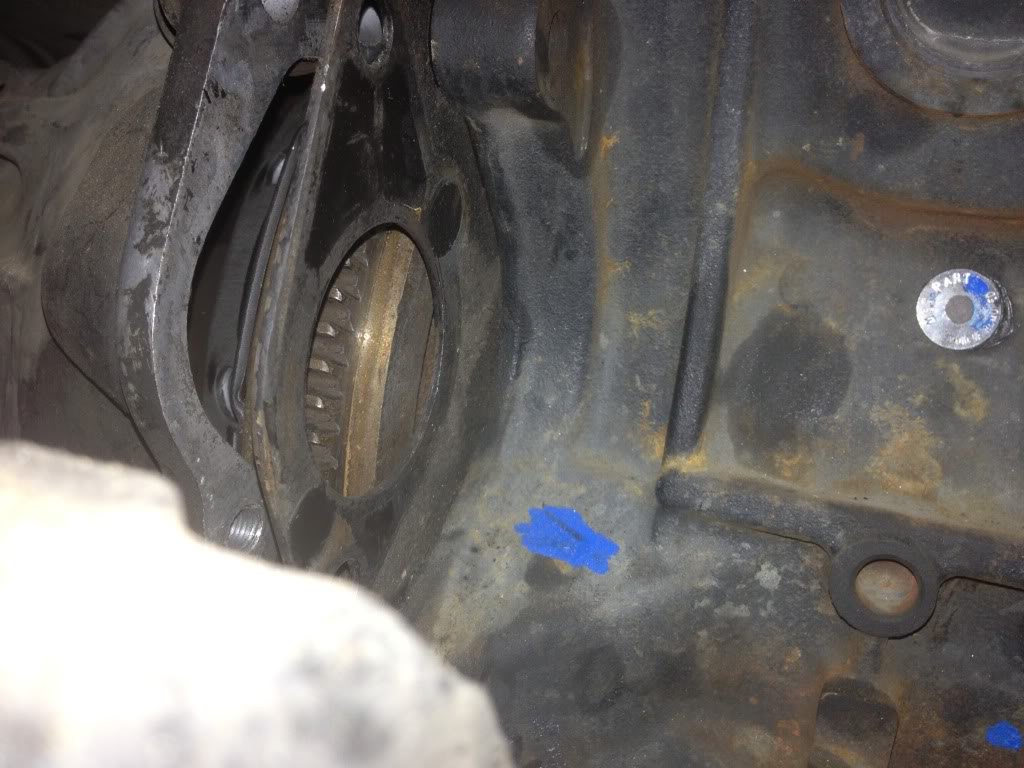 .
.  05-04-2013, 07:39 PM
#72
Registered User
Thread Starter
Join Date: Feb 2013
Posts: 224
Likes: 0
Received 0 Likes
on
0 Posts
 . Got it in. Lot of wrestling with the engine, lined it up and pulled it out of my transmission about 4 times. Those new 3.0 mounts I got were too small. I ended up taking my engnne out and measuring where they were supposed to line up on my frame. 1ft 11 inches. Put flat edge on both mounts and had 1ft 6 inches. That was my problem Put my original 88 mounts on Had it lined up and dropped in within an hour :-/. Kinda rough that my A/c bracket won't fit without mods now. But ill figure that out later. Also as you saw originally with my 88 passenger side motor mount. There's only a place to put three bolts so I hope that I don't have problems with that down the road. Ill just have to check them regularly(every oil change). Stoked its done, now to my hood scoop and wiring portion.
05-11-2013, 07:55 PM
. Got it in. Lot of wrestling with the engine, lined it up and pulled it out of my transmission about 4 times. Those new 3.0 mounts I got were too small. I ended up taking my engnne out and measuring where they were supposed to line up on my frame. 1ft 11 inches. Put flat edge on both mounts and had 1ft 6 inches. That was my problem Put my original 88 mounts on Had it lined up and dropped in within an hour :-/. Kinda rough that my A/c bracket won't fit without mods now. But ill figure that out later. Also as you saw originally with my 88 passenger side motor mount. There's only a place to put three bolts so I hope that I don't have problems with that down the road. Ill just have to check them regularly(every oil change). Stoked its done, now to my hood scoop and wiring portion.
05-11-2013, 07:55 PM
#75
Registered User
Thread Starter
Join Date: Feb 2013
Posts: 224
Likes: 0
Received 0 Likes
on
0 Posts
Ya, that's what i keep telling myself. I know how much of an improvement it'll be.
Im on the wiring right now. (I am clearly not a wiring guy). Time consuming. It's twice as big as my 3.0 was. haha. But i'm getting it. Got my Battery Re-Routed and coolant over flow mounted. Glad i got so much help from everyone on here. I wouldnt be able to do it without you guys. -D
Im on the wiring right now. (I am clearly not a wiring guy). Time consuming. It's twice as big as my 3.0 was. haha. But i'm getting it. Got my Battery Re-Routed and coolant over flow mounted. Glad i got so much help from everyone on here. I wouldnt be able to do it without you guys. -D
05-11-2013, 09:18 PM
#76
 . Got it in. Lot of wrestling with the engine, lined it up and pulled it out of my transmission about 4 times. Those new 3.0 mounts I got were too small. I ended up taking my engnne out and measuring where they were supposed to line up on my frame. 1ft 11 inches. Put flat edge on both mounts and had 1ft 6 inches. That was my problem Put my original 88 mounts on Had it lined up and dropped in within an hour :-/. Kinda rough that my A/c bracket won't fit without mods now. But ill figure that out later. Also as you saw originally with my 88 passenger side motor mount. There's only a place to put three bolts so I hope that I don't have problems with that down the road. Ill just have to check them regularly(every oil change). Stoked its done, now to my hood scoop and wiring portion.
05-13-2013, 10:48 AM
. Got it in. Lot of wrestling with the engine, lined it up and pulled it out of my transmission about 4 times. Those new 3.0 mounts I got were too small. I ended up taking my engnne out and measuring where they were supposed to line up on my frame. 1ft 11 inches. Put flat edge on both mounts and had 1ft 6 inches. That was my problem Put my original 88 mounts on Had it lined up and dropped in within an hour :-/. Kinda rough that my A/c bracket won't fit without mods now. But ill figure that out later. Also as you saw originally with my 88 passenger side motor mount. There's only a place to put three bolts so I hope that I don't have problems with that down the road. Ill just have to check them regularly(every oil change). Stoked its done, now to my hood scoop and wiring portion.
05-13-2013, 10:48 AM
#78
Registered User
Thread Starter
Join Date: Feb 2013
Posts: 224
Likes: 0
Received 0 Likes
on
0 Posts
The starter trigger wire is run through but my fuse box power wire? I didn't see that on the 3.4 swap 101 thread? >.< ughh, I better go through that again. Hard to find out how all these harnesses run. I know the main engine harness runs the back of the engine but today ill be trying to route the other 3 harnesses that came on side of that one.
05-20-2013, 05:36 AM
#79
Registered User
The starter trigger wire is run through but my fuse box power wire? I didn't see that on the 3.4 swap 101 thread? >.< ughh, I better go through that again. Hard to find out how all these harnesses run. I know the main engine harness runs the back of the engine but today ill be trying to route the other 3 harnesses that came on side of that one.
The starter trigger wire is a different wire that is described in the 3.4 swap theory 101 or whatever its called.
Just makin sure your keepin all that in mind
 if you need more explanation on those things let us know.
05-20-2013, 09:14 AM
if you need more explanation on those things let us know.
05-20-2013, 09:14 AM
#80
Registered User
Thread Starter
Join Date: Feb 2013
Posts: 224
Likes: 0
Received 0 Likes
on
0 Posts
Ya, I would have liked to run a bigger wire but stuck with the 8g to the fuse box. No breaker. Starter trigger wire is ran through the firewall. I feel that my engine is sitting "off" because my engine mounts so I think I'm gonna get the right ones next opportunity. My fan rubs real bad on my fan shroud.


