88 4runner 3.4l swap
 04-14-2013, 07:35 PM
#41
Registered User
In my "signature" under mt post it gives a link.
With my battery box as you can see in my thread too, I just used 3/4" anle iron and welded a little tab in the middle of the angle iron so I could utilize my stock "hold-down" bracket if that makes sense. That should be in my build thread as well. I'm certain any battery will fit in that battery box. They're universal
On the cold air intake, I used the stock intake tubing but bought a amsoil nano fiber air filter for it and ran a open air set up. I went with the amsoil one because there is no "recharging" needed. Just a shop vac and wash it and your good as new.
 04-15-2013, 09:30 AM
#42
Registered User
Thread Starter

Join Date: Feb 2013
Posts: 224
Likes: 0
Received 0 Likes
on
0 Posts
Got my clutch today went to put it on and my damn flywheel that i got turned had gotten wet and got a little rusted >.< damn roofs leaking where my truck is! I cleaned it up the best I could with rubbing alcohol :-/. I did not put thread locker on my bolts when I put my clutch on didn't have any and didn't want to go get any. Hoping it'll be fine with the 15ft ib torque rather than getting thread locker. Just waiting on the crossover pipe to come back then I'm dropping er in :-D.
04-15-2013, 12:47 PM
#43
Registered User
Thats awesome! i didn't put any thread locker on any of my bolts either (against my better judgment) but it should be fine. That's cool they're doin all that for you. How much is that going to cost you?
04-15-2013, 07:49 PM
#44
Registered User
Thread Starter
Join Date: Feb 2013
Posts: 224
Likes: 0
Received 0 Likes
on
0 Posts
$175 for the crossover pipe $20 for shipping from toyonlyswaps. Decent deal but my wiring harness for the conversion ran me $595 from ORS. Sure it'll pay off. Got a few things here. Ill post pics when I can and ask about them. I know you don't have A/C in your truck but hopefully someone else can help me out.
04-15-2013, 07:55 PM
#45
Registered User
Thread Starter
Join Date: Feb 2013
Posts: 224
Likes: 0
Received 0 Likes
on
0 Posts
Ok this is my p/s. is this the banjo bolt?? I thought it was the front bolt on the pulley but that's wrong. That's a nut haha. Is this the one I put my 3.0 banjo bolt to? 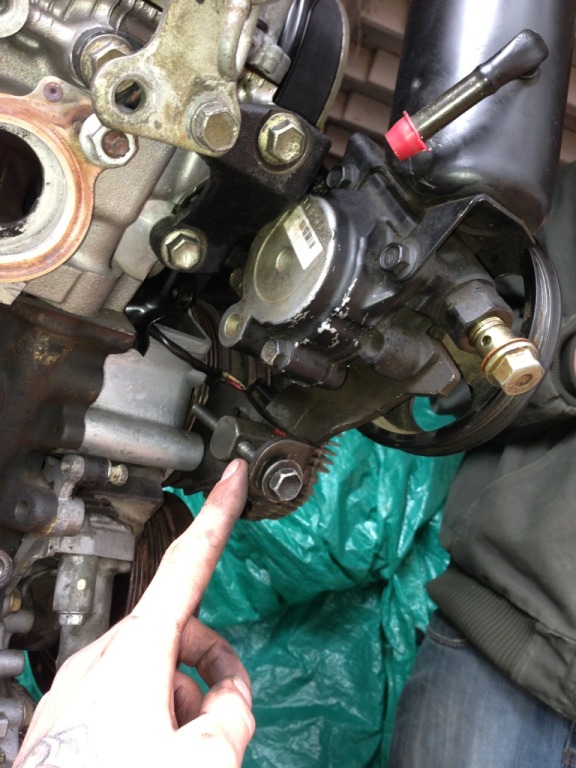
 04-15-2013, 07:58 PM
#47
Registered User
Thread Starter
Join Date: Feb 2013
Posts: 224
Likes: 0
Received 0 Likes
on
0 Posts
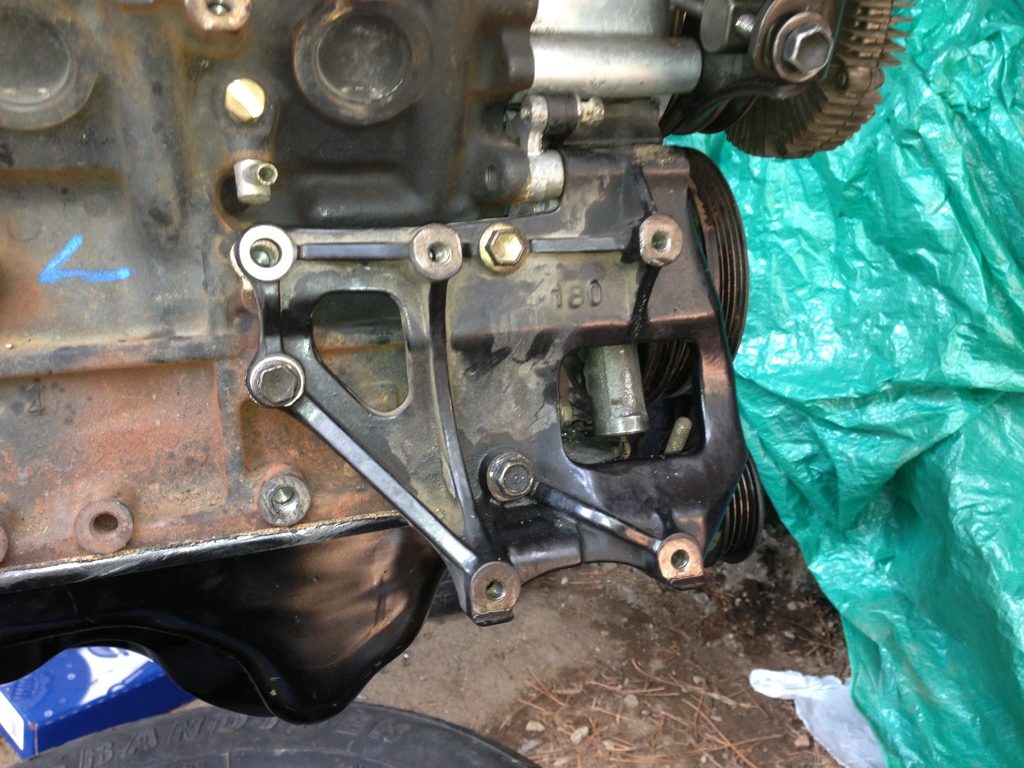
This 4th bolt though has about a half inch gap I didn't even put it on, figured other three Would hold it fine and tried bolting it in other places. That's the only place it'll match up 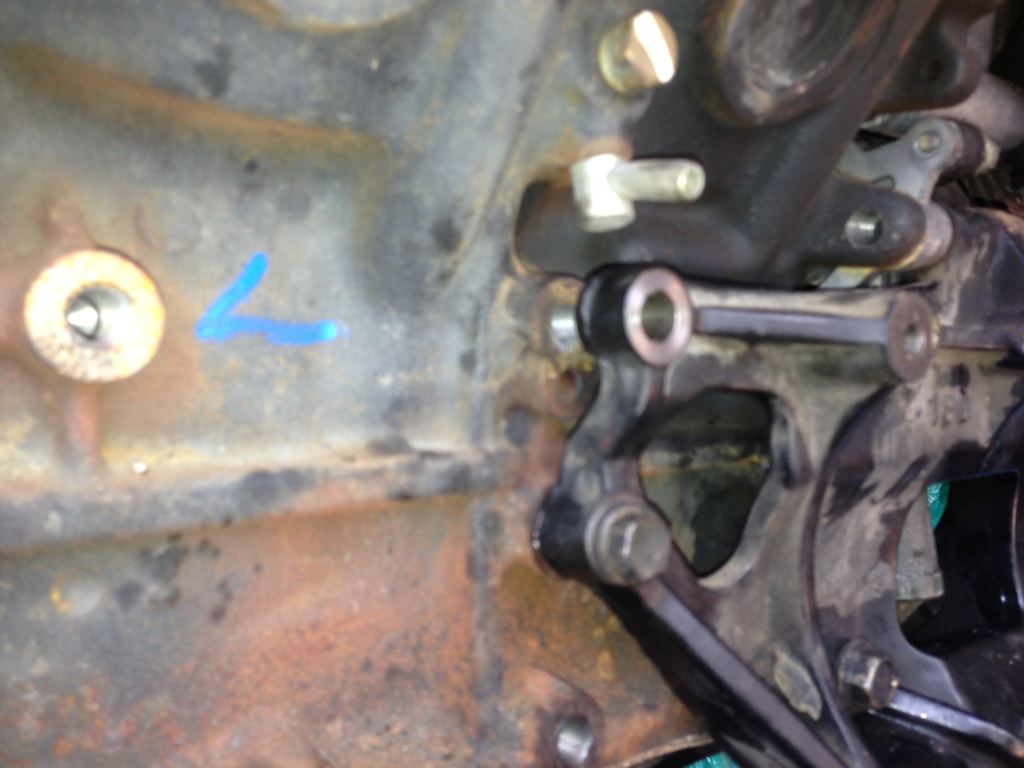
04-15-2013, 08:03 PM
#48
Registered User
Thread Starter
Join Date: Feb 2013
Posts: 224
Likes: 0
Received 0 Likes
on
0 Posts
Here's my problem. Real pissed about it. Don't want to spend to much on this bit want my a/c compressor on. This is how it matched up when I put it on. The pulley is off you can see that it's wrong. Can I just get a new pulley out of a 3.4 or do I need to replace the whole damn compressor? Keep in mind it's not R134. If I just replace the whole thing will that be converting it to R134 and killing two birds with one stone? 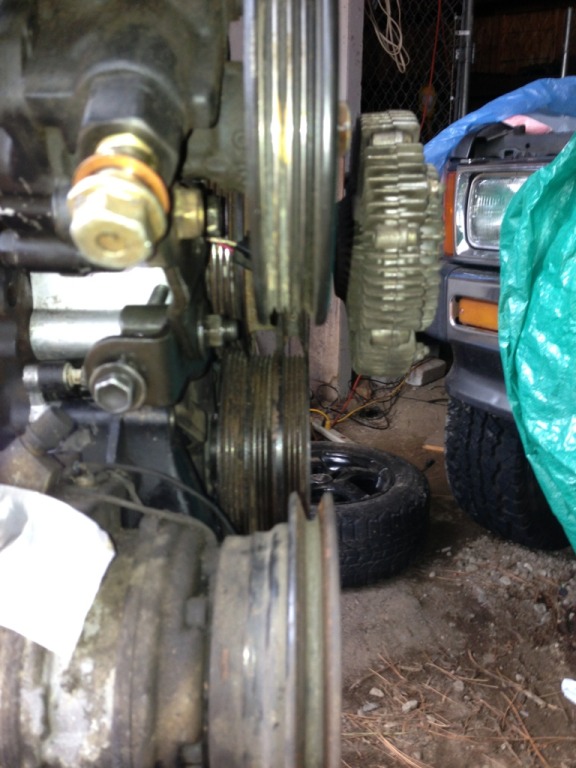
04-15-2013, 08:32 PM
#50
Registered User
Banjo bolt is the copper/bronze bolt (up near the pulley) with the hole in the middle and end to allow the fluid to pass through.
 04-15-2013, 08:35 PM
#51
Registered User

You'll need the pulley off a 3.4 A/C pump; have you read the sticky "How to: A/C" thread? https://www.yotatech.com/forums/f160...4-swap-251179/
 05-01-2013, 07:17 PM
#55
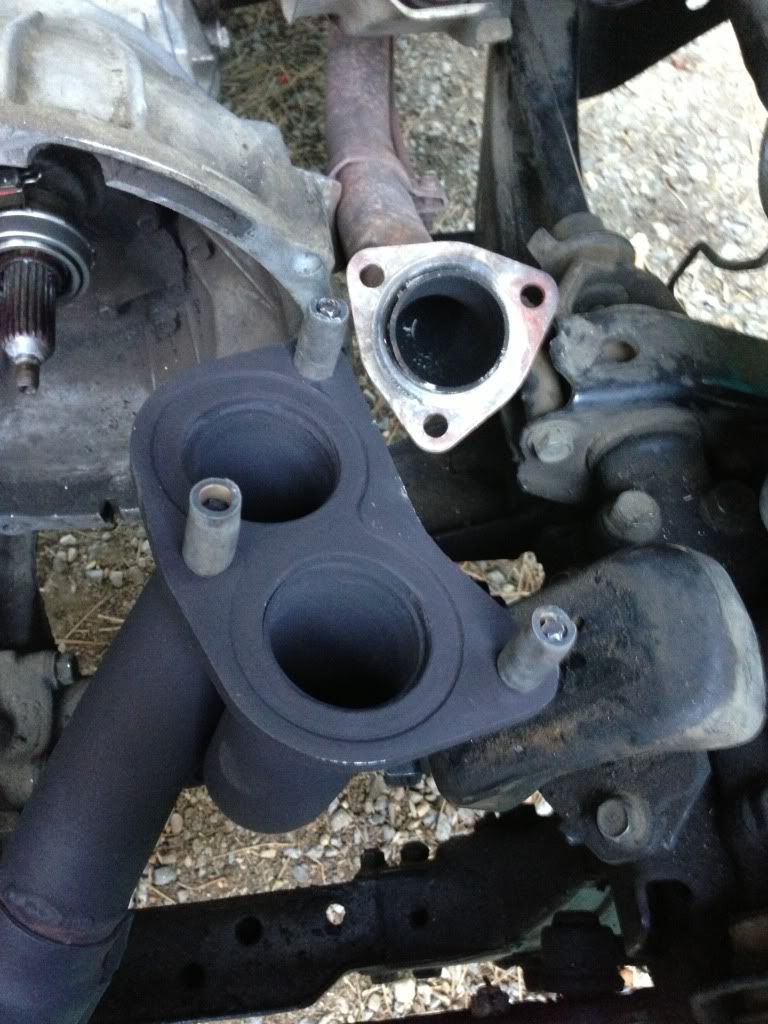
You need the downpipe from a 3.4. I just get the downpipe and cat from the 3.4 setups when I did my swaps. Then the exhaust shop just has to slightly cut and rotate the cat and it all bolts up 100% stock. Only the exhaust after the o2 sensor is aftermarket or "fabricated" on my swaps. Everything else is 100% stock OEM parts.
05-01-2013, 08:13 PM
#56
Registered User
Thread Starter
Join Date: Feb 2013
Posts: 224
Likes: 0
Received 0 Likes
on
0 Posts
Alright. I kept looking at the crossover from ORS and toyonlyswaps. And noticed the one from ORS is a complete custom to the one exhaust, spaced that on toyonlyswaps it says this Is a dual tube. Ill probably drop the engine in and once everything else is complete just drive it down to an exhaust shop and see if they'll cut and weld that 3.4 down pipe on. Seems pretty easy, I just don't have access to a welder. Oh well Thanks for the help Deathcougar
05-02-2013, 02:49 PM
#57
Registered User
Thread Starter
Join Date: Feb 2013
Posts: 224
Likes: 0
Received 0 Likes
on
0 Posts
Do I need different engine mounts. I'm having a lot of trouble lining these up properly. From what I've read, I thought I was supposed to re use my 3.0 mounts. Maybe I've got them on the wrong side. This a/c compressor brackets making me question having a/c
05-02-2013, 07:33 PM
#58
Registered User
The 3.0 engine mounts will work, but your block has a drain spout on the passenger side, above the A/C compressor mount (that sandwiches the engine mount) and below the copper/brass plug, see your picture below:

Some people have ground a notch into the motor mount to clear that spout, but I would recommend just removing it. That copper/brass plug is there to drain coolant out of the block and that spout is just there to keep the fluid somewhat contained. The 2 blocks I had ('96 and '97) didn't have that spout, so I would rather remove the (pretty much) cosmetic spout than to risk screwing up the structural integrity of the the motor mount.

Some people have ground a notch into the motor mount to clear that spout, but I would recommend just removing it. That copper/brass plug is there to drain coolant out of the block and that spout is just there to keep the fluid somewhat contained. The 2 blocks I had ('96 and '97) didn't have that spout, so I would rather remove the (pretty much) cosmetic spout than to risk screwing up the structural integrity of the the motor mount.
05-02-2013, 08:20 PM
#59
Registered User
Thread Starter
Join Date: Feb 2013
Posts: 224
Likes: 0
Received 0 Likes
on
0 Posts
Alright sorry for the crappy pics here but my engine is just hangin in my engine bay. I got frustrated with it took off the A/c bracket put two bolts on the engine mount and just tried to drop it in. Stabalizer bar is making It very difficult to light up. I'm gonna pull it off tomorrow and try again. Any ways. Here's how I put my engine mount. 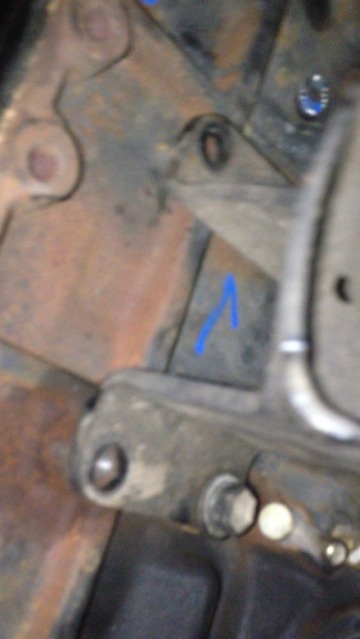 . I only put two bolts in it on top. (Only three have a hole to put a bolt in and the two on the right both interfere with my A/c compressor bracket. ). I only put the top bolt in though.
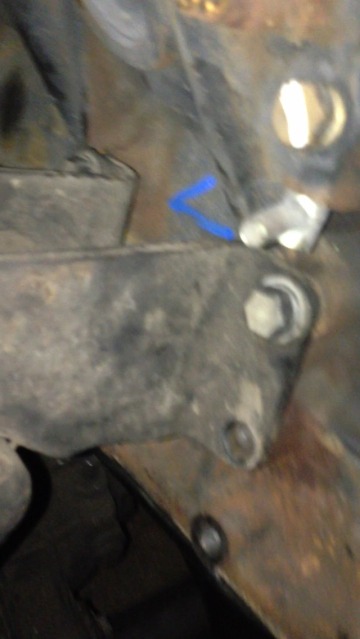
That top hole is the one that has a space on my a/c bracket. But still with it on there's a gap. And on the bottom hole without a bolt in it. The a/c compressor bracket sits on top of my engine mount. (With my a/c bracket on it throws the bracket out of whack and the pulley doesn't line up.) The bottom left side of the engine mount has knowhere on my block for a bolt.
. I only put two bolts in it on top. (Only three have a hole to put a bolt in and the two on the right both interfere with my A/c compressor bracket. ). I only put the top bolt in though. That top hole is the one that has a space on my a/c bracket. But still with it on there's a gap. And on the bottom hole without a bolt in it. The a/c compressor bracket sits on top of my engine mount. (With my a/c bracket on it throws the bracket out of whack and the pulley doesn't line up.) The bottom left side of the engine mount has knowhere on my block for a bolt.
05-02-2013, 08:39 PM
#60
Registered User
Its hard to tell from those pictures (a zoomed out shot may be more helpful) but those motor mounts don't look right at all.
The 3.0 mount that bolts to the block shouldn't be flat like those are. And your mounts are too low on the block. The top bolt in the second picture under the drain spout is actually the lower motor mount bolt hole; the upper mount is about an inch below the head and you'll have to remove the exhaust manifold heat shield to get to it.
Check out this thread for a decent picture, but keep in mind he's not using the Toyota 3.0 mount he's using a custom one, but the mounting points are the same.
https://www.yotatech.com/forums/f160...r-side-253654/


