When you click on links to various merchants on this site and make a purchase, this can result in this site earning a commission. Affiliate programs and affiliations include, but are not limited to, the eBay Partner Network.
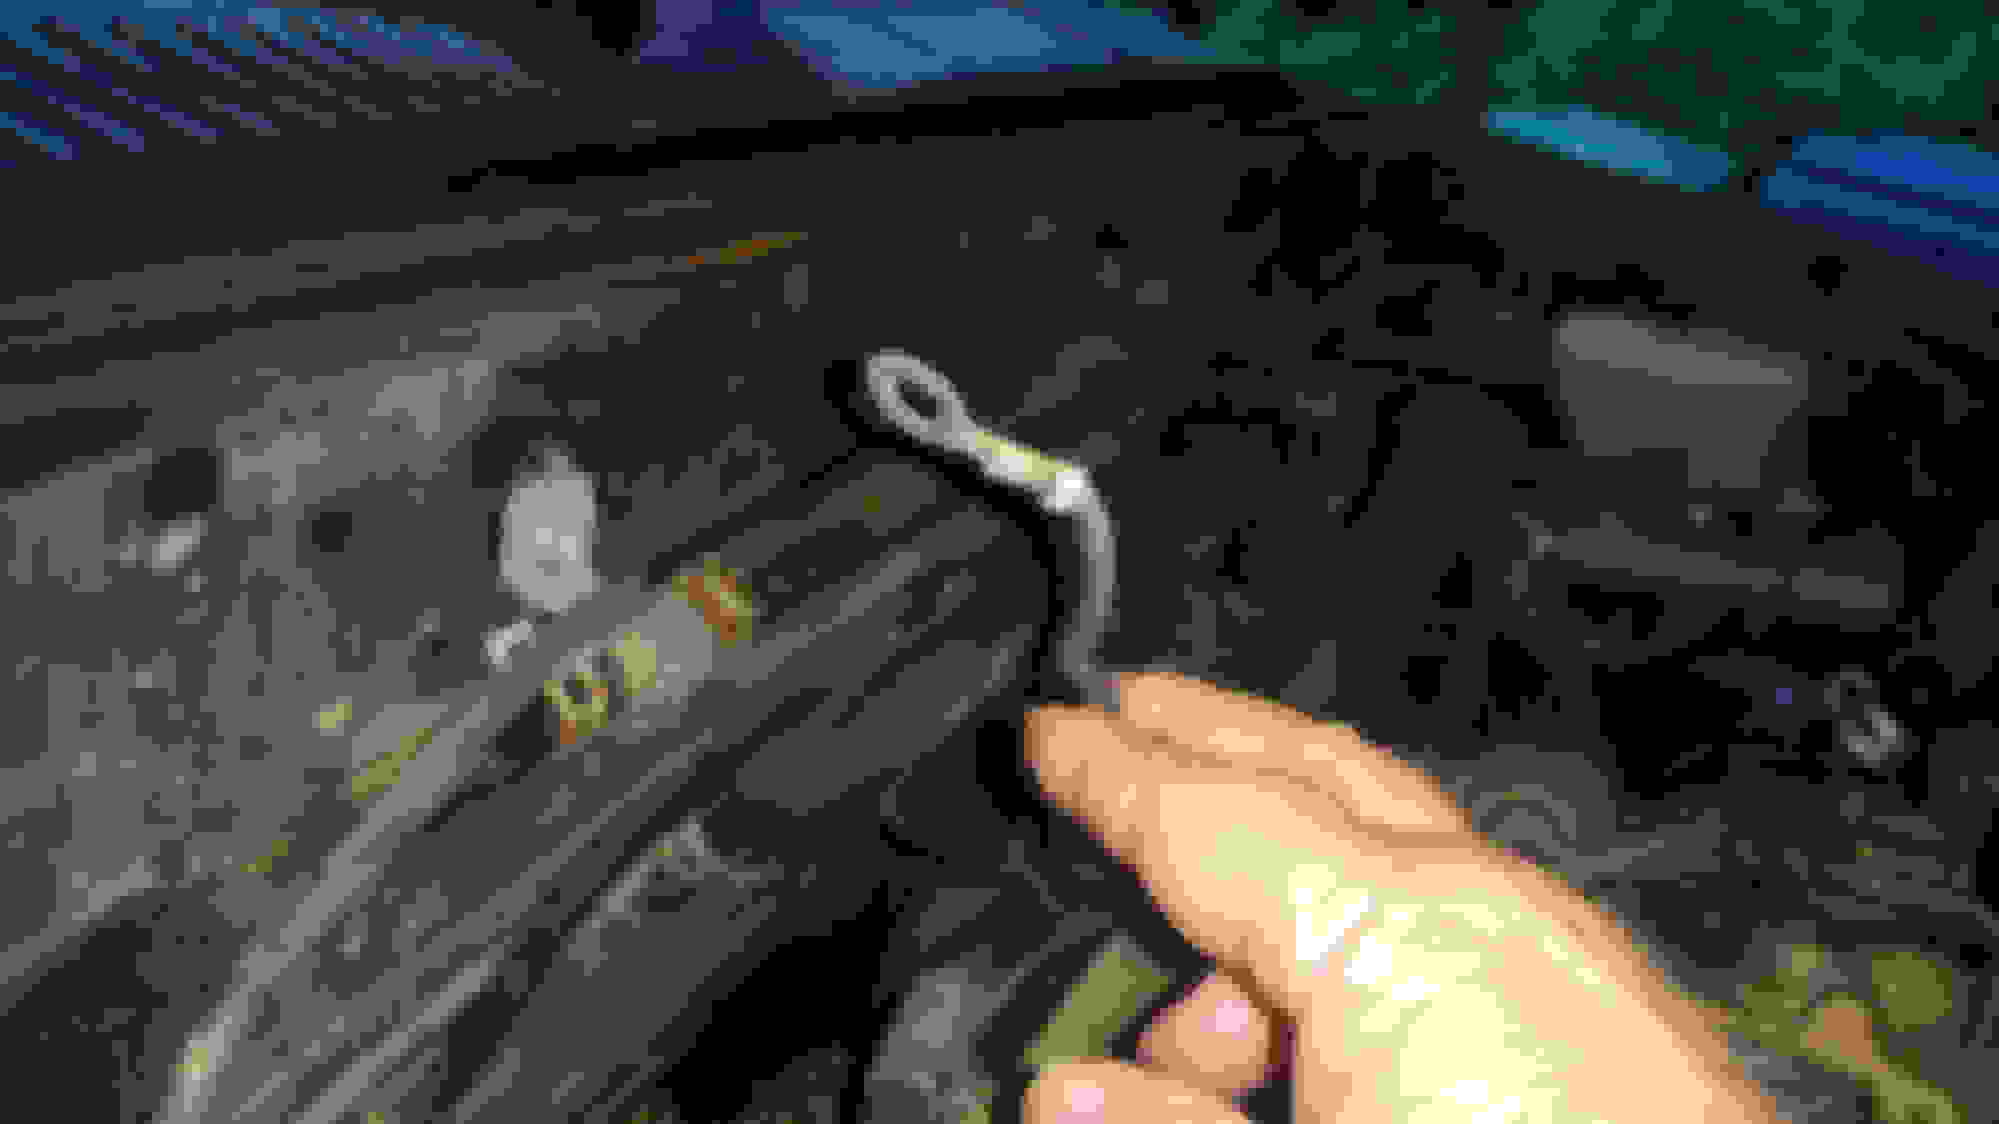
Hello, I have a 1993 SR5 4x4 that just got new valve covers. (Quite a bit of time there) I have what appears to be a ground wire coming out of the firewall directly behind the engine. I can't for the life of me find where it should connect. Also I need to know if I'm damaging anything by driving the truck without it being connected. I read somewhere that if things are not ground proper it can effect your coolant system and bad things will happen? Hope I can post this pic. Thanks all............ This comes from the firewall. Just noticed it. I don't know if this was left off after the valve cover job?
On my 92 4cyl truck I have two grounds to the fender, one that splits from the starter harness to the intake area, one from firewall to engine block and one close to the power steering pump. I don't know why there are two to the fender because I haven't seen any posts or literature that it needs both on the fender. The previous owner may have just did a quick fix assuming that the first fender ground was corroded. I upgraded all this recently while changing out the battery terminals. I went with the marine type with the butterfly nuts and I like the way it turned out.
On the subject has anyone ever noticed voltage surges on the dash panel? I see it randomly at idle...the needle will sway slightly up and down. I have a good stereo system with an amp so I don't know if its drawing power or something else.
One more thing, I took the truck to drive on some sand dunes near by and on level sandy ground the truck would vibrate excessively at 5-10 mph. It doesn't do this on the road, its actually a decent ride considering the tires. Could the shocks or steering damper be bad? If so are these difficult to replace?
Actually, if you want send me your phone number via my email gatz101@gmail.com and I can text it to you. My pictures are on my phone and my outlook account isn't linked with my main PC.
That pic helps me because I didn't know what ground wire to delete and replace without digging in to the stock wiring harness. I wonder if I can just leave the existing grounds from the harness and add battery to block grounds, and so on...directly. Since my couple of ground upgrades I find that everything just works better, cheaper than a mechanic and cheaper than me replacing parts that don't need to be replace necessarily. I had a 2017 GMC Sierra, loaded with everything but the transmission had a problem from day 1. My wife bought a enclave from the same dealership the year before and she had the same issue. She had hers at the dealership for 6 months and eventually they offered to buy it back from her. I did the same knowing that the same might happen. I have had people stop me on at stores with the same GMC and ask me about the transmission and they said the same. I like a truck that I actually can fix and know whats going on. Also I like a forum with real answers!
Thanks for the pic. Question: Would that cap you mentioned have to be removed when doing the valve covers? Seems like the answer to that would be no..........
... Would that cap you mentioned have to be removed when doing the valve covers? Seems like the answer to that would be no..........
No; the valve cover sits over one end of the cap. But there's a lot of "stuff" back there; I wouldn't be surprised if someone removed the ground wire to improve access. I would be surprised if they forgot to put it back.
New radiator is an easy project. 2 hoses, 4 bolts, slide out, slide in...done. Hardest part is taking the small, bottom part of the shroud off so it will slide out past the fan. It's been 25+ years since I replaced my two 87's radiators, but I seem to recall it was a simple operation.
Get a nice, CSF, 3-core, all metal, radiator. After 25+ years of operation, I must admit that the radiator in the 4Runner blew the top tank off one day, a couple of years ago, but I really think I got my money's worth out of them! I don't recall if mine were CSF, but it's entirely possible. Hey, it's been 25+ years since I got them, and I've slept since then.
In any event, these days the CSF seem to be some of the best all metal, 3-core radiators out there. IMHO, forget those plastic tank radiators. Again, just an opinion, but I think they're trash. You definitely want an all-metal radiator. Only way to fly, if that isn't dating me...
Here's an all-metal, 3-core, CSF radiator I found on Rock auto. Very reasonable price, IMHO : CSF radiator
Sorry, misunderstanding. The plastic tank i was referring to is the small overflow tank to the right of the radiator. I just bought a metal 3 core replacement. I'm going to find a way to re-route that top rubber tube that goes to the overflow tank. For some reason all the after market radiators do not have the same routing as the OEM radiator. Shouldn't be that big of a deal to put a short right angle piece of tubing there to make it follow the original path. There's one post on here that recommends jacking up the truck in the front and "burping" the system while filling it back up? Any one want to chime in on that? Thanks all........Cheers
These engines have a ton of nooks and crannies that will hold air while you fill it up. Especially the crannies. The nooks aren't so bad
Anywho, jacking is one way, but not the safest. Best is a hill or a pair of ramps to hold the front end high. You want the radiator's filler neck to be the highest point of the system.
Then, fill the system with coolant and water, the usual 50/50 mix. Use the red Toyota coolant, NOT the generic green stuff. It should take 8 quarts of fluid, 4 coolant, and 4 distilled water. Maybe bit more, due to the three core radiator. When you first fill it, though, it won't. It'll take 6-7 quarts. Why? Air in the system.
Once you have it as full as it's going to get, try putting the cap on the filler neck, but only tighten it to the first detent. That lets any air that bubbles out to go straight to the recovery tank with no restriction, and then overboard. Fill the recovery tank well above the usual fill line. Then start the truck.
Turn the heater to full hot, so any air in the heater core bubbles out. There will be quite a bit of air in the heater core.
Run the truck for about 20-30 minutes. Be warned, the temp gauge will go very high, up to near the upper white line, possibly, before the thermostat pops open, but will come right back down to about 1/2, it's normal range, once the t-stat pops. And stay there.
Once it's run for the time, shut it off. Wearing a heavy glove, and using a thick rag, since it's HOT, tighten down the radiator cap all the way. That way, as it cools, it will draw from the recovery tank to replace all the air that's come out. Once it's good n cold, ie: a couple hours not running, open the radiator cap, and top the radiator, if needed. It's probably will. A quick, easy way to check without removing the cap is to squeeze the upper hose going to the radiator. If it's soft, easily compressed, you probably have air in the radiator. If it's firm, difficult to squeeze, it's probably well filled. The first time you check, it will probably need topping up a little.
Fill the recovery tank to it's usual, "FULL" mark. Ensure there's aren't any leaks, like from hose connections, and so on.
Now, go drive it all you want. MOST of the air should be out. Just top the recovery tank if needed. You'll probably need to top it a couple of more times, but once your done with that, just check it periodically. Once a week or so. It shouldn't need more attention after that.
Scope,
I know I'm a little off topic and a little late here, but I've been trying to go through all the grounds on my 93 Pickup DLX 4WD 5spd 3VZE and came across this diagram you posted. It looks different than my layout, so I was curious...what is that EB1 location next to the knock sensor? Is there a ground point to the intake in there somewhere? If so, I don't remember it on mine and just had everything apart recently. The ones I know about are:
1. Body ground near battery (near the EA1 and 2 locations on this chart)
2. Block ground on A/C mount bracket
3. Firewall to intake plenum with connector
4. Wiring harness to passenger side cam cap area
5. Wiring harness from alternator to body near coil, then to bracket right above cylinder #4
6. Body ground behind VAF


 06-28-2021, 09:19 AM