
BEGINNER'S 22re Timing Chain Failure / replacement / head gasket replacement
 06-02-2010, 03:12 AM
#61
YotaTech Milestone-Two Millionth Post
Thread Starter
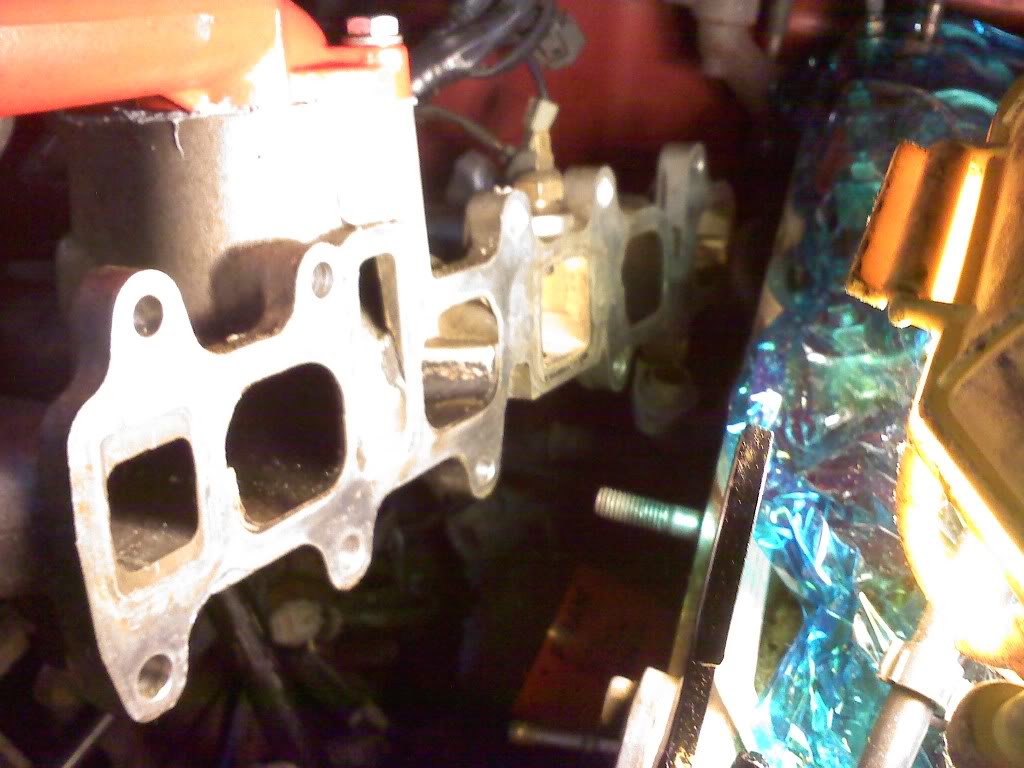
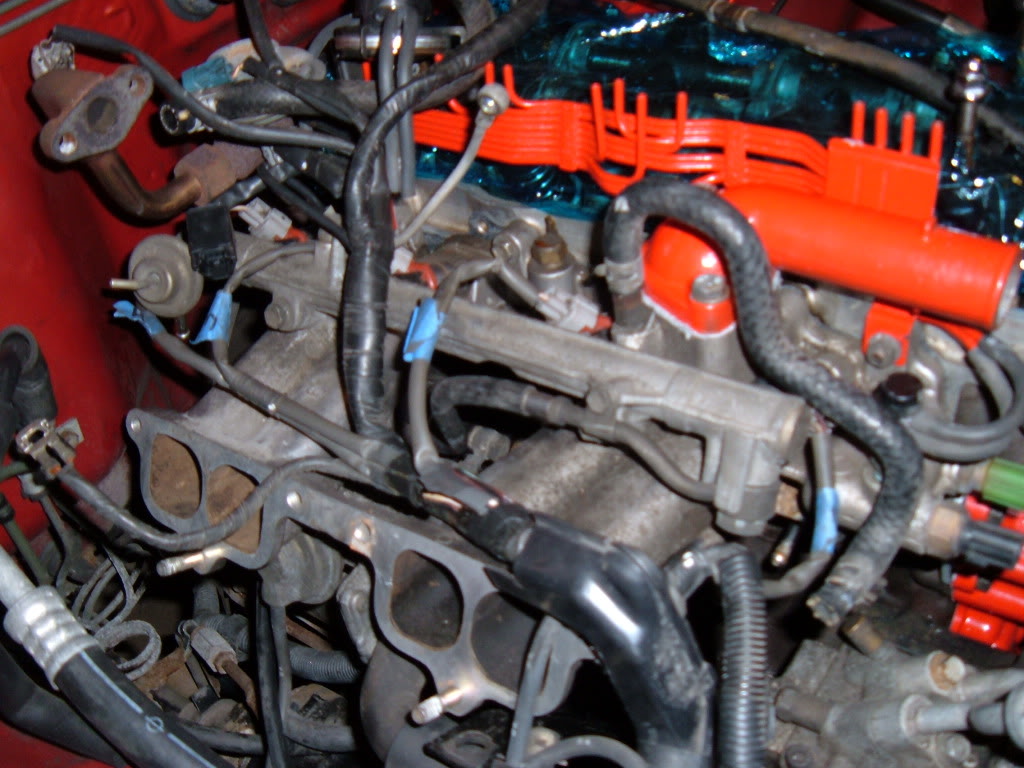
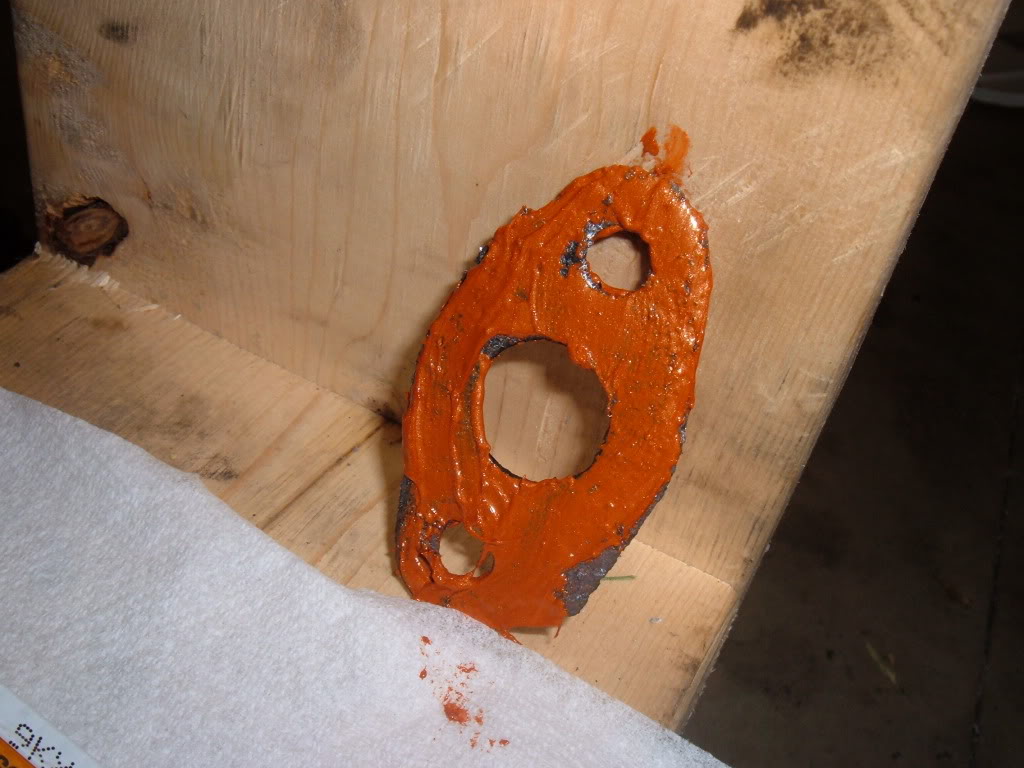
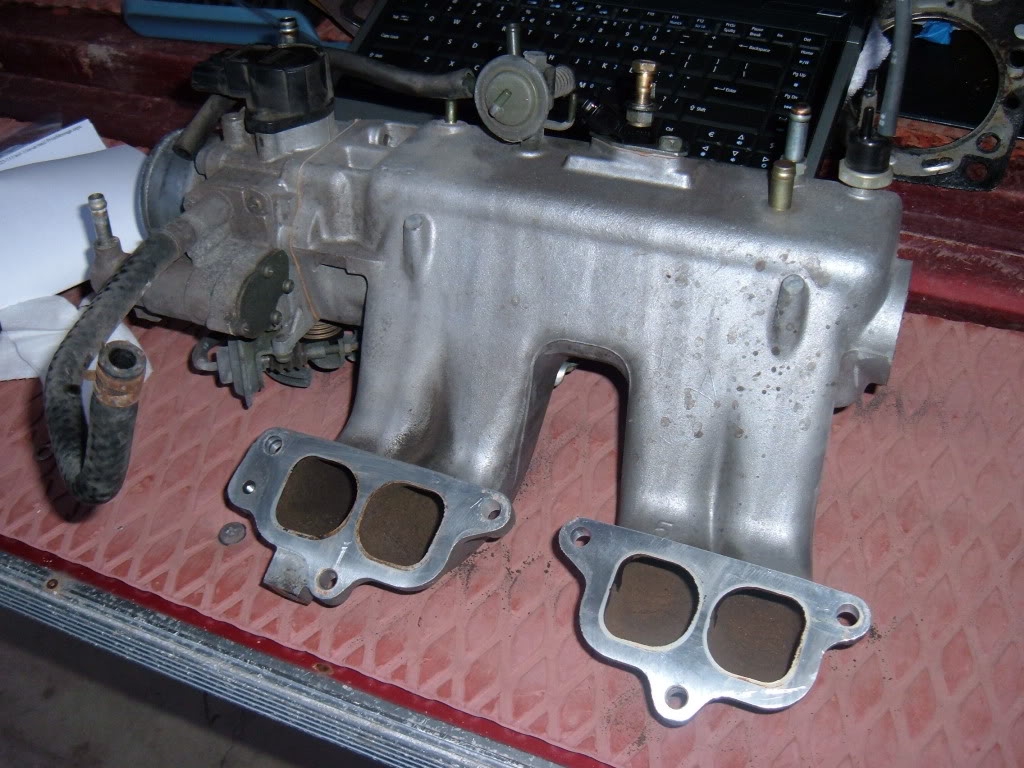
Lower intake manifold
scraped the old gasket material off.
found that in following the FSM for installing the EGR to the block, it omitted the step of a new gasket...i had used BLACK RTV...so we will see if that bites me someday. i trimmed the lower intake gasket to subtract for that area.
new gasket
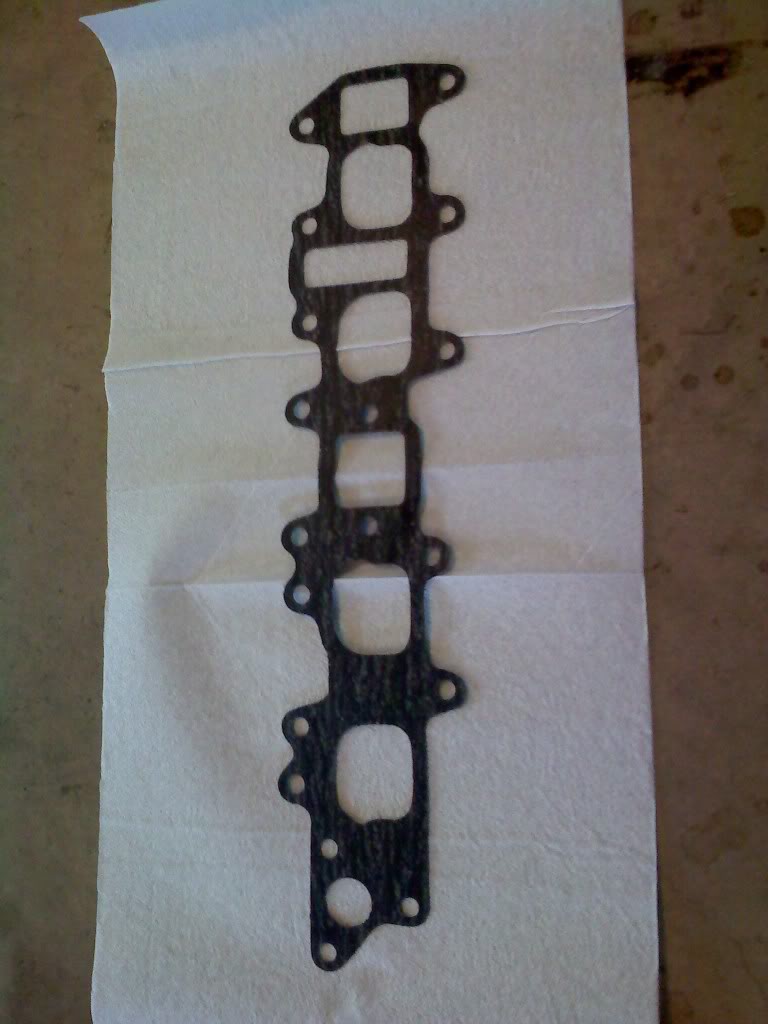
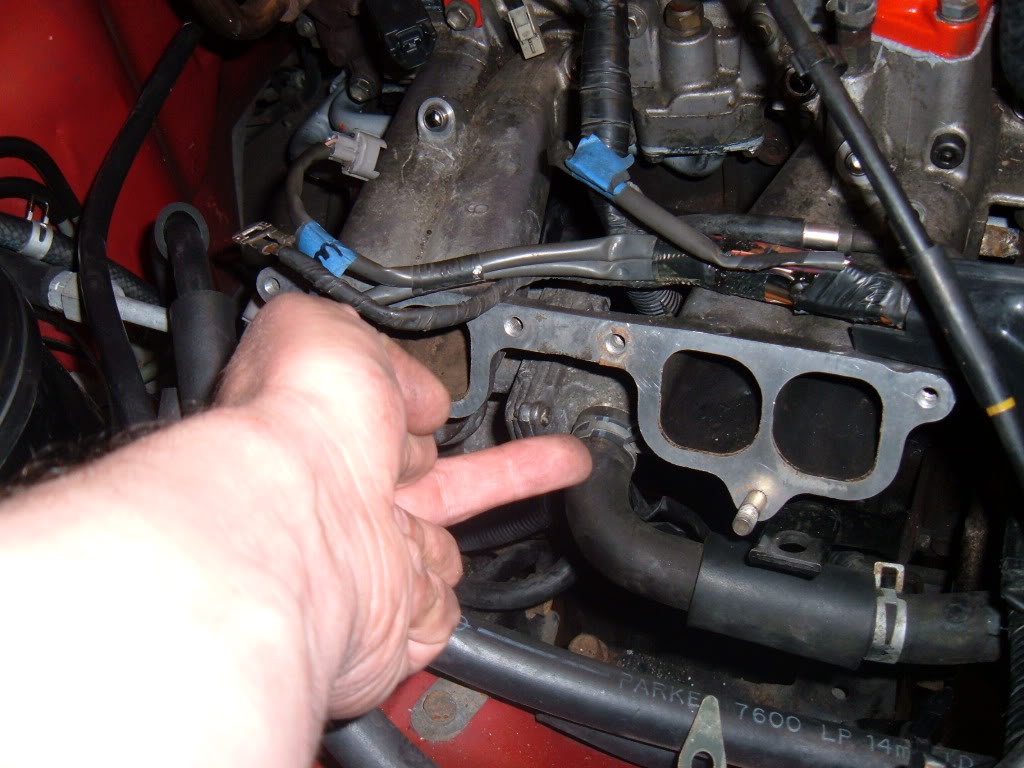
a few PITA parts here are again, those crazy metal pipes and getting the to line up where you need them.....some BLACK RTV again where a rubber gasket is and was able to get the lower intake in place on it.......had trouble getting both bolts to thread and no matter what positioning i tried, i could not get it....so i used the vice grips again, and again, it worked like a charm.
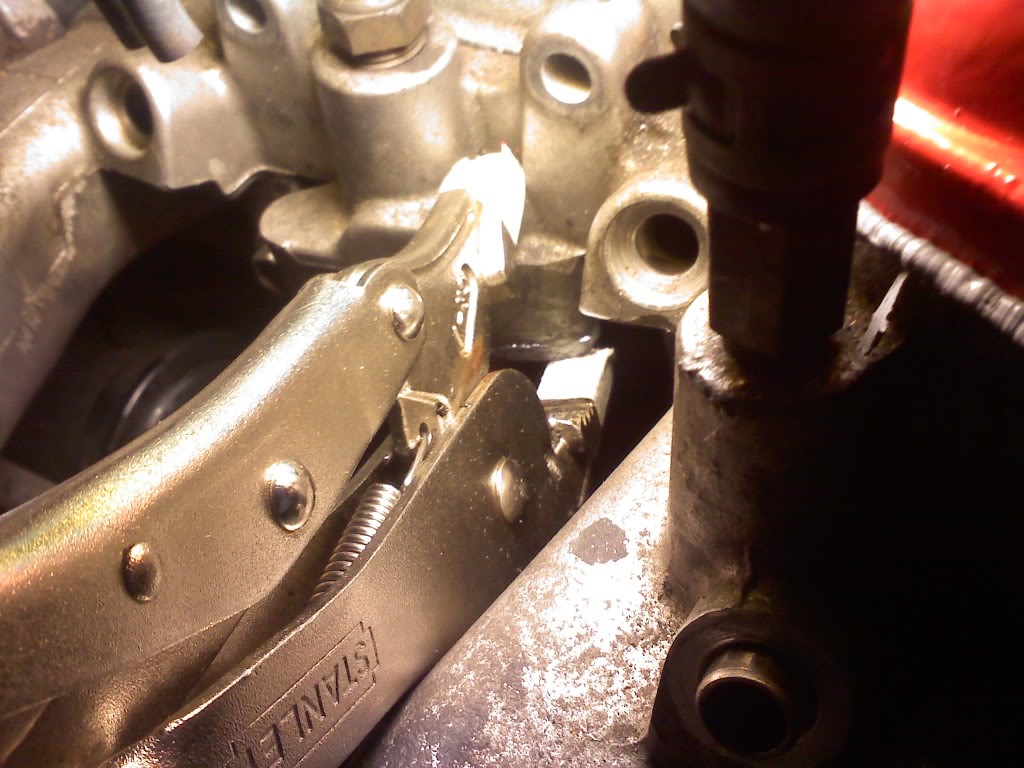
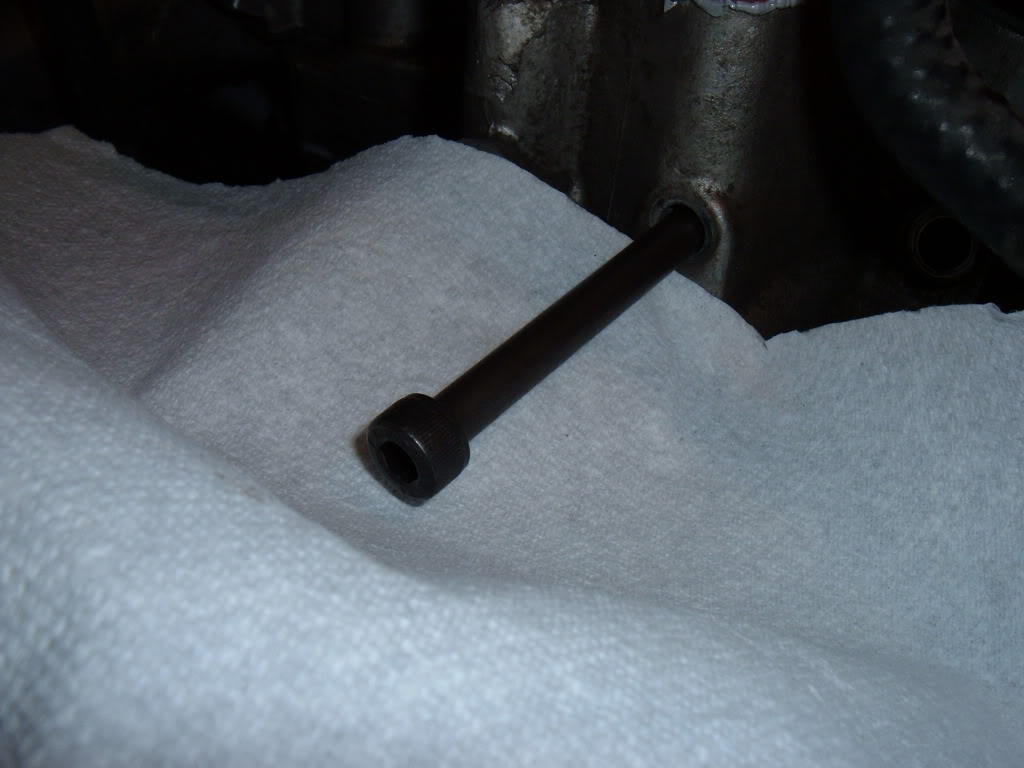
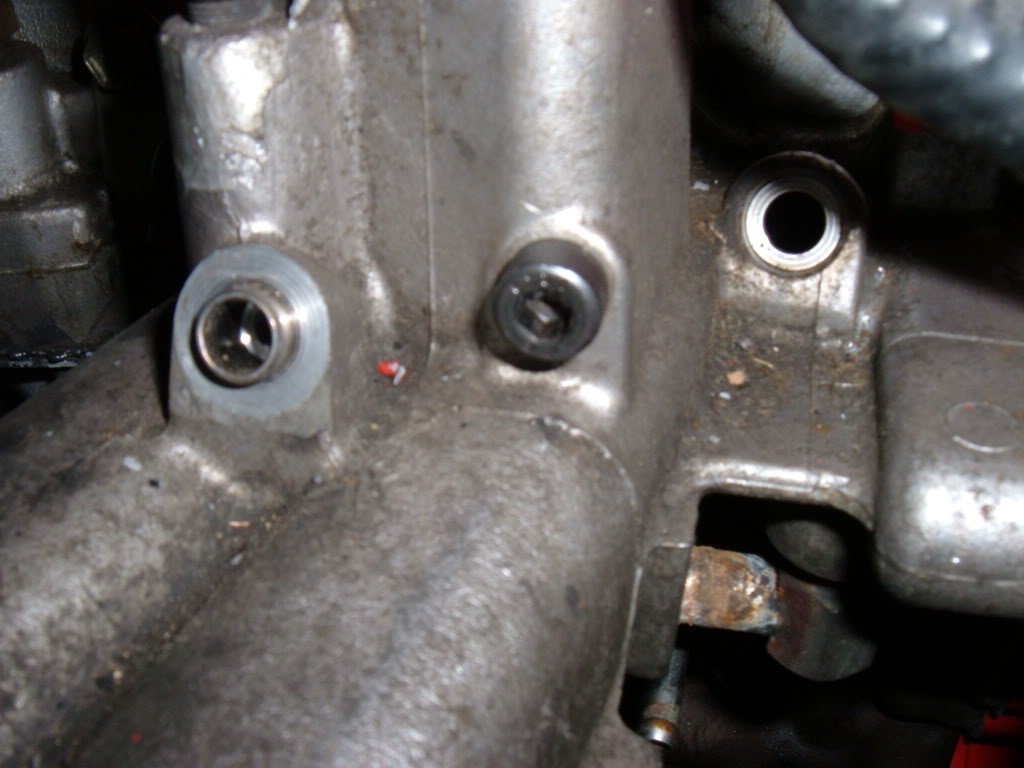
i used my template (pizza box) to re-install the bolts....and don't forget the allen bolt (mine was new from LC Engineering since i had stripped-out the head of the old one)
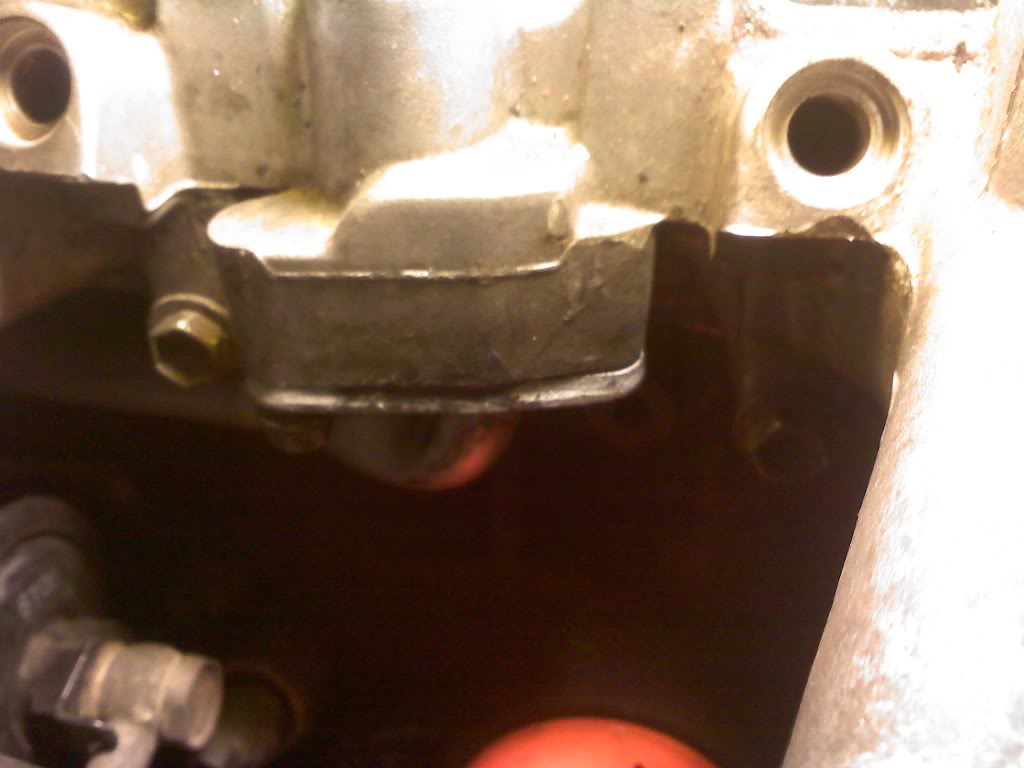
right under the thermostat
and i was done with the lower intake manifold install
found that in following the FSM for installing the EGR to the block, it omitted the step of a new gasket...i had used BLACK RTV...so we will see if that bites me someday. i trimmed the lower intake gasket to subtract for that area.
new gasket
a few PITA parts here are again, those crazy metal pipes and getting the to line up where you need them.....some BLACK RTV again where a rubber gasket is and was able to get the lower intake in place on it.......had trouble getting both bolts to thread and no matter what positioning i tried, i could not get it....so i used the vice grips again, and again, it worked like a charm.
i used my template (pizza box) to re-install the bolts....and don't forget the allen bolt (mine was new from LC Engineering since i had stripped-out the head of the old one)
right under the thermostat
and i was done with the lower intake manifold install
 06-02-2010, 03:20 AM
#62
YotaTech Milestone-Two Millionth Post
Thread Starter
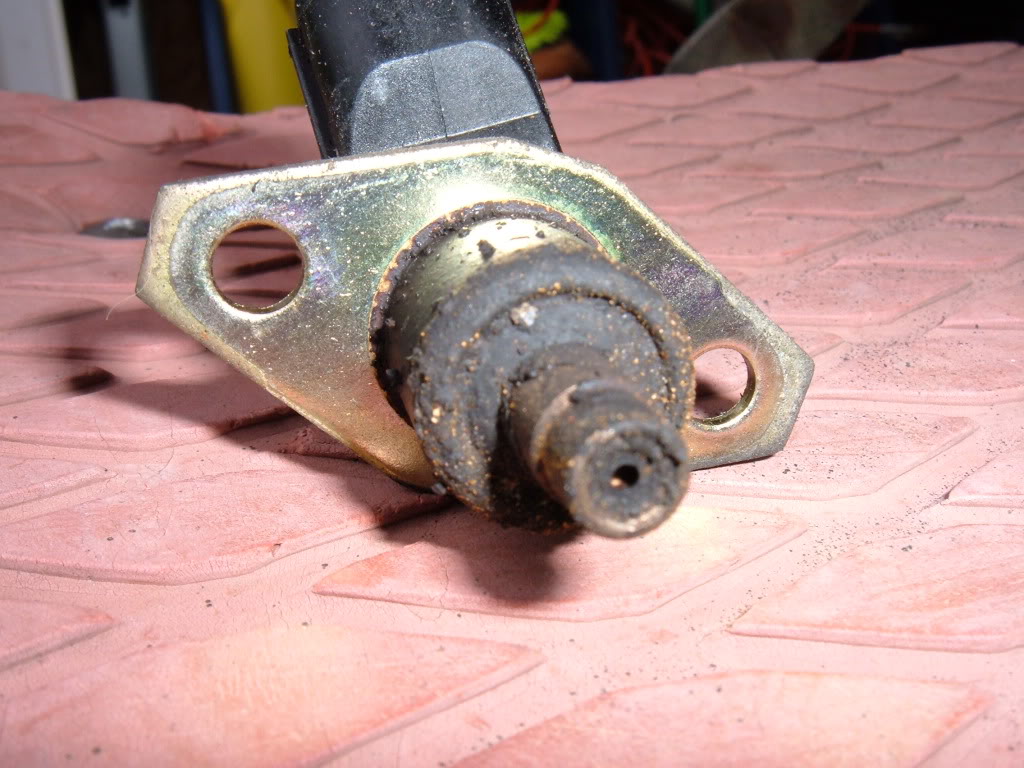
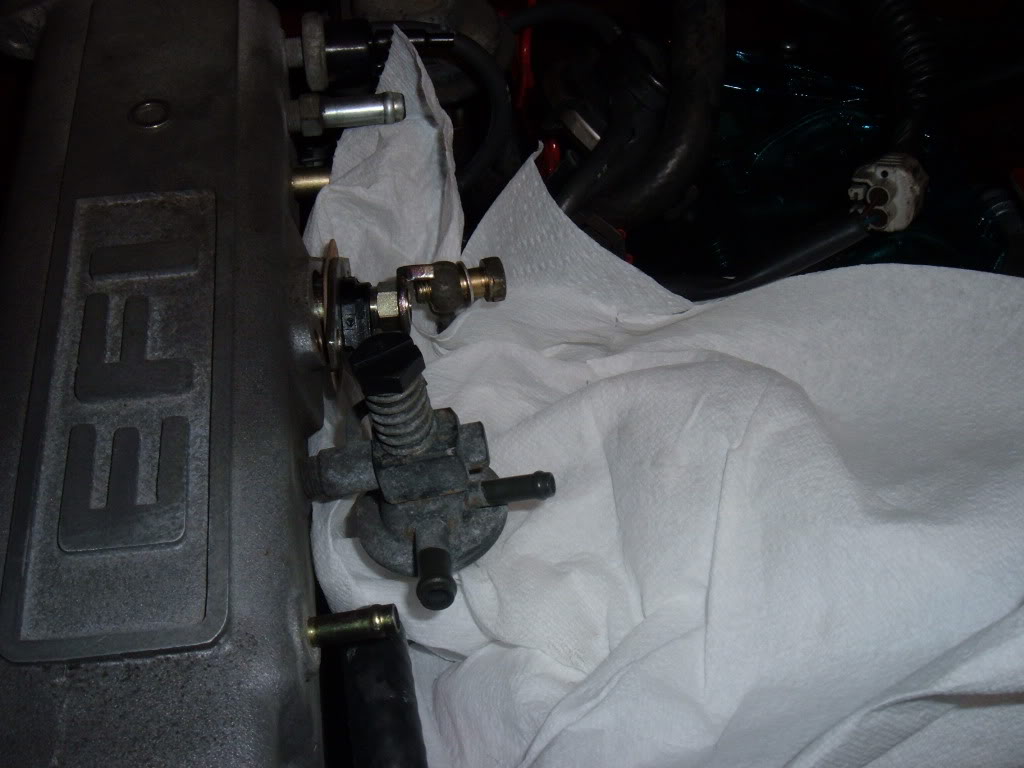
Fuel rail / injectors
so i got hasty and installed my old (un-serviced injectors).....so it was at this point, that i sent them and my cold start injector to witch-hunter...creating a self-induced delay.
but when they come back tested / refreshed and serviced, it's worth the wait
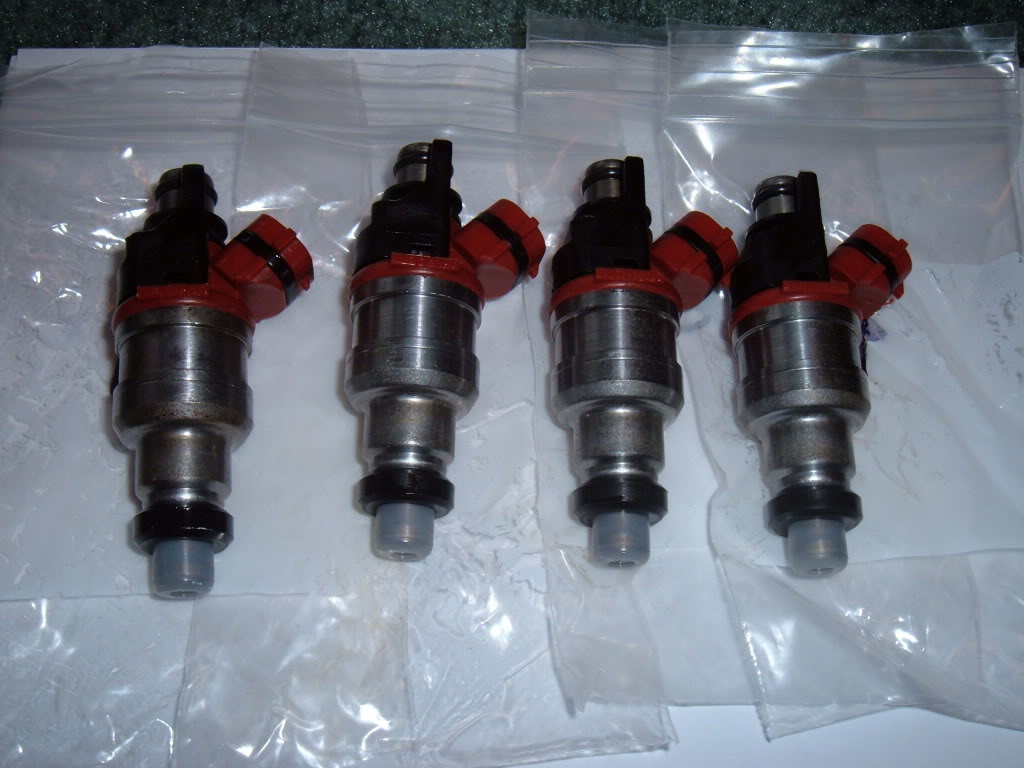
OLD and disgusting
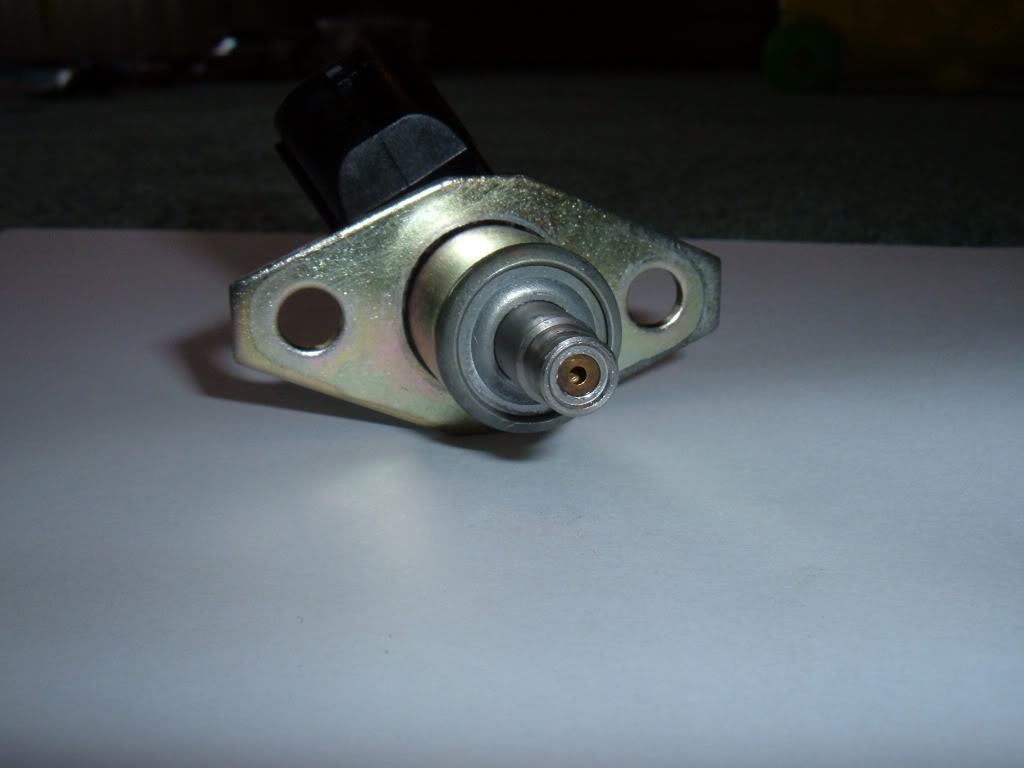
tasty fresh
a test chart...
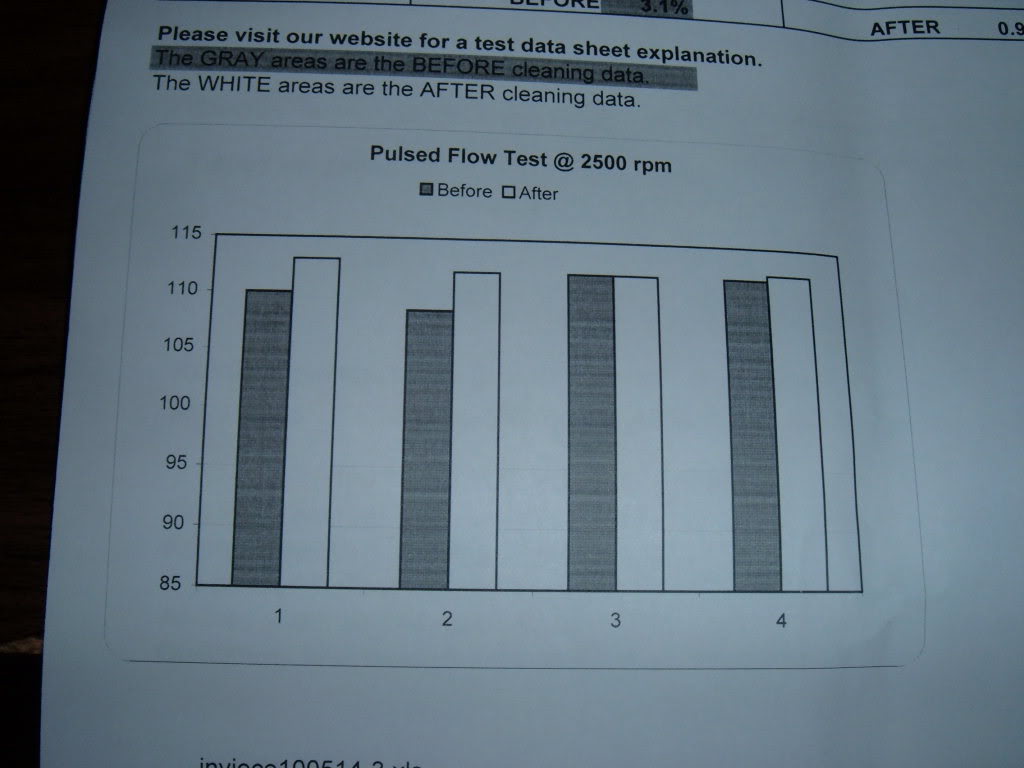
and the old dry-rotted stuff back to prove what a mess they were

re-installed cold start injector
and done(mostly)...some tweaking of the wires have to be done...some go over the rail, some under, it's kinda a PITA time here...but i got it right..
but when they come back tested / refreshed and serviced, it's worth the wait
OLD and disgusting
tasty fresh
a test chart...
and the old dry-rotted stuff back to prove what a mess they were
re-installed cold start injector
and done(mostly)...some tweaking of the wires have to be done...some go over the rail, some under, it's kinda a PITA time here...but i got it right..
06-02-2010, 03:22 AM
#63
YotaTech Milestone-Two Millionth Post
Thread Starter
remember, use new crush washers at the fuel rail....(big 19mm bolt...2 washers)...forgot to do that, had to order them from the dealer...like $3 or so
06-02-2010, 03:28 AM
#64
YotaTech Milestone-Two Millionth Post
Thread Starter
Reed valve pipe connection
i spent far more time arguing with this than i should have had to... for the life of me i could not get this to line up. i finally disconnected the REED valve from where it was mounted to the lower intake and was able to hook it to the pipe this way. i wish i had not given up on this, but no matter what i tried or pryed, i could not get it to line up (about 3 hours worth).
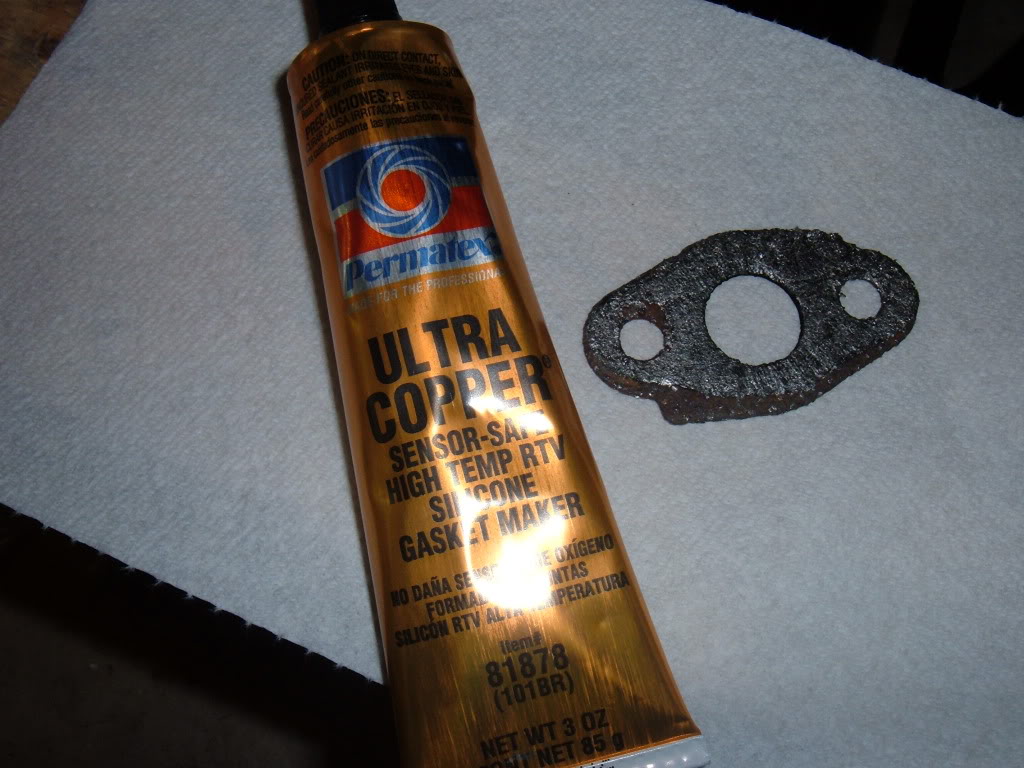
also, i could not find, maybe never had it, the gasket for this area. luckily in my box of bags from disassembly , i found the old one. some copper RTV and i was good to go.
pics...

this gasket
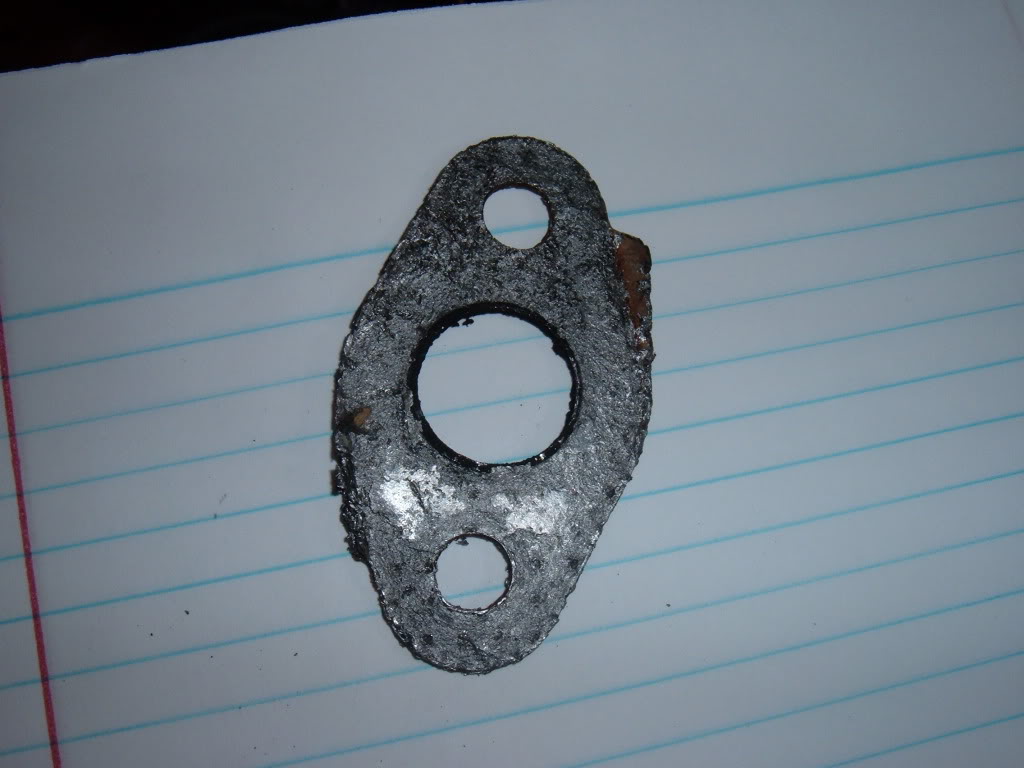
goes here
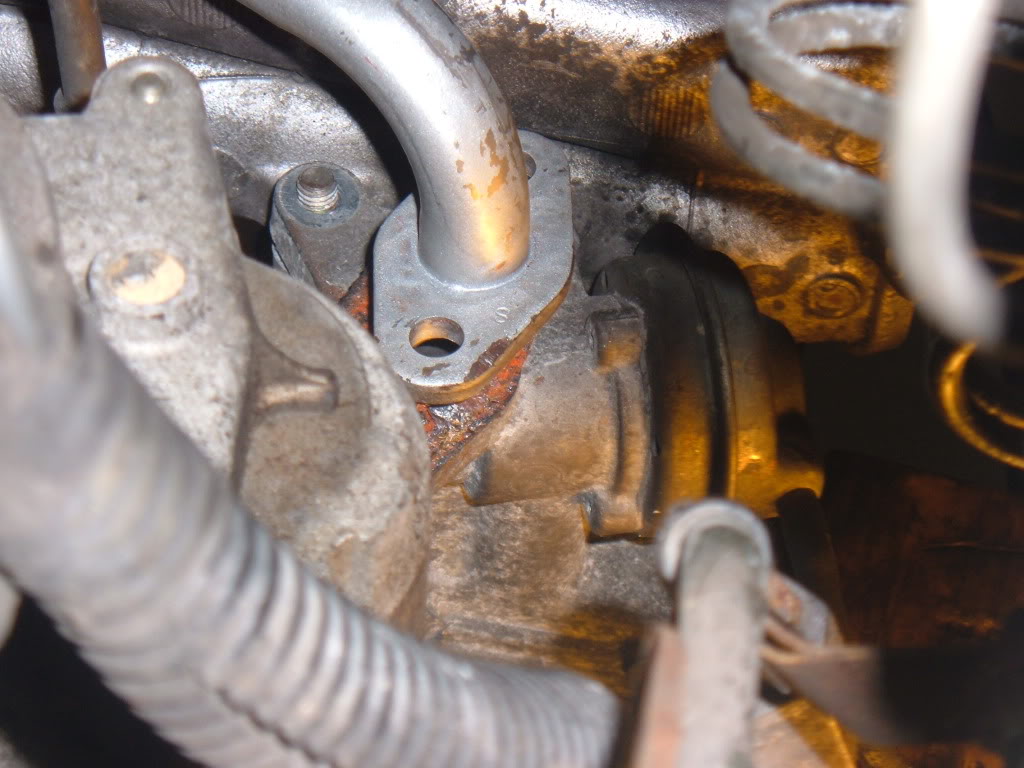
and i rationalized with myself that the REED valve itself, weighs very little and that it was held securely in the back by the pipe and securely in the front by it's hose and the container that was bolted, so it's not going anywhere.
pointing at the hose (hehehehehe) and with that, this miserable part of the episode was done.
also, i could not find, maybe never had it, the gasket for this area. luckily in my box of bags from disassembly , i found the old one. some copper RTV and i was good to go.
pics...
this gasket
goes here
and i rationalized with myself that the REED valve itself, weighs very little and that it was held securely in the back by the pipe and securely in the front by it's hose and the container that was bolted, so it's not going anywhere.
pointing at the hose (hehehehehe) and with that, this miserable part of the episode was done.
06-02-2010, 03:34 AM
#65
YotaTech Milestone-Two Millionth Post
Thread Starter
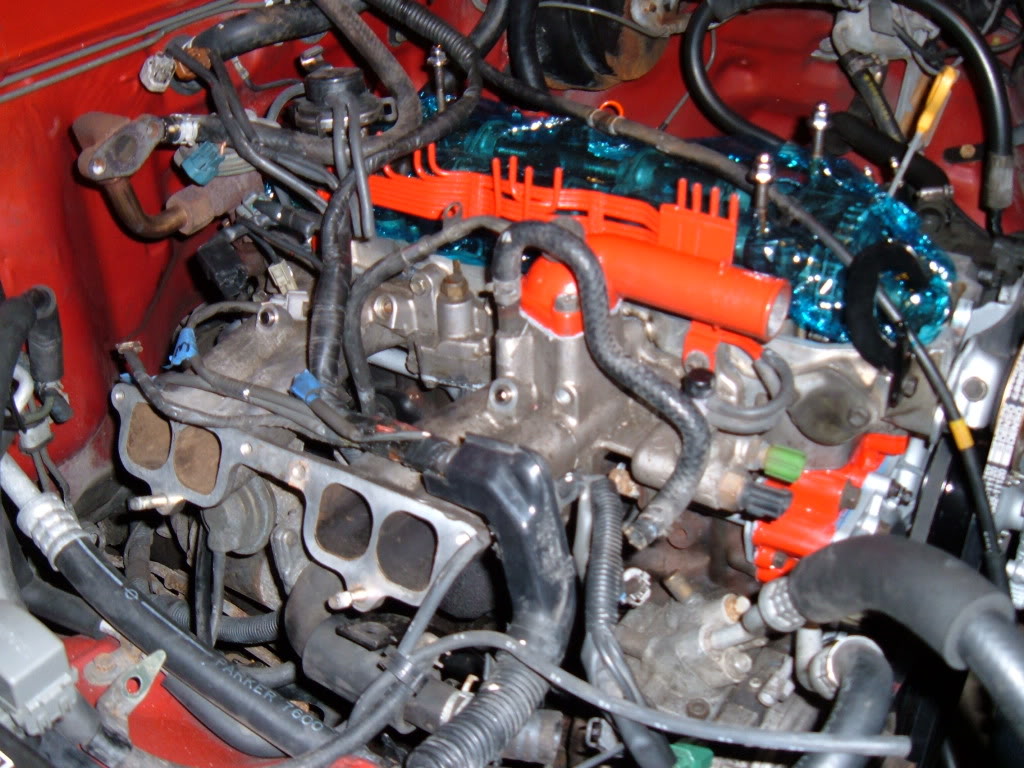
Upper intake install
feeling like i was really getting close to done, it was time to put on the upper intake....
prepped and ready....scraped and wiped with acetone
had a bitch of a time getting the small, solid fuel line to bolt to the cold start injector. after dropping a few of the little crush washers, i figured it was time to use a net
MY ADVICE.....unbolt the cold start injector....thread on the fuel line mostly and the re-install the cold start injector.....after several failed attempts at bending the fuel line so it would thread on, i figured this was a better and safer way
and with that, this part was complete
06-02-2010, 03:44 AM
#67
YotaTech Milestone-Two Millionth Post
Thread Starter
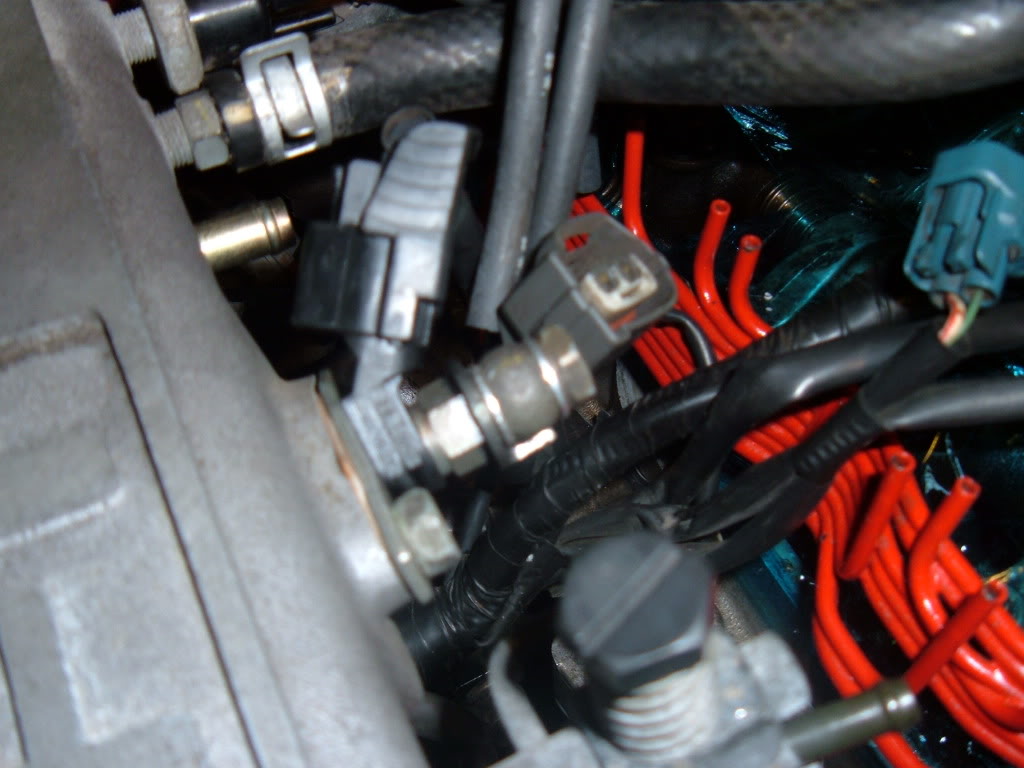
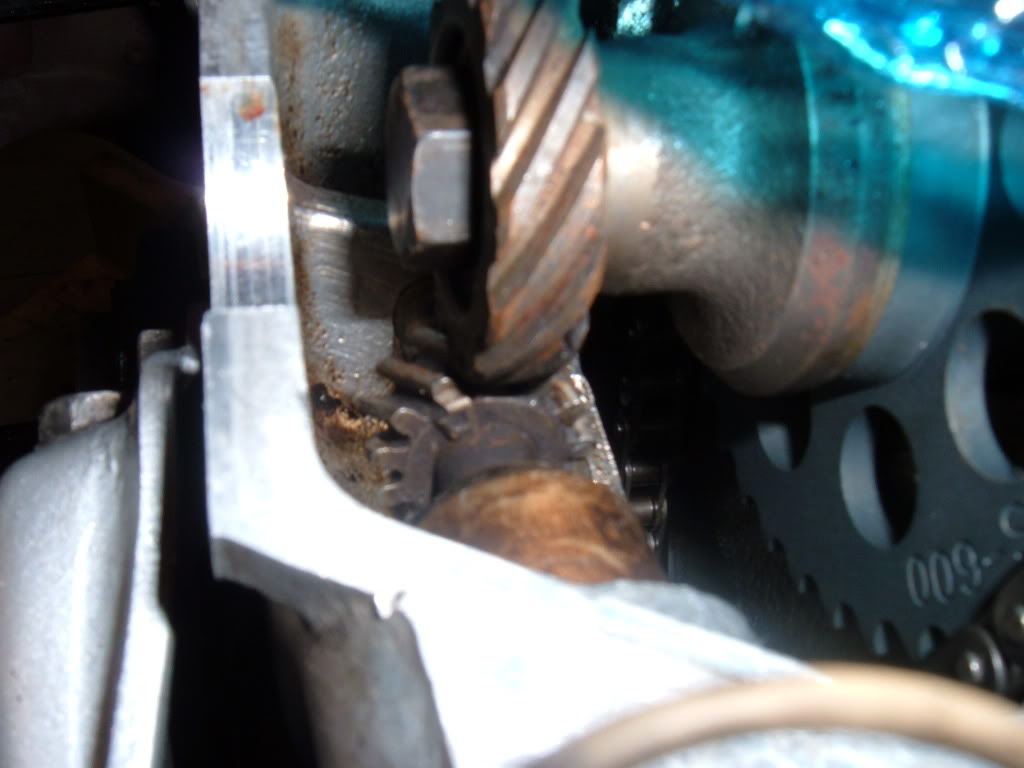
Distributor install
having never done any of this before, i was pretty unsure of what to do.....so i took it apart.
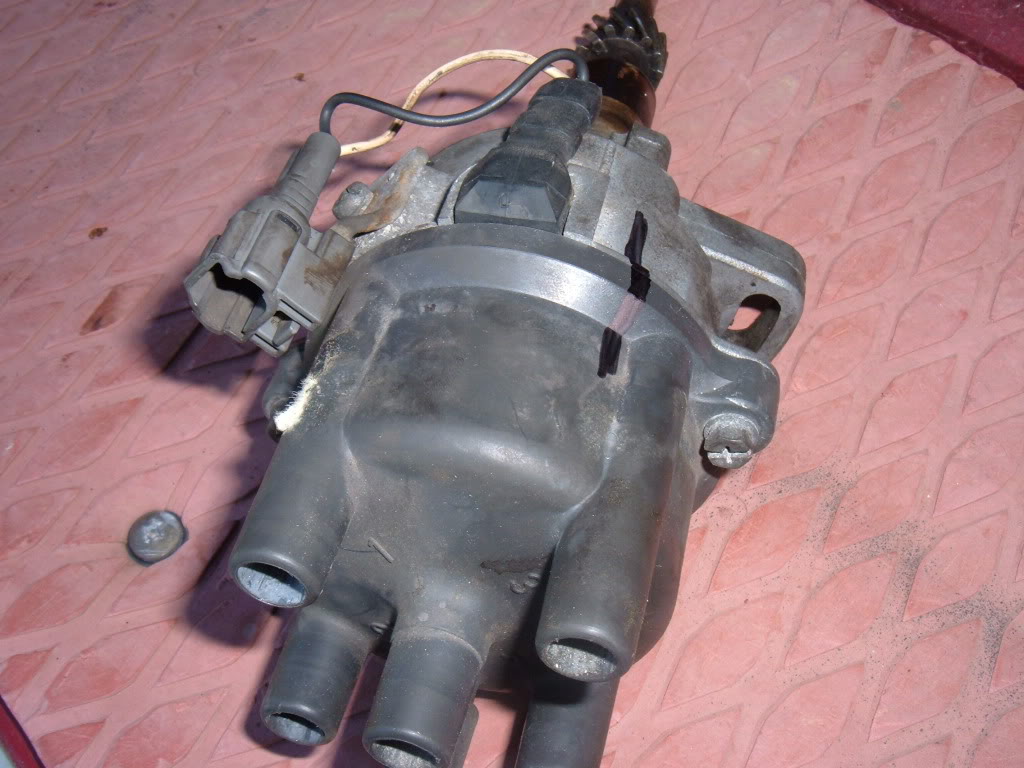
i read, and i researched and looked at pics and figured about where the rotor(??) should be pointed and that , on my distributor, the was a little nub....sticking up, apparently denoting where it should lay in relation to the cam gear(??)...should end up right in front of it.......i remember the "holy sh-t, i got it right on the 1st stab" comment..
nub..
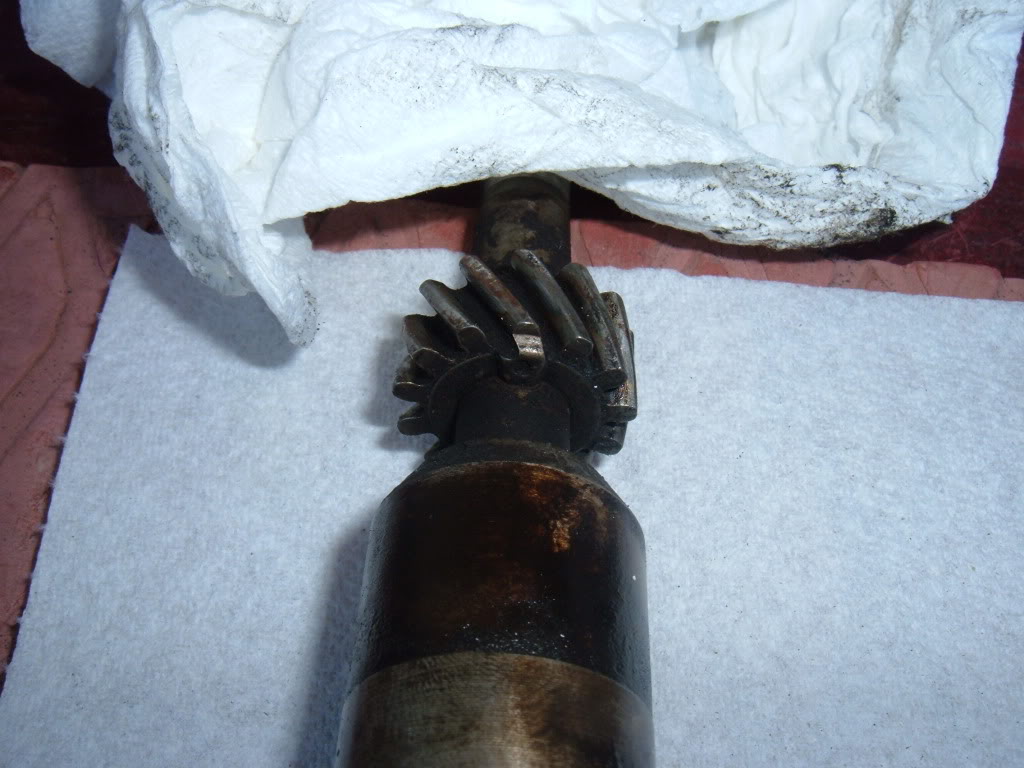
the correct position
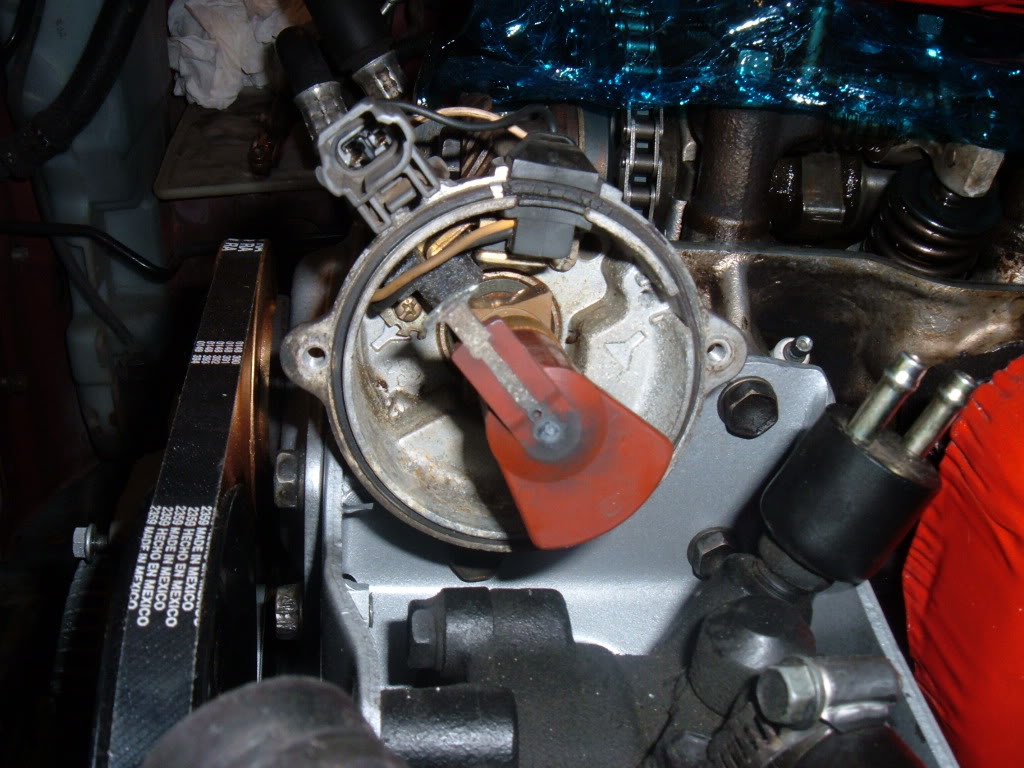
and it sits like this
and just that fast, i was done....
i read, and i researched and looked at pics and figured about where the rotor(??) should be pointed and that , on my distributor, the was a little nub....sticking up, apparently denoting where it should lay in relation to the cam gear(??)...should end up right in front of it.......i remember the "holy sh-t, i got it right on the 1st stab" comment..
nub..
the correct position
and it sits like this
and just that fast, i was done....
06-08-2010, 02:45 AM
#69
YotaTech Milestone-Two Millionth Post
Thread Starter
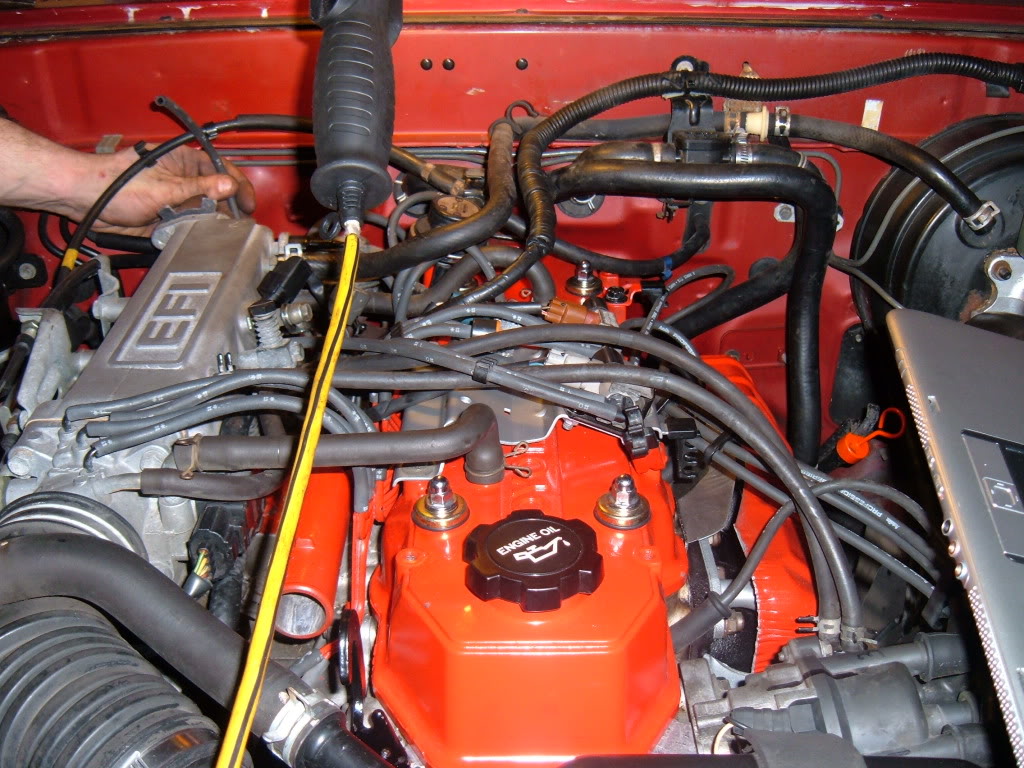
Moving right along......was time to put the painted fan back in
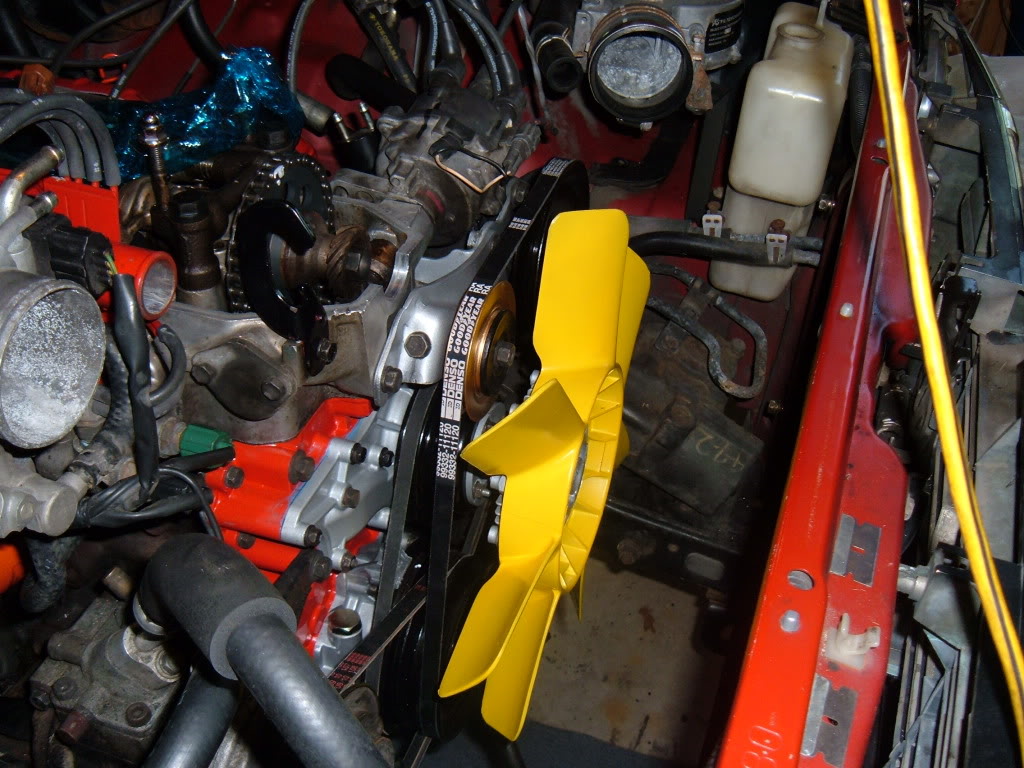
Radiator
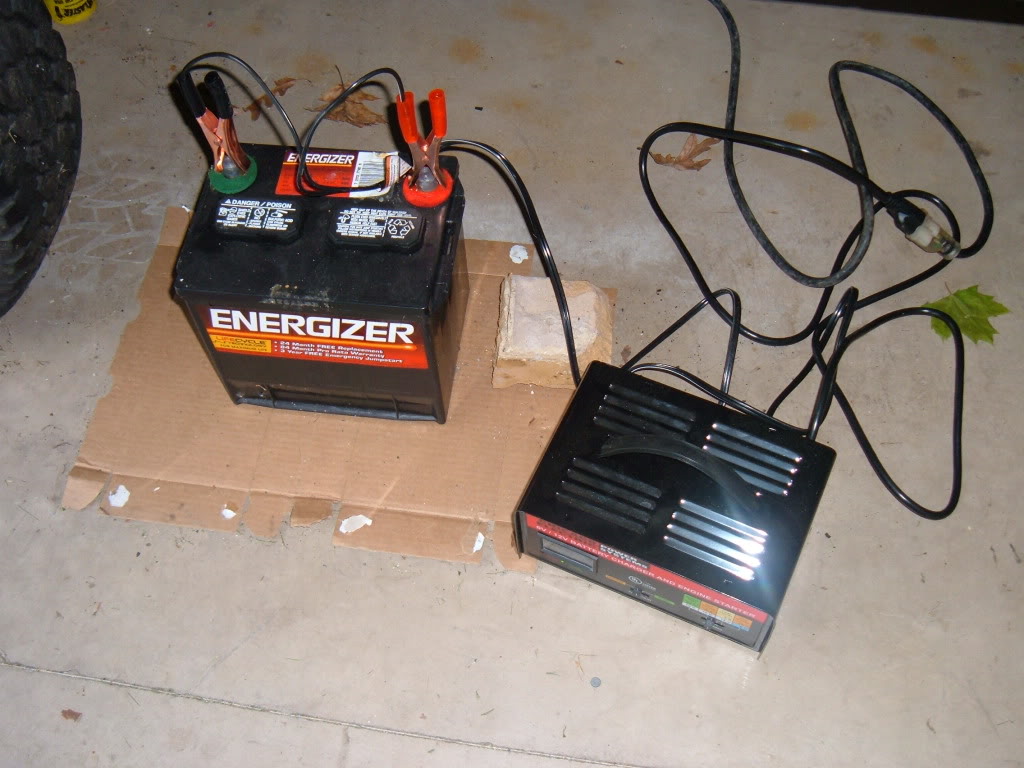
charge the battery
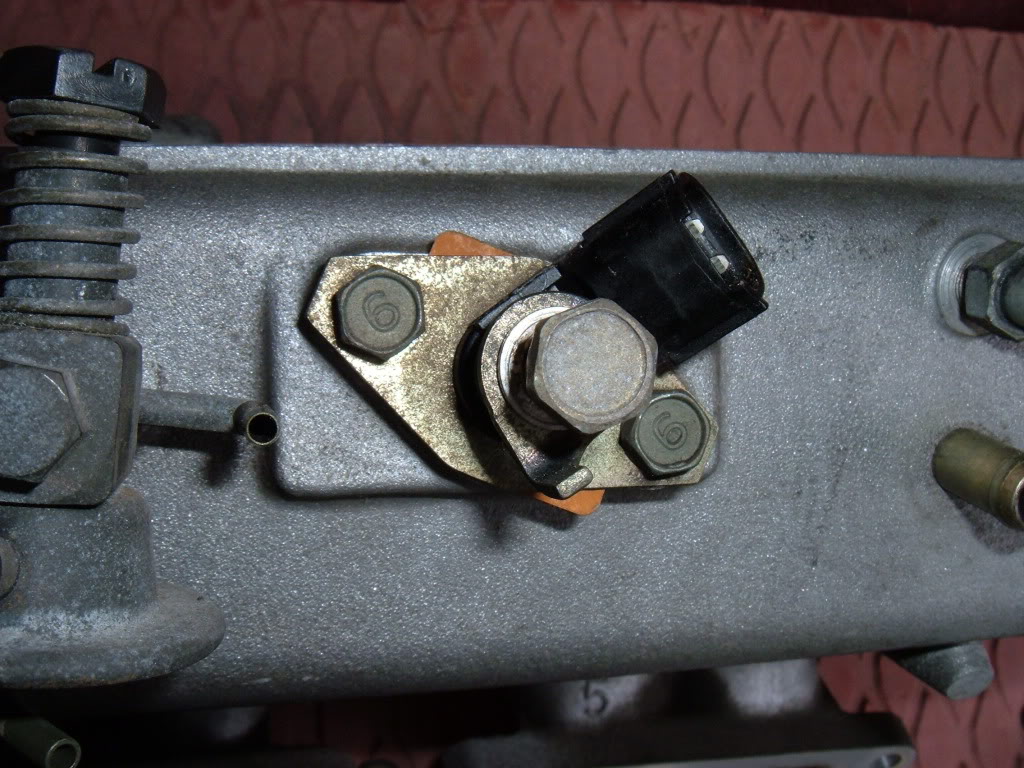
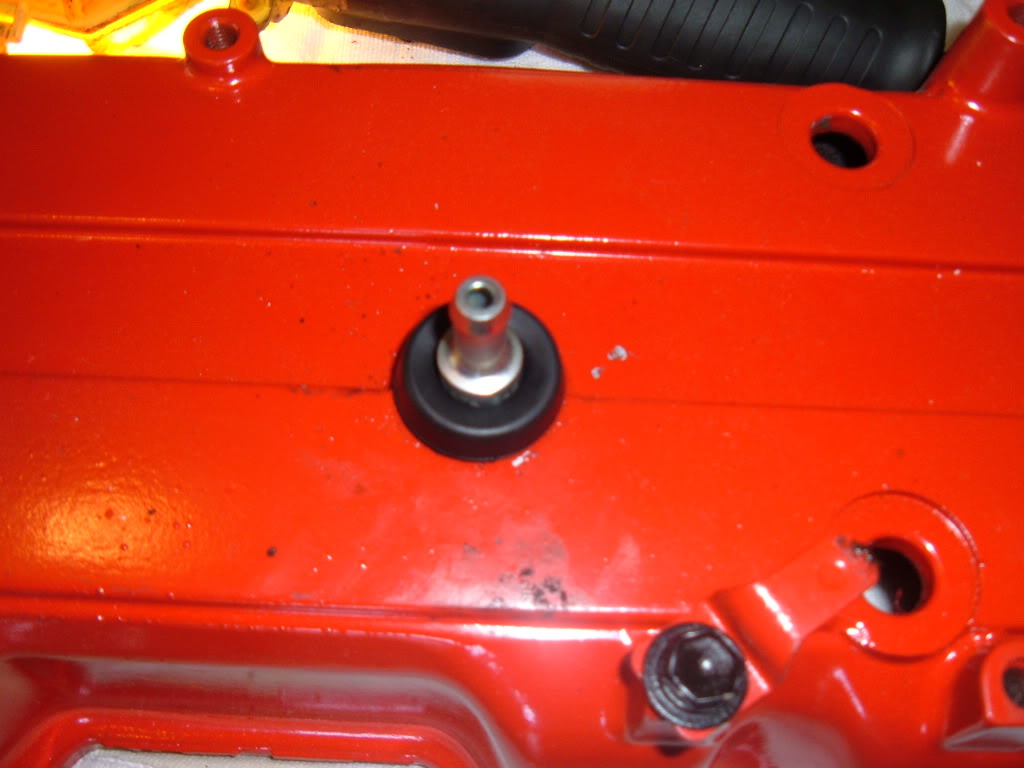
Time to replace the PCV valve (from the dealer)
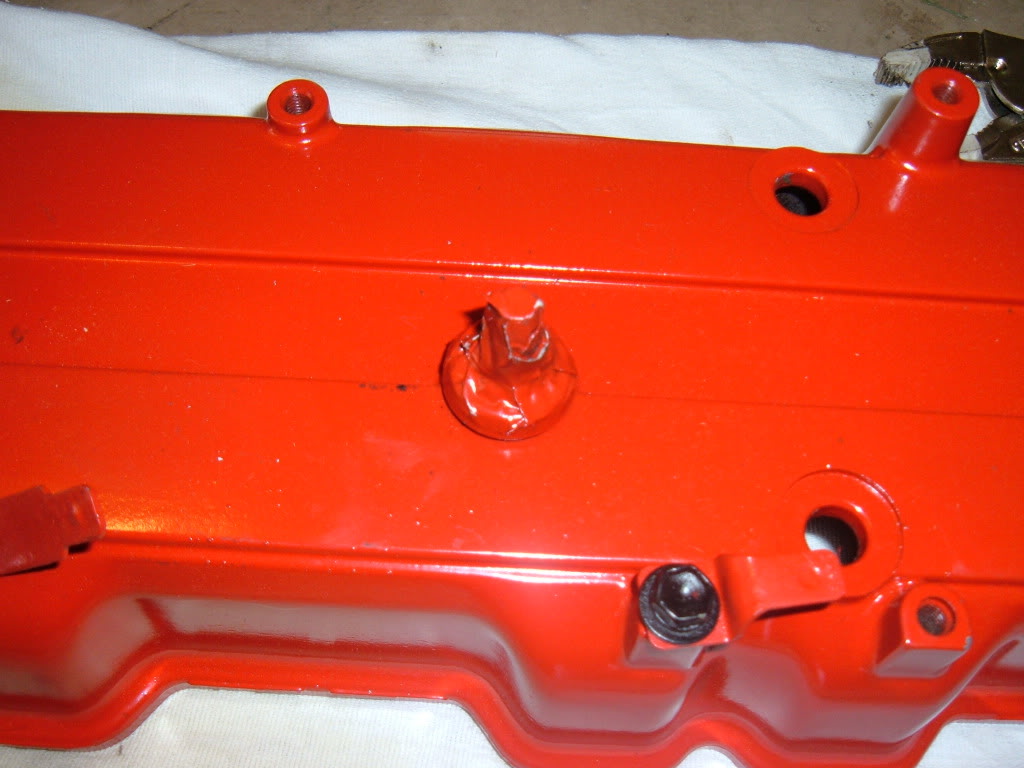
standing on the valve cover while prying with vice grips worked....and peel off the remnants of the gasket
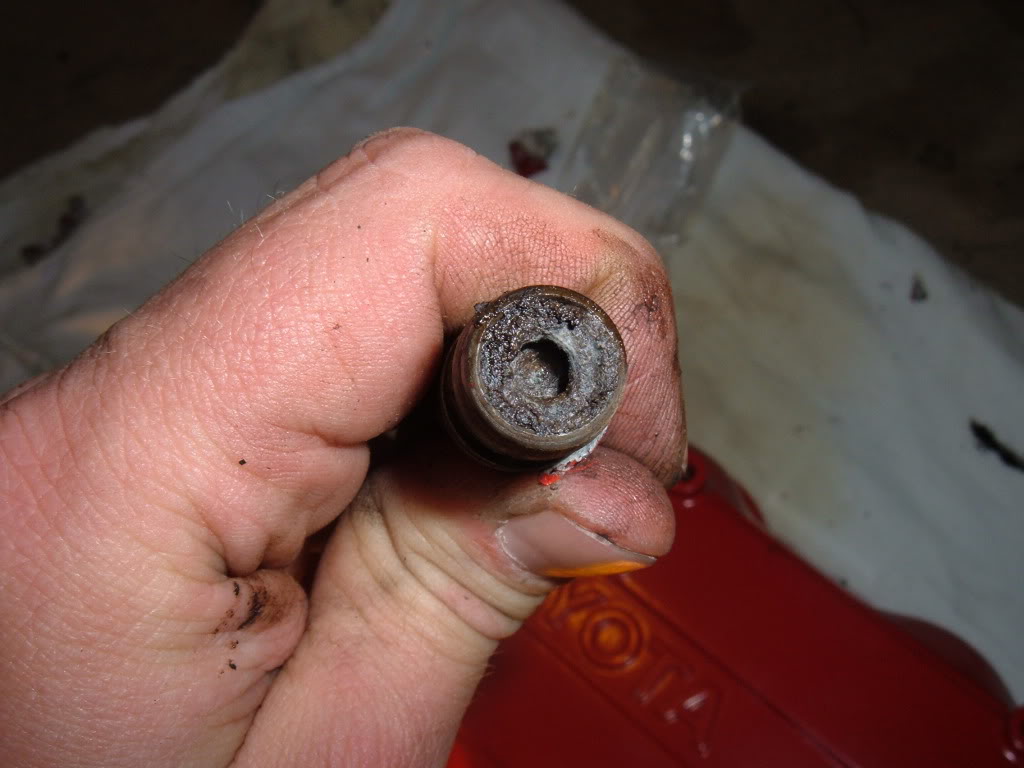
here's why it should be replaced
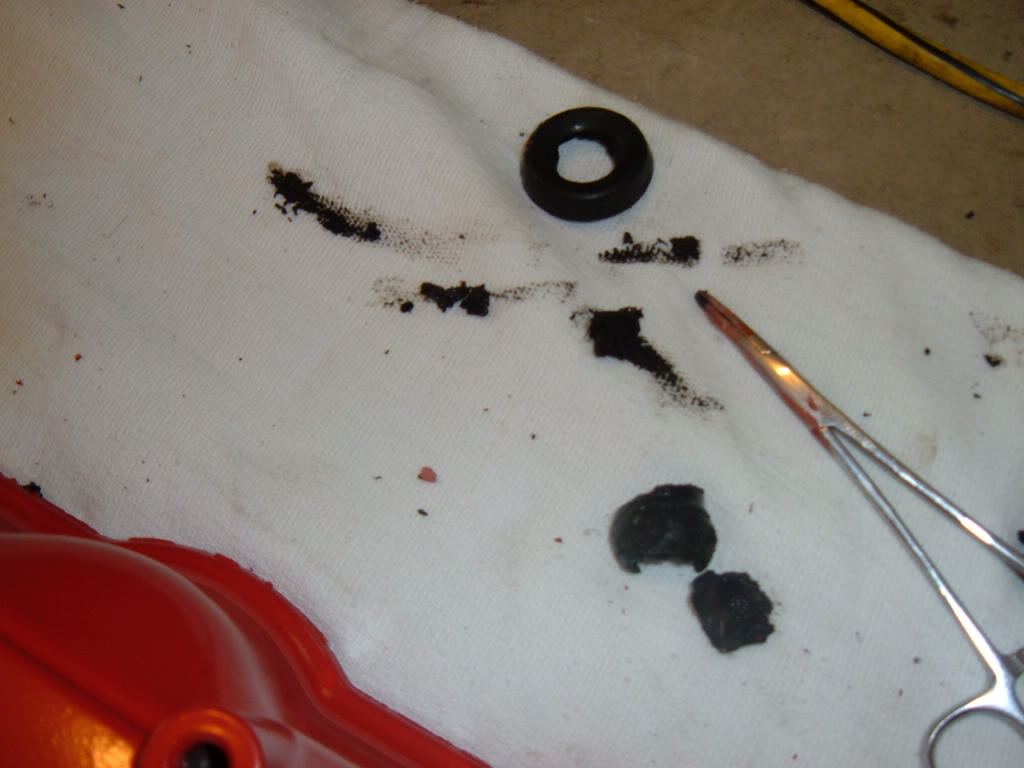
and new valve and gasket in place
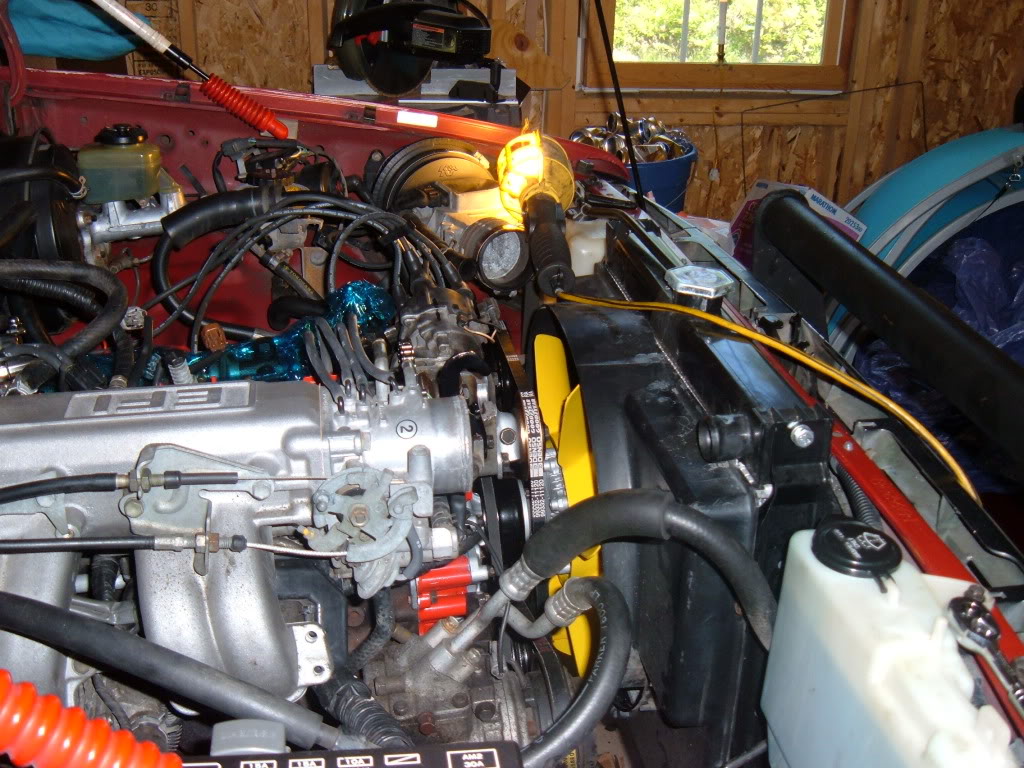
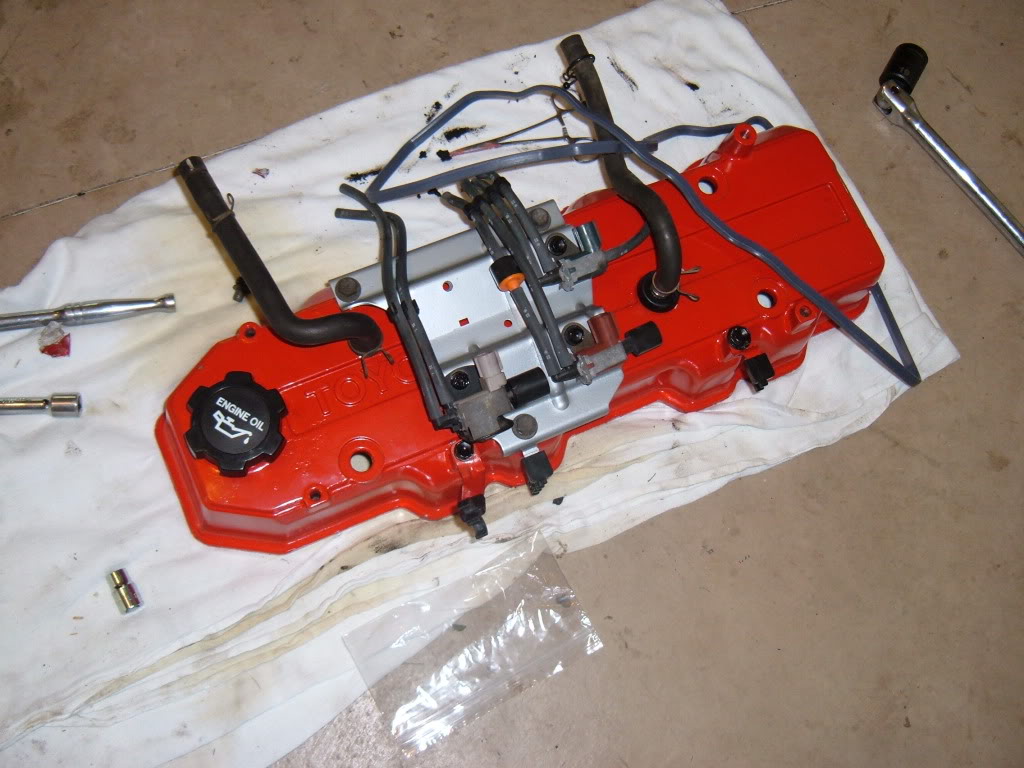
put all this back on.....
meanwhile, XXXTREME22R was setting the valves....
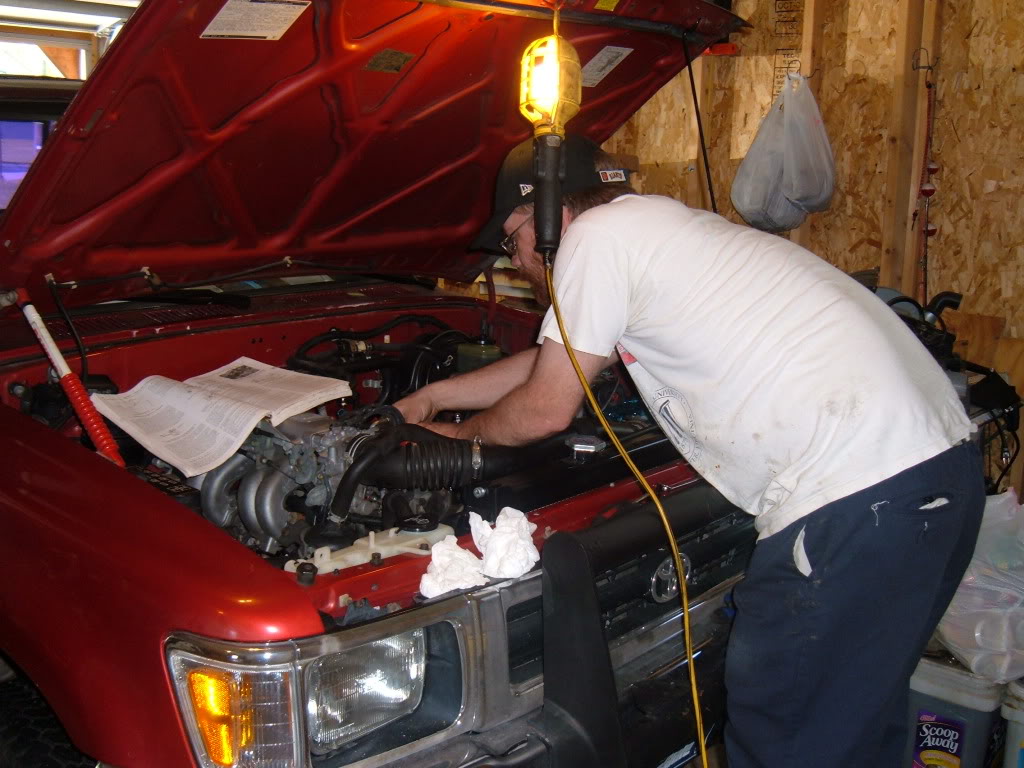
while keeping the YOTATECH folks updated
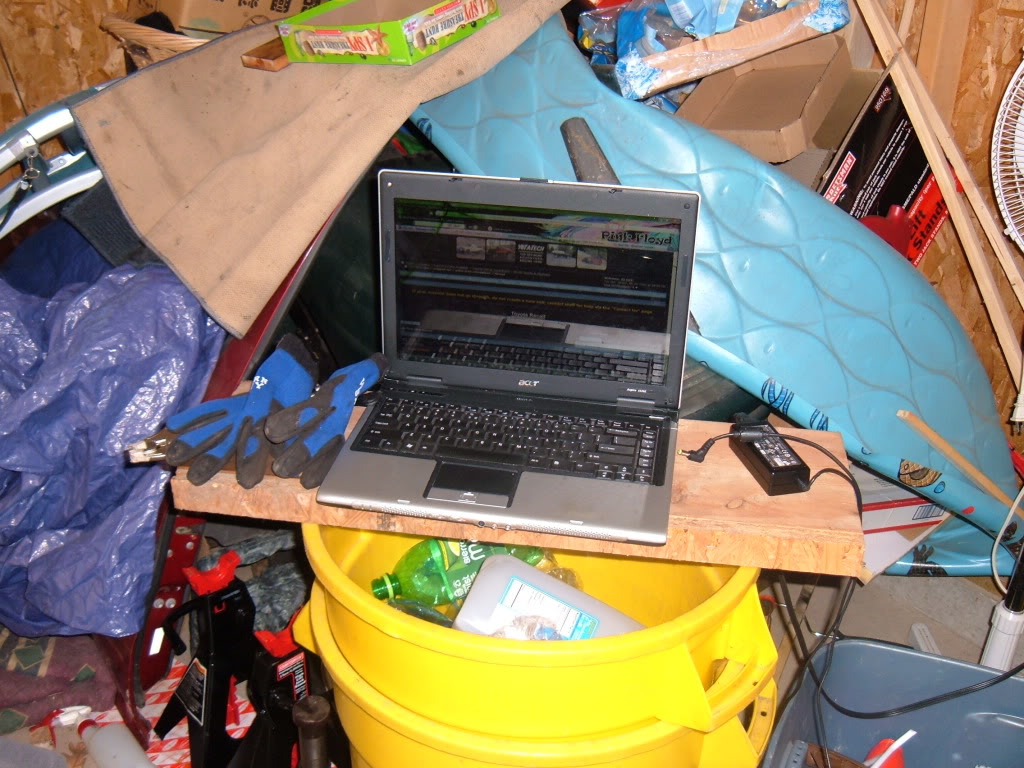
and also using some stored pics and other resources for getting the vacuum hoses right

and we were ready to go....
and the, of course, added oil, filled up the radiator with WATER (for now, and actually, still have water in it now trying to rinse contaminants out).....and the we pushed it out of the garage.
at this point...with nothing left to do but turn the key, i was soooooooooo certain something was messed up and this was going to be a BIG FAT FAIL....because this was a 1st for me, I was a nervous wreck.
Cranked the engine (which surprised me that even happened) with the coil wire off to build up oil pressure until the oil light went off, put the coil wire back on and with a turn of the key.....IT STARTED!!!!!!!!!
one little poof of smoke with the 1st start up (i assume as the assembly lube burned from the cylinder walls) and it was running PERCECTLY.
XXXTREME22R...checked the timing....was off ever so little, and we were done.
although the engine itself smoked ALOT from the paint baking...and the lower radiator hose leaked (because i forgot to tighten it) and the same with a heater hose........but besides that....NO PROBLEMS.
After just shy of 300 miles since starting it up on May 20th, only leak i have is from the very back of te oil pan, presumably because i either made the FIPG too thin there, or smeared it terribly on installation. should fix that...but it leaks sooooooo very little, that it's almost not worth it......I will fix it, but for now, i will bask in it's glory.
Radiator
charge the battery
Time to replace the PCV valve (from the dealer)
standing on the valve cover while prying with vice grips worked....and peel off the remnants of the gasket
here's why it should be replaced
and new valve and gasket in place
put all this back on.....
meanwhile, XXXTREME22R was setting the valves....
while keeping the YOTATECH folks updated
and also using some stored pics and other resources for getting the vacuum hoses right
and we were ready to go....
and the, of course, added oil, filled up the radiator with WATER (for now, and actually, still have water in it now trying to rinse contaminants out).....and the we pushed it out of the garage.
at this point...with nothing left to do but turn the key, i was soooooooooo certain something was messed up and this was going to be a BIG FAT FAIL....because this was a 1st for me, I was a nervous wreck.
Cranked the engine (which surprised me that even happened) with the coil wire off to build up oil pressure until the oil light went off, put the coil wire back on and with a turn of the key.....IT STARTED!!!!!!!!!
one little poof of smoke with the 1st start up (i assume as the assembly lube burned from the cylinder walls) and it was running PERCECTLY.
XXXTREME22R...checked the timing....was off ever so little, and we were done.
although the engine itself smoked ALOT from the paint baking...and the lower radiator hose leaked (because i forgot to tighten it) and the same with a heater hose........but besides that....NO PROBLEMS.
After just shy of 300 miles since starting it up on May 20th, only leak i have is from the very back of te oil pan, presumably because i either made the FIPG too thin there, or smeared it terribly on installation. should fix that...but it leaks sooooooo very little, that it's almost not worth it......I will fix it, but for now, i will bask in it's glory.
06-08-2010, 02:52 AM
#70
YotaTech Milestone-Two Millionth Post
Thread Starter
and...of course, a start-up video or 2 (never mind the 1st videos tag, it's from my son's YOUTUBE account)
http://www.youtube.com/watch?v=l9boU...layer_embedded
http://www.youtube.com/watch?v=YsbU1...layer_embedded
http://www.youtube.com/watch?v=l9boU...layer_embedded
http://www.youtube.com/watch?v=YsbU1...layer_embedded
06-08-2010, 02:58 AM
#71
YotaTech Milestone-Two Millionth Post
Thread Starter
Again...as i wrote in the original thread.....even though i did this alone (except the last day with a little physical help from XXXTREME22R, and the continual support and encouragement from LUMPY from start to finish)...i didn't really do this alone.
from that terrible day last August, until the day I started it up May 20th.....you guys helped me.....whether it be with technical advice, support, encouragement or a swft kick in the pants....you guys were there.
so for any newbies out there thinking that there is no way you can do this.......yes you can.
i started with no skills and did this job....so you can definitely do it.
i've condensed 8 months and over 100 pages of a thread to 70 posts and 3 pages....so i've likely missed a few details.....feel free to post up questions now.
06-08-2010, 09:20 AM
#72
Registered User
Nice work, way to take the time to turn everything into an easy to follow guide for the next guy that wants to tackle this themselves. 
Sticky worthy? Maybe.
Sticky worthy? Maybe.
06-08-2010, 11:26 AM
#75
Registered User
Join Date: Oct 2009
Location: Downtown Heckronto, Ontario, Soviet Canuckistan
Posts: 1,499
Likes: 0
Received 1 Like
on
1 Post
Another vote for sticky so long as I get credit for my heckling!
Actually, I bookmarked this thread so I have something to reference when it's my motor's turn to get new parts.
Actually, I bookmarked this thread so I have something to reference when it's my motor's turn to get new parts.
06-08-2010, 11:35 AM
#77
Registered User
Geez dude, you aren't doing it FOR them. But you have awesome organizational tricks and ideas that are useful, and lots of pics for visual reference. They can wipe their own behind and download the FSM like the rest of us have to find some torque specs.
06-08-2010, 11:37 AM
#79
Registered User
just saying 
06-08-2010, 12:14 PM
#80
Contributing Member


