
been thinkin of a better cold air intake setup...
 08-23-2013, 12:08 AM
#61
Registered User

Wow, that is a really nice filter box. I'm a little jealous.
Did you and/or can you hold the K&N and S&B filters to the light to better show their pore size? Can kind of see here, but the S&B is more in the shade:

Some foam tape along the top and sides and you should be golden... The key is not so much to build a secondary deflector (though by rotating your coolant overflow container you could) as it is to isolate the intake flow from the air w/in the engine compartment -- or at least that's my take....
What's the clearance between the front top of the box and the hood? Anything w/in half an inch is easy to get foam tape/weatherstripping to seal. Thicker you can still get the foam tape, but usually you have to go to a speaker store or the like... Or you can do the quick and dirty method like I did with double sided tape and pipe insulating foam (no issues/deterioration that I've seen on my rig btw -- and I'm in the ATX metro so w/in a couple degrees of you).
Also is there/are there any drainage holes on the inside of that box? That filter setup doesn't look as protected as the factory from water intake, but should sufficient for anyone not full wheels deep in water...
Big THANK YOU for the writeup!

Did you and/or can you hold the K&N and S&B filters to the light to better show their pore size? Can kind of see here, but the S&B is more in the shade:
Some foam tape along the top and sides and you should be golden... The key is not so much to build a secondary deflector (though by rotating your coolant overflow container you could) as it is to isolate the intake flow from the air w/in the engine compartment -- or at least that's my take....
What's the clearance between the front top of the box and the hood? Anything w/in half an inch is easy to get foam tape/weatherstripping to seal. Thicker you can still get the foam tape, but usually you have to go to a speaker store or the like... Or you can do the quick and dirty method like I did with double sided tape and pipe insulating foam (no issues/deterioration that I've seen on my rig btw -- and I'm in the ATX metro so w/in a couple degrees of you).
Also is there/are there any drainage holes on the inside of that box? That filter setup doesn't look as protected as the factory from water intake, but should sufficient for anyone not full wheels deep in water...
Big THANK YOU for the writeup!
Last edited by RSR; 08-23-2013 at 12:10 AM.
 08-23-2013, 12:25 AM
#62
Registered User
Also, what all came in the kit?
Just the box and filter, or was there a bend/intake arm like in the picture on S&B's website?
http://www.sbfilters.com/toyota-3-0L...ke-kit-75-9006

Just the box and filter, or was there a bend/intake arm like in the picture on S&B's website?
http://www.sbfilters.com/toyota-3-0L...ke-kit-75-9006
08-23-2013, 01:01 AM
#63
Registered User
Thread Starter
Join Date: Jun 2013
Location: Texas
Posts: 232
Likes: 0
Received 0 Likes
on
0 Posts
If you look in the pic right after the box between the filter and the box you'll see the black tube right they're Lolo confused about your double tape thing the way it's working now all the air seems to cone from behind headlight and I can tell inside truck cuz it's not insulated and I can tell when hotter air going through making engine temps rise compared to the cooler air that's not heading the intake plenum up as well so it seems better. The overflow reservoir actually helps make a wall to makes sure it draws from behind headlight. I still wanna have a scoop to the front fabricate one for the application. I plan on running test at heart party of day same miles same road etc and then do some holes like mentioned before and another test can't wait for daylight to get here
08-23-2013, 08:24 AM
#65
Registered User
I love it when mods are backed up with real data! Yes, at WOT the stock 3VZE air intake setup is not efficient.
skipper0802 and RSR, You both have identified the exact restrictions I've replaced for those same reasons. All openings should be the at least the same size/volume of your throttle body, any less than that and you have a restriction.
Following the path of the air (with priority 1-10 and cost):
1. First is the spoiler since there's too much restriction of airflow by the headlight. RSR's drilled holes fix that. However, if you want to correct the second restriction the AFM, it won't apply since the spoiler doesn't fit anymore. Priority: 6, Cost: free.
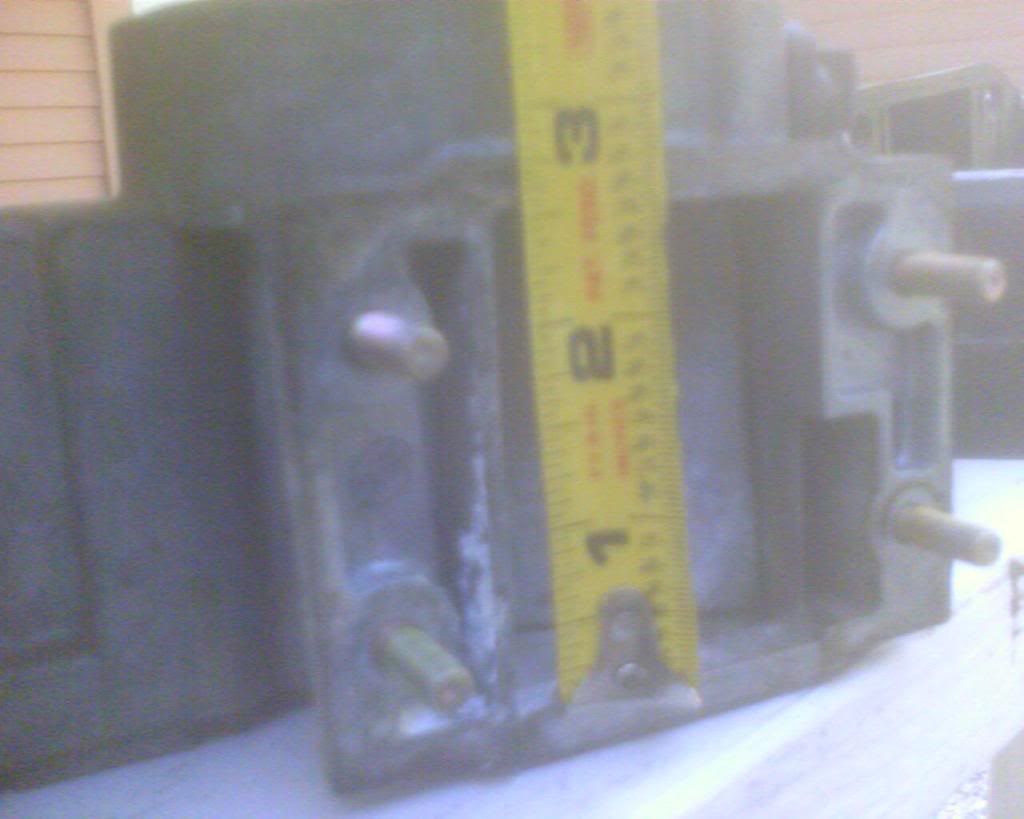
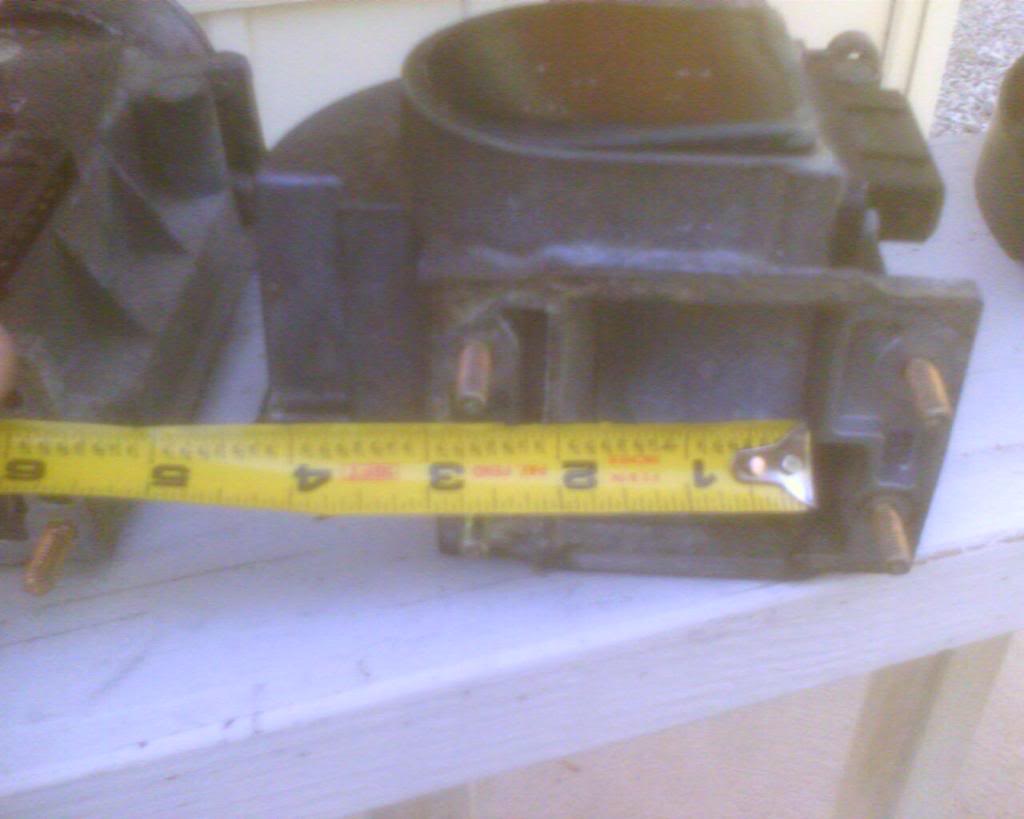
2. The AFM. I've this photo a couple of times showing the size comparison. The AFM exit opening is SMALLER than the Throttle body, and the square intake plate is just as small. Seriously, who designed this one? Replace with a Supra/Cressida AFM to maximize airflow (see my sig). However, I'm yet to figure out how to draw in cool air (you have to either make your own air box or use the Supra/Cresside one which isn't the same as stock), I might fabricate something out of plastic/tubing if I can find an adequate location to pull cool air in from. On hot days in Cali (up to 110) you really feel the drag when the engine warms up. Idles low too. Priority: 8, Cost, $50 - $100 depending if you go DIY or use Spectre kit for air intake.

3. From there you've got the "accordion" hose and the ISR pieces. If you keep the stock AFM, 2.5" piping works. If you swap with Supra, go 3" since 2.5" will be too small. Remove all those silly chambers and just tap into the tubing with nozzles to hook up your PAIR, PCV, and A/C hoses. Priority: 4, Cost: maybe $20.
4. Then you've got the Throttle body, air chamber, intake, etc. etc. Like RSR already said, they are way too expensive to port and you're better off saving your money, it's not going to do much. I didn't do any of these, nor plan to. Priority: 3, Cost: anywhere from $500 to $2000, don't bother.
5. Then you've got headers. I didn't do this one nor plan to. Some people claim great results though! Priority: unknown (search around first), Cost: $500 DIY, $1000 for a shop.
6. The last bit is a cat-back system (meaning everything downstream of the catalytic converter). This is the single best airflow mod you can do. I went with 2.25" piping and Magnaflow muffler and I'm very satisfied. It really woke up my engine. Got 20% better MPG's and a good HP increase (no dyno though). Lots of threads about it, search it up! Priority: 10, Cost: $275 installed by a muffler shop, I've made it all back in gas savings and then some so essentially, it's FREE!
skipper0802 and RSR, You both have identified the exact restrictions I've replaced for those same reasons. All openings should be the at least the same size/volume of your throttle body, any less than that and you have a restriction.
Following the path of the air (with priority 1-10 and cost):
1. First is the spoiler since there's too much restriction of airflow by the headlight. RSR's drilled holes fix that. However, if you want to correct the second restriction the AFM, it won't apply since the spoiler doesn't fit anymore. Priority: 6, Cost: free.
2. The AFM. I've this photo a couple of times showing the size comparison. The AFM exit opening is SMALLER than the Throttle body, and the square intake plate is just as small. Seriously, who designed this one? Replace with a Supra/Cressida AFM to maximize airflow (see my sig). However, I'm yet to figure out how to draw in cool air (you have to either make your own air box or use the Supra/Cresside one which isn't the same as stock), I might fabricate something out of plastic/tubing if I can find an adequate location to pull cool air in from. On hot days in Cali (up to 110) you really feel the drag when the engine warms up. Idles low too. Priority: 8, Cost, $50 - $100 depending if you go DIY or use Spectre kit for air intake.
3. From there you've got the "accordion" hose and the ISR pieces. If you keep the stock AFM, 2.5" piping works. If you swap with Supra, go 3" since 2.5" will be too small. Remove all those silly chambers and just tap into the tubing with nozzles to hook up your PAIR, PCV, and A/C hoses. Priority: 4, Cost: maybe $20.
4. Then you've got the Throttle body, air chamber, intake, etc. etc. Like RSR already said, they are way too expensive to port and you're better off saving your money, it's not going to do much. I didn't do any of these, nor plan to. Priority: 3, Cost: anywhere from $500 to $2000, don't bother.
5. Then you've got headers. I didn't do this one nor plan to. Some people claim great results though! Priority: unknown (search around first), Cost: $500 DIY, $1000 for a shop.
6. The last bit is a cat-back system (meaning everything downstream of the catalytic converter). This is the single best airflow mod you can do. I went with 2.25" piping and Magnaflow muffler and I'm very satisfied. It really woke up my engine. Got 20% better MPG's and a good HP increase (no dyno though). Lots of threads about it, search it up! Priority: 10, Cost: $275 installed by a muffler shop, I've made it all back in gas savings and then some so essentially, it's FREE!
Last edited by Gamefreakgc; 08-23-2013 at 08:40 AM.
08-23-2013, 09:14 AM
#66
Registered User
I love it when mods are backed up with real data! Yes, at WOT the stock 3VZE air intake setup is not efficient.
skipper0802 and RSR, You both have identified the exact restrictions I've replaced for those same reasons. All openings should be the at least the same size/volume of your throttle body, any less than that and you have a restriction.
Following the path of the air (with priority 1-10 and cost):
2. The AFM. I've this photo a couple of times showing the size comparison. The AFM exit opening is SMALLER than the Throttle body, and the square intake plate is just as small. Seriously, who designed this one? Replace with a Supra/Cressida AFM to maximize airflow (see my sig). However, I'm yet to figure out how to draw in cool air (you have to either make your own air box or use the Supra/Cresside one which isn't the same as stock), I might fabricate something out of plastic/tubing if I can find an adequate location to pull cool air in from. On hot days in Cali (up to 110) you really feel the drag when the engine warms up. Idles low too. Priority: 8, Cost, $50 - $100 depending if you go DIY or use Spectre kit for air intake.
3. From there you've got the "accordion" hose and the ISR pieces. If you keep the stock AFM, 2.5" piping works. If you swap with Supra, go 3" since 2.5" will be too small. Remove all those silly chambers and just tap into the tubing with nozzles to hook up your PAIR, PCV, and A/C hoses. Priority: 4, Cost: maybe $20.
https://www.yotatech.com/forums/f2/3...65/#post351451
This pipe: http://store.max-redline.com/servlet...Pipe-45/Detail
Silicone couplers (from the same place) and then I'm leaning towards the port system these guys sell as well over welding connections onto but not into the mandrel intake -- I'd use threadlock to ensure there's no chance anything works loose into intake btw, but this is much less likey to do it w/o the threadlock than some of the other fittings folks have done: http://www.siliconeintakes.com/produ...81b9925c526454
Note: This guy found that keeping his PAIR & PAIR resonator hooked up led to more low end torque and less engine noise...
A Supra AFM looks like it would be a tight fit on the S&B kit.
This is the list of all AFMs that can supposedly swap: https://www.yotatech.com/forums/f116.../#post51626750
Here's a pretty good parts list: https://www.yotatech.com/forums/f116...13/#post619554
It's the camry AFM that nearly fits our trucks airboxes -- and will probably swap out for this S&B application easier than the supra (finally found the post I was looking for -- just use the right PN in the list two links above): https://www.yotatech.com/forums/f116...l#post50883254

This is a good full camry AFM swap thread (IMO, the Camry box is superior for our trucks due to the similar bottom to top air flow better keeping water out versus the Supra box that pulls straight through... And I think I looked at one point and there were more drop in filter options for the Camry than the Supra/3vze that share the same sized filter): https://www.yotatech.com/forums/f116...-think-183463/
Comparing these pics of the Camry and Supra AFM, they look very close in size.
Supra: https://www.yotatech.com/409801-post15.html

3VZE AFM - P/N 197100-2920
Inlet Dim: 1.91"h x 1.93"w
Outlet Dim: 2.585" inside diameter (2.8" outside)
Overall Height: 3.28"h
7MGE AFM - P/N 197100-3630
Inlet Dim: 2.48"h x 1.93"w
Outlet Dim: 2.9" inside diameter (3.15" outside)
Overall Height: 3.88"h
Camry: https://www.yotatech.com/forums/f116.../#post50864156
Last edited by RSR; 08-23-2013 at 12:48 PM.
08-23-2013, 10:30 AM
#68
Registered User
Project Stalled...
RSR and GameFreak
You guys are on the right track in trying to understand the quantified effect that a specific change will give. I like the presentation of good, measured information. Sorry I couldn't post any collected data from my effort as of late. I have to wait for this weekend when my "data recorder/passenger/wife" is ready to copy the information from the instruments while I drive.
You guys are on the right track in trying to understand the quantified effect that a specific change will give. I like the presentation of good, measured information. Sorry I couldn't post any collected data from my effort as of late.
I have to wait for this weekend when my "data recorder/passenger/wife" is ready to copy the information from the instruments while I drive.
08-23-2013, 11:38 AM
#69
Registered User
Thread Starter
Join Date: Jun 2013
Location: Texas
Posts: 232
Likes: 0
Received 0 Likes
on
0 Posts
i must say tho my stock vafm works just fine although Ive leaned it out 4 clicks which helped alot and I feel it gets all the air it needs now... the k&n gave me ˟˟˟˟ because all the hot air it got underneath the hood... The holes for the s&b wont line up with that AFM. they are further apart etc.. I'll probably do the swap one day, but not until mine goes out because im overly satisfied in how my truck runs day & night... I also leaned it out due to flamethrower injectors as well... along with other enhancements/mods, etc. I'm actually about to go drive during the heat see how it does..
08-23-2013, 12:56 PM
#70
Registered User
Actually, looking at those pictures and thinking further, I think the the Camry and Supra AFMs are the exact same dimensions. Someone just actually installed one on our airbox for the Camry I guess... Personally, I'd swap the full AFM/Camry airbox before the Supra just due to water protection. And the Camry looks like it might be able to attach to the stock deflector w/ the right coupler -- just have to measure and calculate the circumference of that opening (long heavier duty zip tie is probably best) and then get a reducer that connects to the stock deflector and/or cut a hole into the stock deflector to insert the new coupling into (ensuring intake areas match/outlet from deflector doesn't become a restriction...)
I do however like the install onto our stock airbox as well. That's obviously easiest w/ everything, but the land cruiser boxes in approved AFM list look pretty solid too. I'm thinking they're likely too tall however...
EDIT: Think I found the easy route. Put the Cressida airbox lid onto our stock box... Filter sizes are the same, so lids should easily interchange... You'll need to add a pair hose connection like in the camry box mod in previous post, but it should work. http://www.ebay.com/itm/AIR-CLEANER-...-/370391599315
ktmBMCT5cLgYw~~_12.JPG)
I do however like the install onto our stock airbox as well. That's obviously easiest w/ everything, but the land cruiser boxes in approved AFM list look pretty solid too. I'm thinking they're likely too tall however...
EDIT: Think I found the easy route. Put the Cressida airbox lid onto our stock box... Filter sizes are the same, so lids should easily interchange... You'll need to add a pair hose connection like in the camry box mod in previous post, but it should work. http://www.ebay.com/itm/AIR-CLEANER-...-/370391599315
Last edited by RSR; 08-23-2013 at 01:18 PM.
08-23-2013, 01:28 PM
#71
Registered User
If you look in the pic right after the box between the filter and the box you'll see the black tube right they're Lolo confused about your double tape thing the way it's working now all the air seems to cone from behind headlight and I can tell inside truck cuz it's not insulated and I can tell when hotter air going through making engine temps rise compared to the cooler air that's not heading the intake plenum up as well so it seems better. The overflow reservoir actually helps make a wall to makes sure it draws from behind headlight. I still wanna have a scoop to the front fabricate one for the application. I plan on running test at heart party of day same miles same road etc and then do some holes like mentioned before and another test can't wait for daylight to get here
Also, is there a drainage avenue in the airbox as provided?
08-23-2013, 01:31 PM
#72
Registered User
i must say tho my stock vafm works just fine although Ive leaned it out 4 clicks which helped alot and I feel it gets all the air it needs now... the k&n gave me ˟˟˟˟ because all the hot air it got underneath the hood... The holes for the s&b wont line up with that AFM. they are further apart etc.. I'll probably do the swap one day, but not until mine goes out because im overly satisfied in how my truck runs day & night... I also leaned it out due to flamethrower injectors as well... along with other enhancements/mods, etc. I'm actually about to go drive during the heat see how it does..
It's just a plastic piece, right? So you can always drill new holes and cut a larger opening so long as it fits w/in the filter element?
I'm sure you'll see big results in the heat! Keep us posted.
08-23-2013, 01:45 PM
#73
Registered User
4. Then you've got the Throttle body, air chamber, intake, etc. etc. Like RSR already said, they are way too expensive to port and you're better off saving your money, it's not going to do much. I didn't do any of these, nor plan to. Priority: 3, Cost: anywhere from $500 to $2000, don't bother.
Here's a review of the DOA throttle body (still available for $290 btw): http://www.off-road.com/trucks-4x4/r...ody-23080.html
http://doaracingengines.com/6-cylind.../v6-induction/
And here's another shop that did offered both plenums and throttles at one point (but seems to no longer):
https://www.yotatech.com/forums/f116...-intake-90929/
http://toyota4x4.net/tbintake.htm#3v6
The throttle body really makes sense to me -- and the narrower butterfly on the Metal Action throttle body especially does (factory is at least 1/3" of restriction in the middle of the throttle at WOT).
But the throttle is something that any machine shop should be able to do. That Machine Action at one point had plenums is awesome. If less than $300 for the whole thing w/ or w/o my old core, I would definitely be tempted, but would have to think through before committing. For someone like Scruss that is committed to the 3vze, it makes a ton of sense.
But personally, I think the throttle is step one and then plenum is the last thing to worry about.
After swapping out heads, installing oversized valves, installing performance cams, and all the add'l maintenance that you should do w/ a head gasket job (which you'd have to do with this step).
The challenge is spending $300 here and $300 there with minor mods w/o realizing how quickly that adds up...
Last edited by RSR; 08-23-2013 at 05:52 PM.
08-23-2013, 03:48 PM
#74
Registered User
Thread Starter
Join Date: Jun 2013
Location: Texas
Posts: 232
Likes: 0
Received 0 Likes
on
0 Posts
same price as K&N roughly 2 bills... its hard plastic and always have a check valve at low point in box to let water out, i see what you mean by sealing it up with foam... Ill play around with it see what happens
08-23-2013, 05:28 PM
#75
Registered User
This is the AFM I have in there off a '90 Supra with a 7MGE:
7MGE AFM - P/N 197100-3630
Inlet Dim: 2.48"h x 1.93"w
Outlet Dim: 2.9" inside diameter (3.15" outside)
Overall Height: 3.88"h
It's the exact same size as the Camry one and I used the air box too since it fits the 3VZE air filter. Like other threads have said there's only two sizes, the ones we have and the larger ones in the beefier V6 engines. That Camry setup looks real sloppy, I'd be worried the intake is partially blocked and would negate any air flow gains. I'm sure the AFM works fine though.
Also, you have to open up the VAFM by cutting the silicon and adjusting the cog (once again, see link in my sig). These are not plug and play but it's not anything crazy, no wire splicing or soldering. Once you get it close, the ECU takes over and adjusts the fuel trim.
08-23-2013, 05:33 PM
#76
Registered User
Thread Starter
Join Date: Jun 2013
Location: Texas
Posts: 232
Likes: 0
Received 0 Likes
on
0 Posts
This is the AFM I have in there off a '90 Supra with a 7MGE:
7MGE AFM - P/N 197100-3630
Inlet Dim: 2.48"h x 1.93"w
Outlet Dim: 2.9" inside diameter (3.15" outside)
Overall Height: 3.88"h
It's the exact same size as the Camry one and I used the air box too since it fits the 3VZE air filter. Like other threads have said there's only two sizes, the ones we have and the larger ones in the beefier V6 engines. That Camry setup looks real sloppy, I'd be worried the intake is partially blocked and would negate any air flow gains. I'm sure the AFM works fine though.
Also, you have to open up the VAFM by cutting the silicon and adjusting the cog (once again, see link in my sig). These are not plug and play but it's not anything crazy, no wire splicing or soldering. Once you get it close, the ECU takes over and adjusts the fuel trim.
7MGE AFM - P/N 197100-3630
Inlet Dim: 2.48"h x 1.93"w
Outlet Dim: 2.9" inside diameter (3.15" outside)
Overall Height: 3.88"h
It's the exact same size as the Camry one and I used the air box too since it fits the 3VZE air filter. Like other threads have said there's only two sizes, the ones we have and the larger ones in the beefier V6 engines. That Camry setup looks real sloppy, I'd be worried the intake is partially blocked and would negate any air flow gains. I'm sure the AFM works fine though.
Also, you have to open up the VAFM by cutting the silicon and adjusting the cog (once again, see link in my sig). These are not plug and play but it's not anything crazy, no wire splicing or soldering. Once you get it close, the ECU takes over and adjusts the fuel trim.
08-23-2013, 07:01 PM
#77
Registered User
Gamefreak - did you see the Cressida lid? I'm debating whether it would make the most sense just to swap it whole and lose the connections or cut and then glue/plastic weld the two pieces back together... (But I really like the S&B box -- it looks good and would probably be a cleaner install of a larger AFM regardless).
The bigdrawback of the supra filter housing is that if any of it gets submerged, it's sucking water and destroying your engine. And you lose the ability to use the stock deflector...
Also, in regards to modding the 3vze to it's full power, DOA sells the overbored throttle body and also sells modded/upgraded long and short block 3vzes. For their 175 hp rebuild, you're looking at $4,650. For their higher power engines, you're looking at $8,250 for 185 hp, $8,650 for 205 hp, and $9,100 for their 225 hp. This is actually properly rebuilding the whole engine (ignoring the quality control and whatnot issues DOA has been known to have) so that it won't self destruct from the additional power. Yes, Raptor sells those 190 hp 3vzes for $2k, but all they appear to be doing is putting in new camshafts...
Just an fyi on the costs you're looking at to make your engine do what you want it to (in quality parts, you're at least 1/2 and probably 2/3rds the cost of the DOA retail price). The 5vzfe you can pickup for stock at 190 hp and for less than $3500 fully rebuilt w/ OEM components. Or with more than half of life left for less than $1500... (Not trying to derail thread -- as I'm thinking through the possibilities this is where the decision making process usually leads me...).
Last edited by RSR; 08-23-2013 at 07:02 PM.
08-23-2013, 08:03 PM
#78
Registered User
Thread Starter
Join Date: Jun 2013
Location: Texas
Posts: 232
Likes: 0
Received 0 Likes
on
0 Posts
Test data update!!!
well I took my truck for another spin this evening after the sun went down and the ground cooled out... I purposely drove my truck for about an hour and let it get warm in there... after I found a 2 mile strecth I took my multimeter that has a min and max hold on it and took the temp prob and put it on the filter itself to see air temps going directly into the filter.. I drove another two miles straight @ 55mph in 5th gear. After I got out I found that with the increase of airflow my meter simply could not keep up and went out of limits...However I could still retrieve some data to help clear things up... I found the highest it ever peaked to was 90..the lowest before it went highwire was 88.. I repeated the test with same mileage, speed gear, pickup, etc. except this time with the temp probe on the outside of the box in free air right where the old intake filter would have been... right at the VAFM basically... And boy did i see differences.. basically with the probe3 right there the highest it would record was 107, the lowest was 105... I think I've got some means to improve to make less heat from around the box give me a better intake air...I also have an idea that I want to run by everyone... Will post again shortly...
08-23-2013, 08:18 PM
#79
Registered User
Thread Starter
Join Date: Jun 2013
Location: Texas
Posts: 232
Likes: 0
Received 0 Likes
on
0 Posts
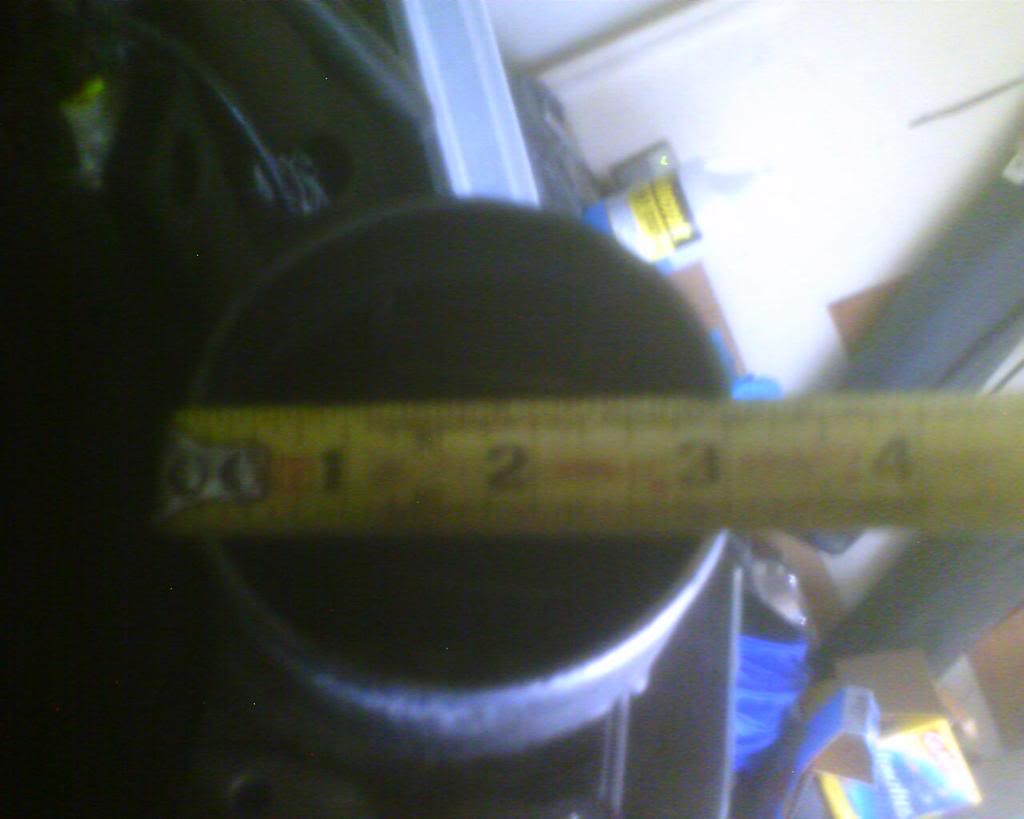
we need something to bring nothing but cold air in right?? well Ive got things turnin in my head but i notice theirs enough room betwwen the opening of the S&B box to fabricate(I say this because theirs yet to be one made for this setup) to where you have your air intake channel coming straight in or thru the grill... the possibilites are endless(Check attachments) but heck these three pics give me ideas on how to come down and create a true intake path.... itll be next pic...
08-23-2013, 08:19 PM
#80
Registered User
Thread Starter
Join Date: Jun 2013
Location: Texas
Posts: 232
Likes: 0
Received 0 Likes
on
0 Posts
to where you have an intake port similar to this or whichever way floats your boat... I have a big lift and tires so I dont have much to worry about RSR, yeah kerrvilles fun when it floods so is south texas lol


