When you click on links to various merchants on this site and make a purchase, this can result in this site earning a commission. Affiliate programs and affiliations include, but are not limited to, the eBay Partner Network.
I'll try to be as simple as I can. What this does is replace the common-non-functional rear window module with a new easy to make one, in about an hour. Full diagram at bottom
What you will need:
2 standard automotive relays (make sure to get the 5 prong ones, should be rated for at least 30 amps)
10 12 gauge female spade connectors
2 circle spade connectors
around 10 ft of 16 gauge wire
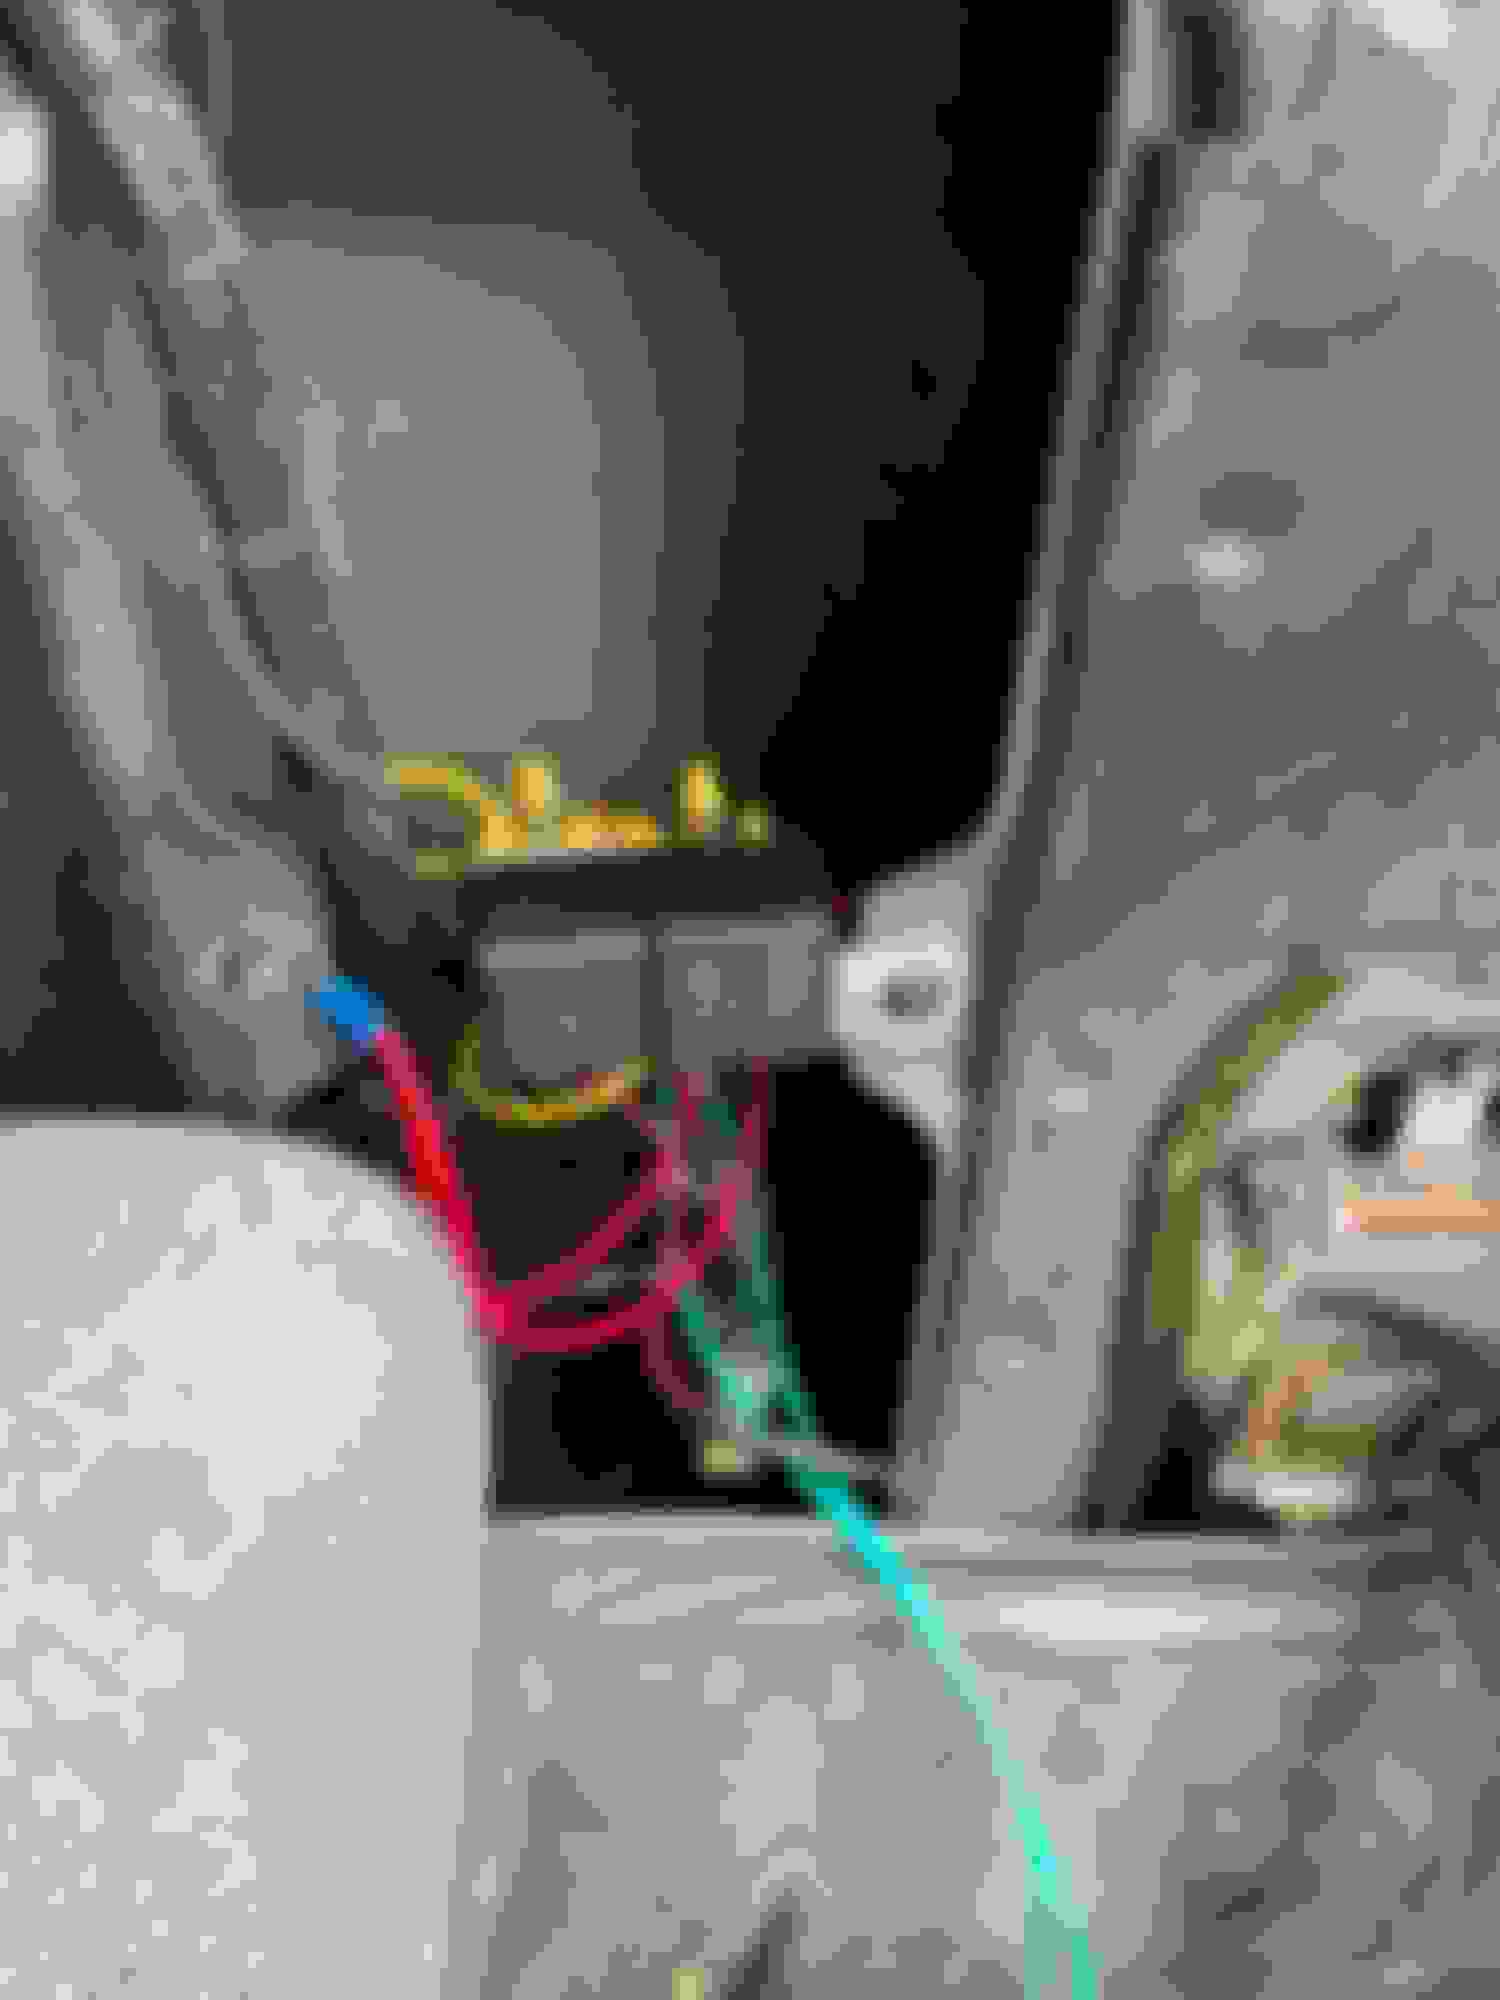
Now tape those 2 relays together, now remove the driver side panel behind the door. Behind it you will see a plastic box with a big wire connector attached to it.
Pull the plug off, you will see 4 wires that are thicker than the rest, the ones you want to cut are the blue/redwire and the blue/yellow, these go directly to the rear window motor. Attach a female spade connector to each of them. Now here you will have some options on power delivery. Because the rear wiper controls are integrated into the box, if you remove it, you wont be able to operate the rear wiper (not like it works well anyways). I removed this box anyways, if you choose to keep it, just splice in or run new wires for the ones I'm talking about.
Look for the solid Blue one, this comes directly from the Power window relay located by the interior fuse box, it supplies constant power to the module (if this wire does not supply power then you can just run a 12 gauge wire and 30A fuse straight from the battery). Go ahead and unplug the battery once you verify it has power, cut that wire off and attach 2 separate 12 gauge wires (about 5" long each) with female spade connectors on each. I recommend soldering the connection together but you can also just do this:
Now back to those relays. Attach these wires to the 87 terminal on both relays. And those wires going to the rear motor? Attach each one to the 36 terminal on each relay.
Next is simple, get some of that wire and ground each 87a terminal (should be the middle one) to one of the bolts that hold the module in place, make sure to sand the paint off to guarantee a good ground.
This is where we are now:
Okay now is the part where you have some options. If you want to keep the regulator box to retain rear wiper control, then you will have to run switched power back to here, or splice the already existing wire. If you want the rear window to work without the key then you will need to run a wire back from the battery (Use a small fuse!). As stated earlier I don't care about rear wiper operation.... Out with the module.
So go ahead and splice/cut the thick Red wire, this will receive power when the key is in the on position. Now get 2 more 5" wires and solder/crimp them together, adding female spade connectors on each end. Now connect those to the 86 terminal on each relay.
Great! now the fun part. Up at the center console, pull the stock window switch out. You will see has about 5 wires coming off it, all you care about are the Blue, Green/Yellow, and Red/Yellow wires. Snip those 3 off, ground out the Blue wire to a nice clean bolt somewhere, I had to run it to the side bold holding the radio console in. Now run wires from the other 2 wires back to the relays and put spade connectors on each one. Connect them to terminal 85 on each relay.
Now go ahead and plug the battery back in. Turn the key on and try the switch out. If the direction is wrong, simple swap the terminal 85 wires. If you hear clicking but no window movement, then make sure you have power going into terminal 87 as you may not be getting power from the power window breaker. If you don't hear clicking then you are not getting power to actuate the relays and will need to check the terminal 86 power.
Here is the full diagram:
Notice those optional switches? The way the switch is designed, you can simply ground out the terminal 85 and the relay will click, therefore you can just splice in another switch anywhere along those wires, then ground out the other side of the new switch, and it will operate.
Now that you have verified the circuit works, go ahead and mount it inside the hole, I ripped off the L bracket from the module and taped the relays to it, that way I could have them secured.
a lot of work. with the same effort, you probably could have made the factory installation operable. most of the time, wiring is the problem with the rear window, either cut where it enters the tailgate, or cracked internally with poor continuity. the relays and switches rarely fail. glad your custom install works, though.
i added a remote interior switch that always has power to the rear cubby pocket, and wired into the factory setup. this retained all the factory operation/accessories, and added a powered switch. makes it much easier to get out the back when camping in the runner; no fumbling with the key to turn on the ignition in the middle of the night.
 06-29-2021, 02:53 PM