22r-22re conversion (84-88)
 03-20-2014, 10:48 AM
#21
Super Moderator
Staff
Thread Starter
iTrader: (1)
Join Date: Aug 2008
Location: Anderson Missouri
Posts: 11,788
Likes: 0
Received 22 Likes
on
20 Posts
Install Mechanical Fuel Pump Block Off Plate.
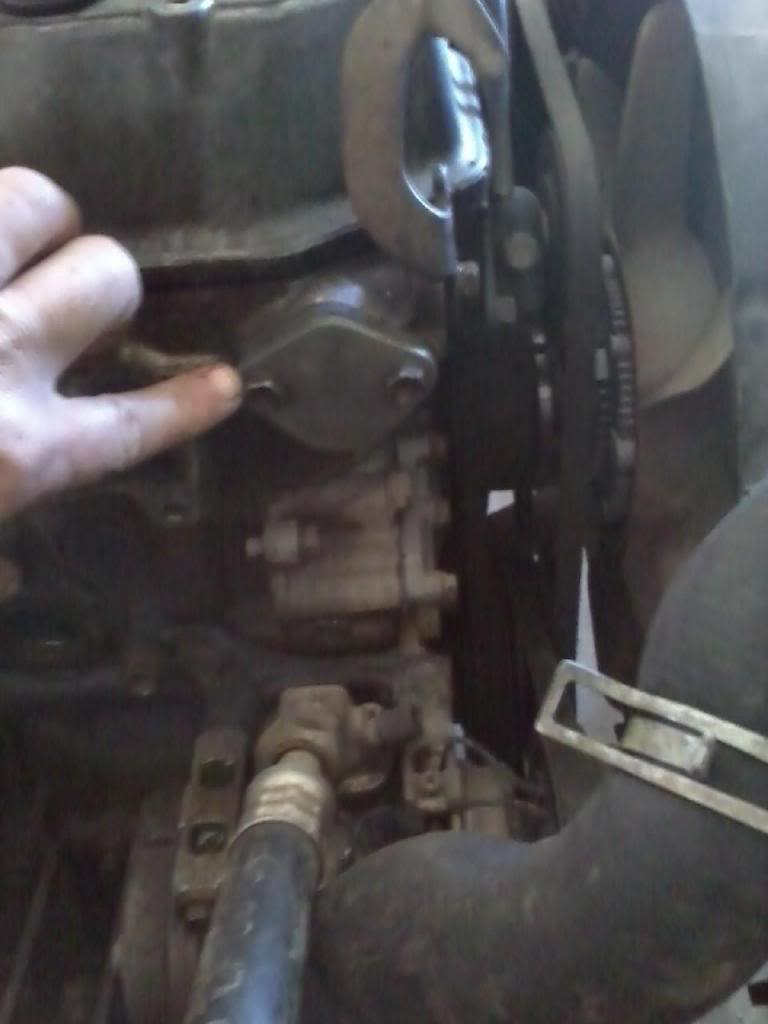
I am installing an SR5 Cluster Guage so I swapped out the Oil Pressure Sending Unit with the larger one. To remove the smaller sending unit it is a 27mm deep well socket.
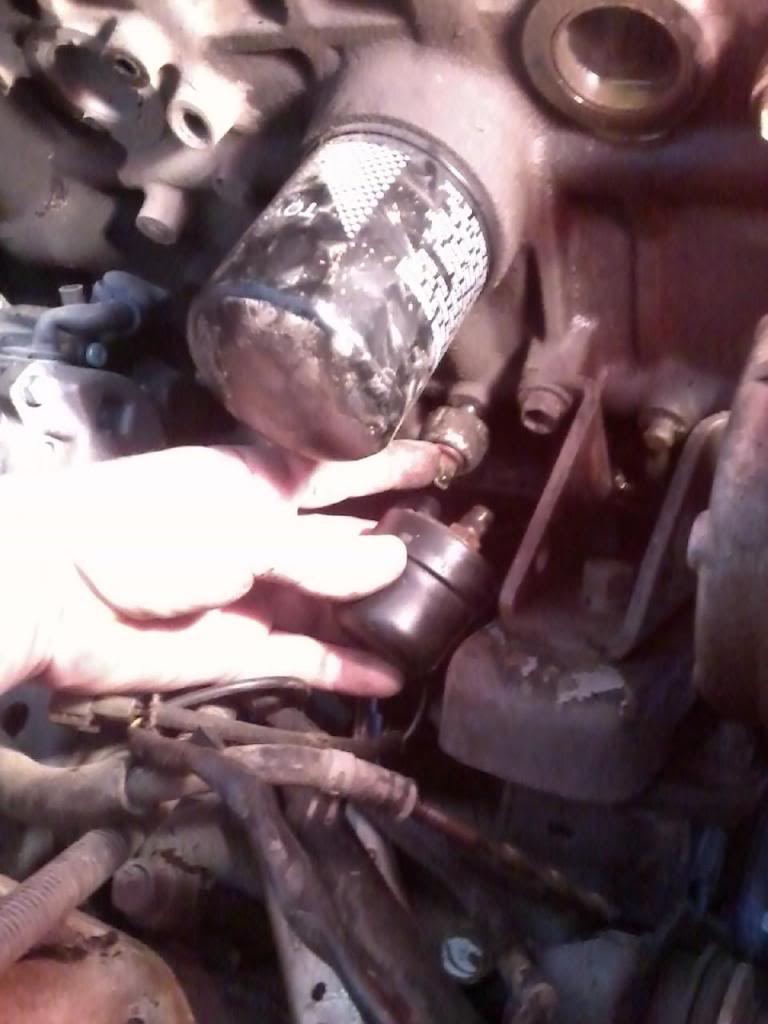
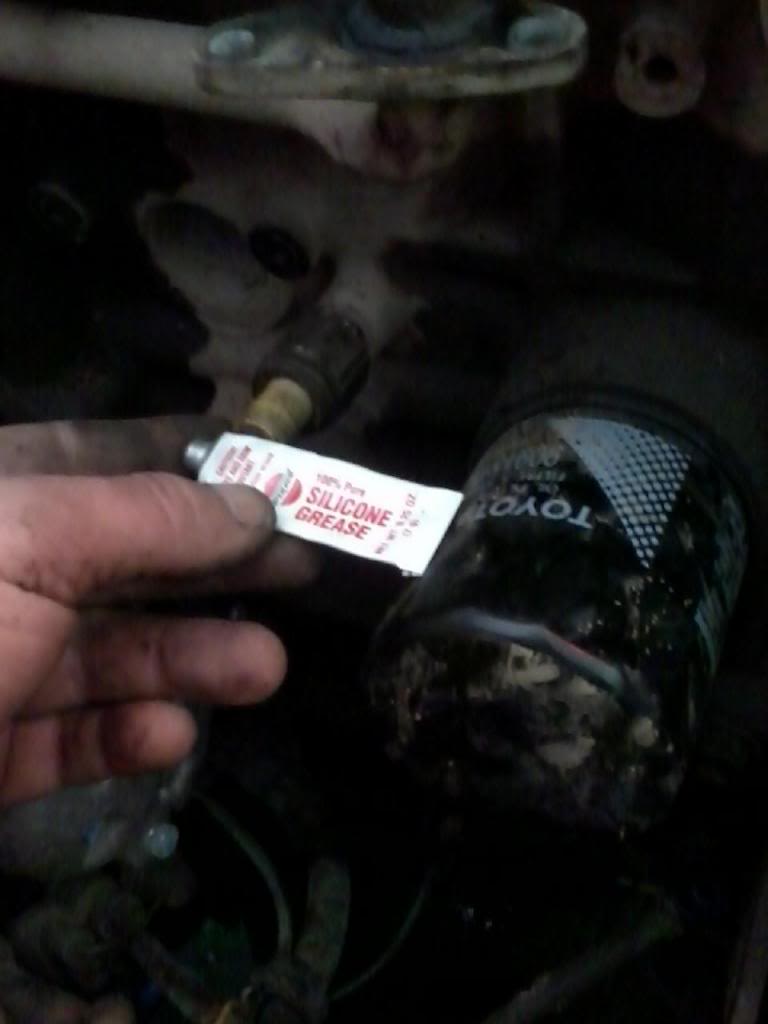
Install Knock Sensor before installing the Fuel Filter Plate. I coat all my electrical connections with electrical grease when working on trucks. Knock Sensor is a 24mm deepwell.
Install Fuel Filter Mounting Plate. I will install a fuel filter when I get to the fuel lines.

I am installing an SR5 Cluster Guage so I swapped out the Oil Pressure Sending Unit with the larger one. To remove the smaller sending unit it is a 27mm deep well socket.

Install Knock Sensor before installing the Fuel Filter Plate. I coat all my electrical connections with electrical grease when working on trucks. Knock Sensor is a 24mm deepwell.

Install Fuel Filter Mounting Plate. I will install a fuel filter when I get to the fuel lines.

Last edited by Terrys87; 03-20-2014 at 10:49 AM.
 03-20-2014, 12:18 PM
#22
Super Moderator
Staff
Thread Starter
iTrader: (1)
Join Date: Aug 2008
Location: Anderson Missouri
Posts: 11,788
Likes: 0
Received 22 Likes
on
20 Posts
Install water pipe. I have the Idle Air Control Valve attached at this point to make it easier to get the hoses on.
I should of done this earlier but here is a good place to install the support bar that goes to the bottom of the Plenum.
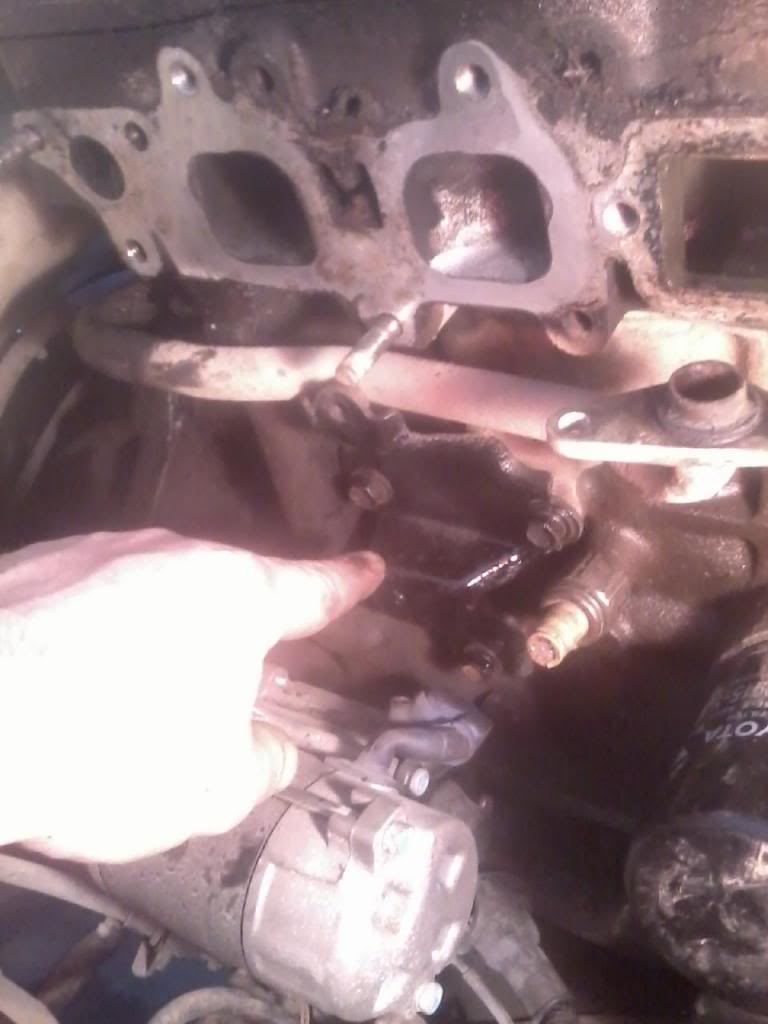
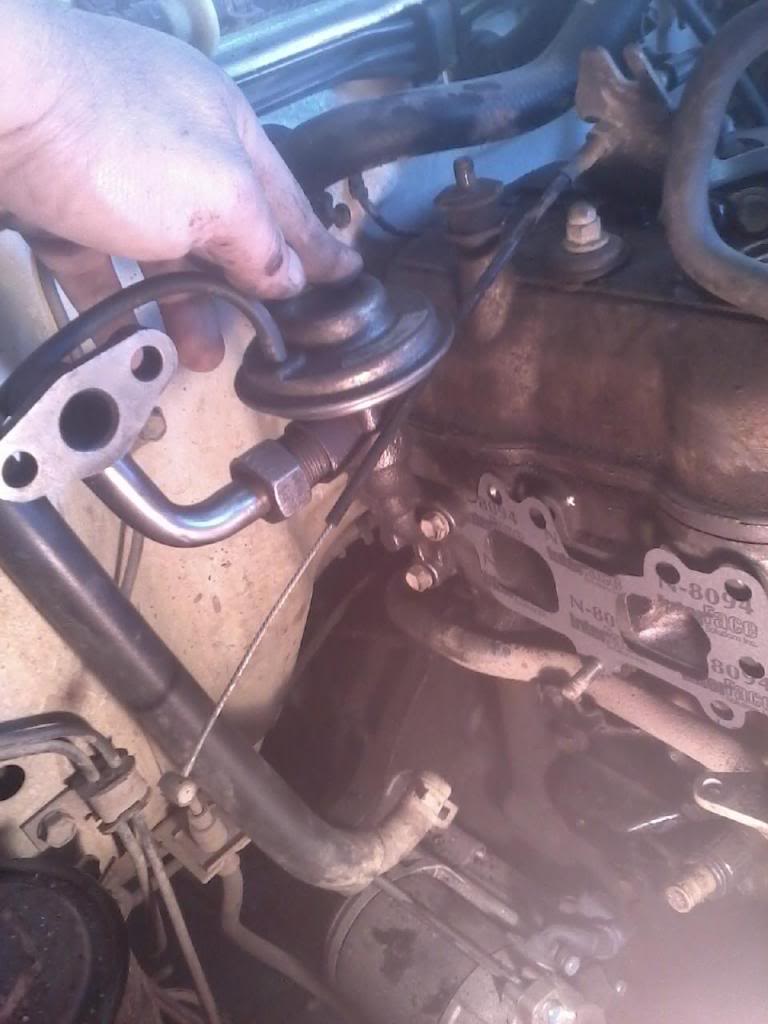
Install Intake Manifold gasket and EGR.
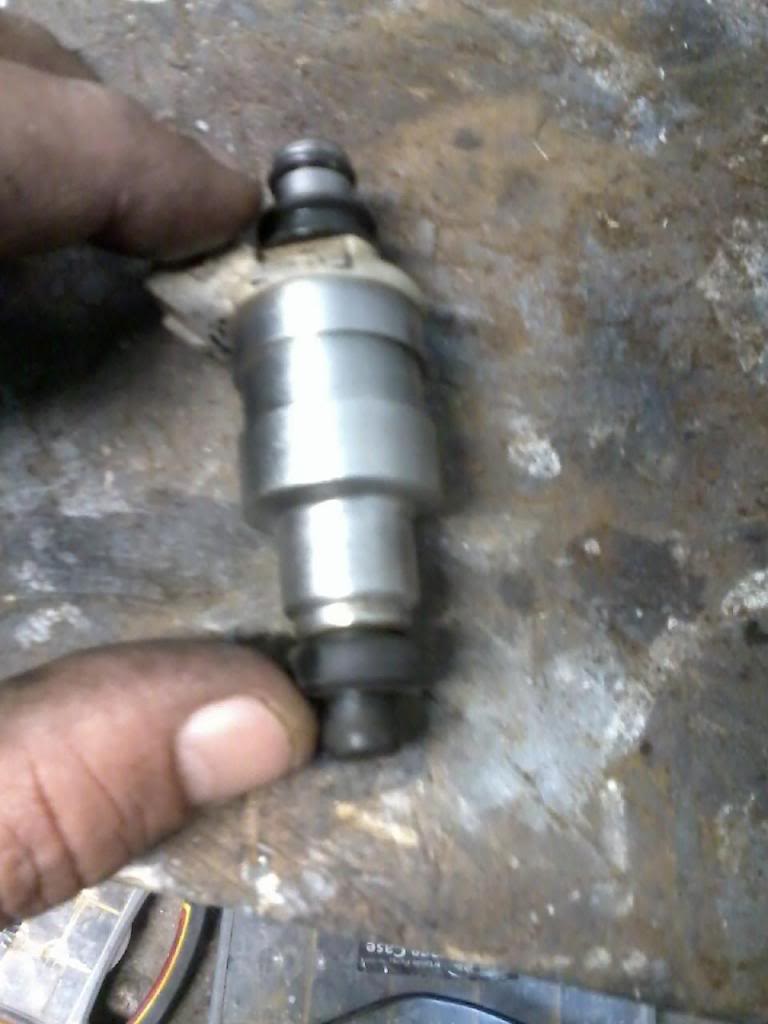
Install 3 O-rings on the injectors. The Factory Service Manual says to coat the top ring with gasoline. I have used WD-40, but it makes the top of the injector go into the fuel rail so much easier. Getting a cut in the o-ring can cause a bad fuel leak.
Install Fuel Rail. I will get pictures later of that part.
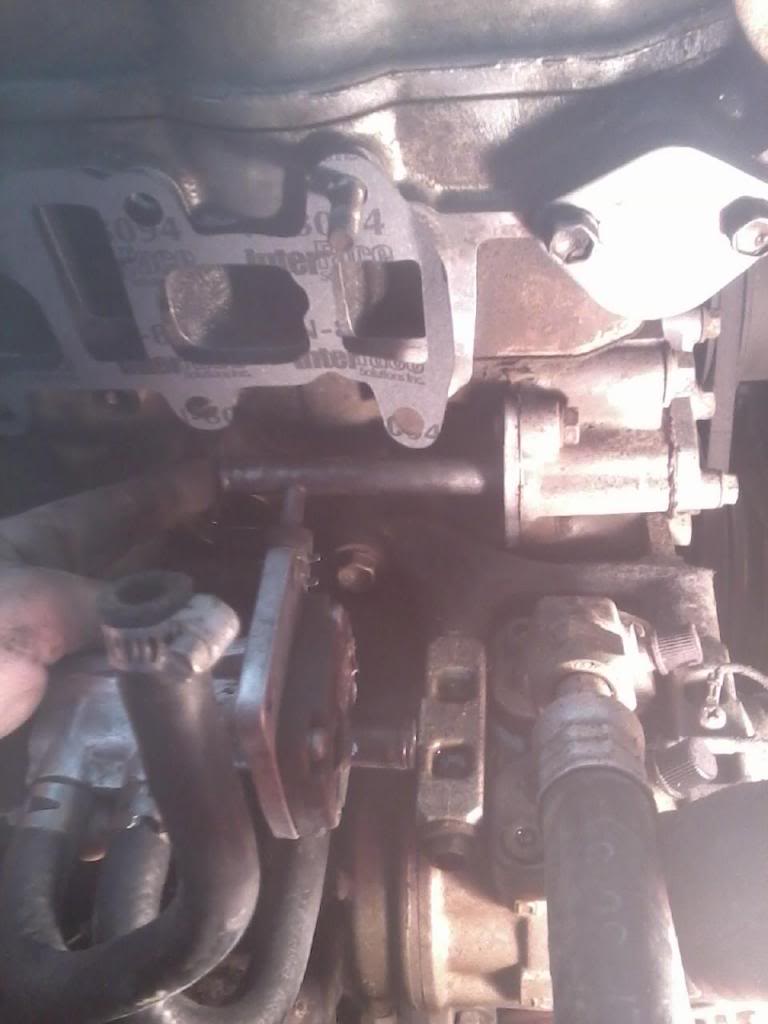
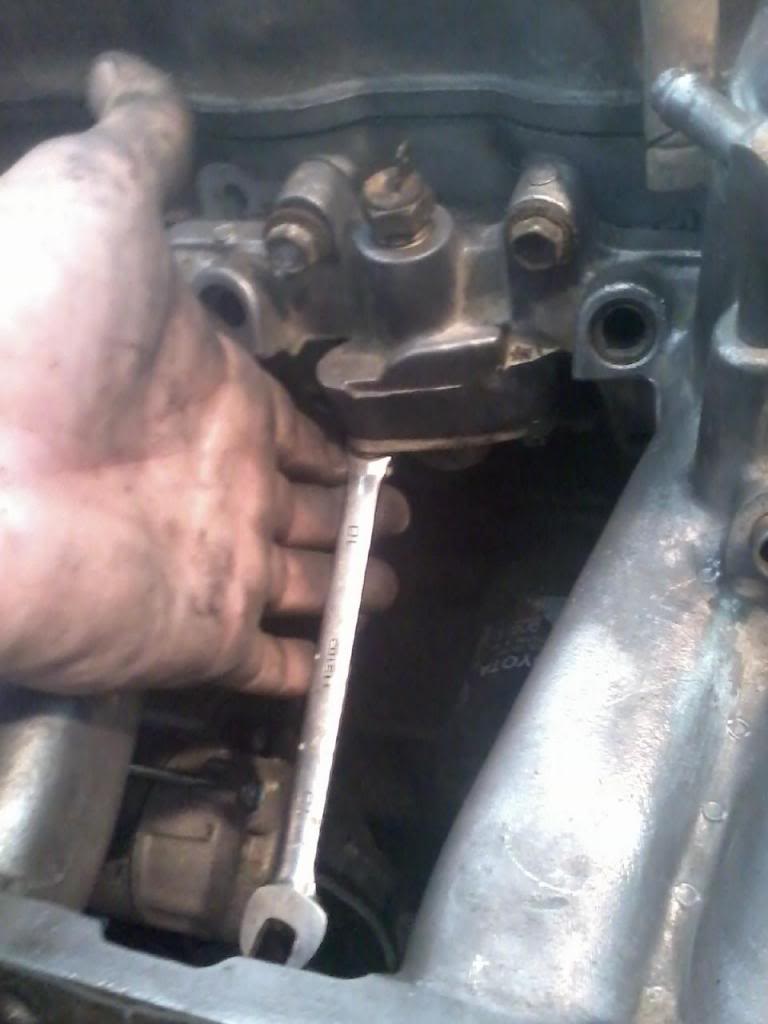
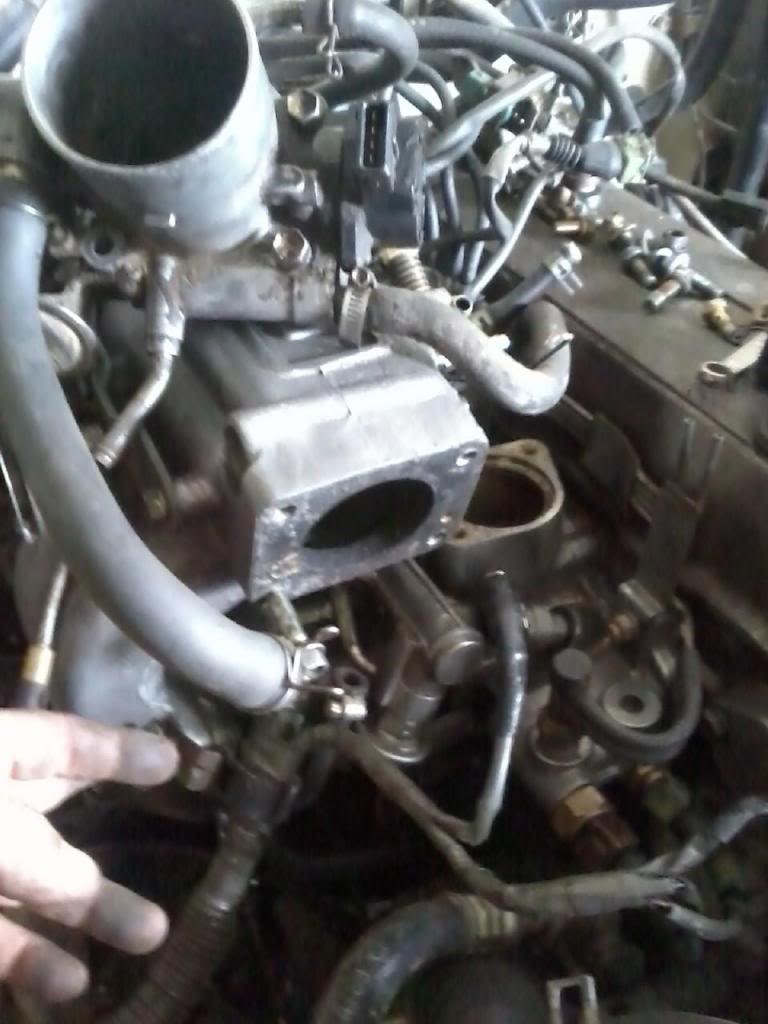
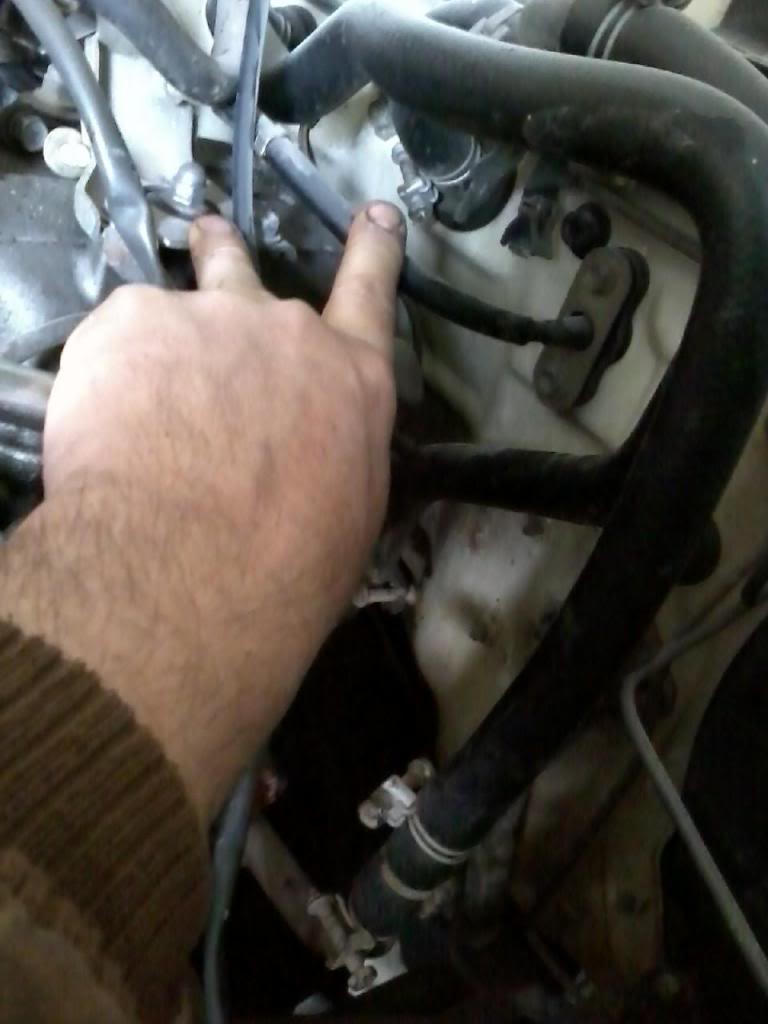
Installing Intake Manifold. Pay attention to this area. It is a water pipe connection and is very difficult to get to when everything is hooked up later on. It can leak and a pain to repair when running.
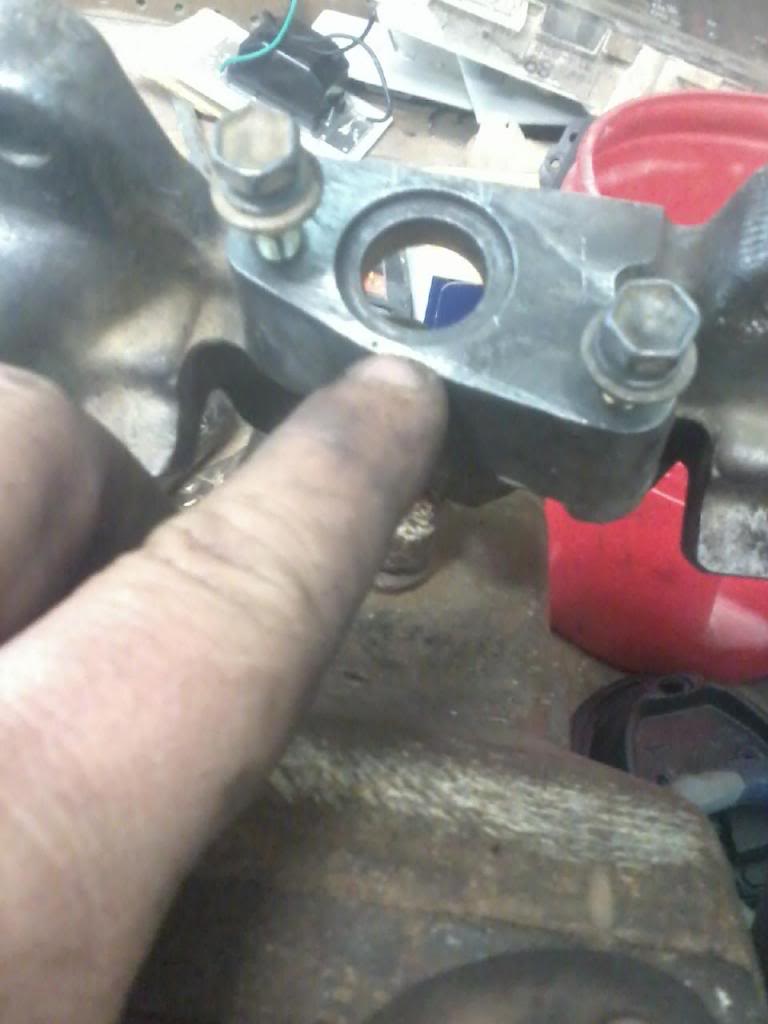
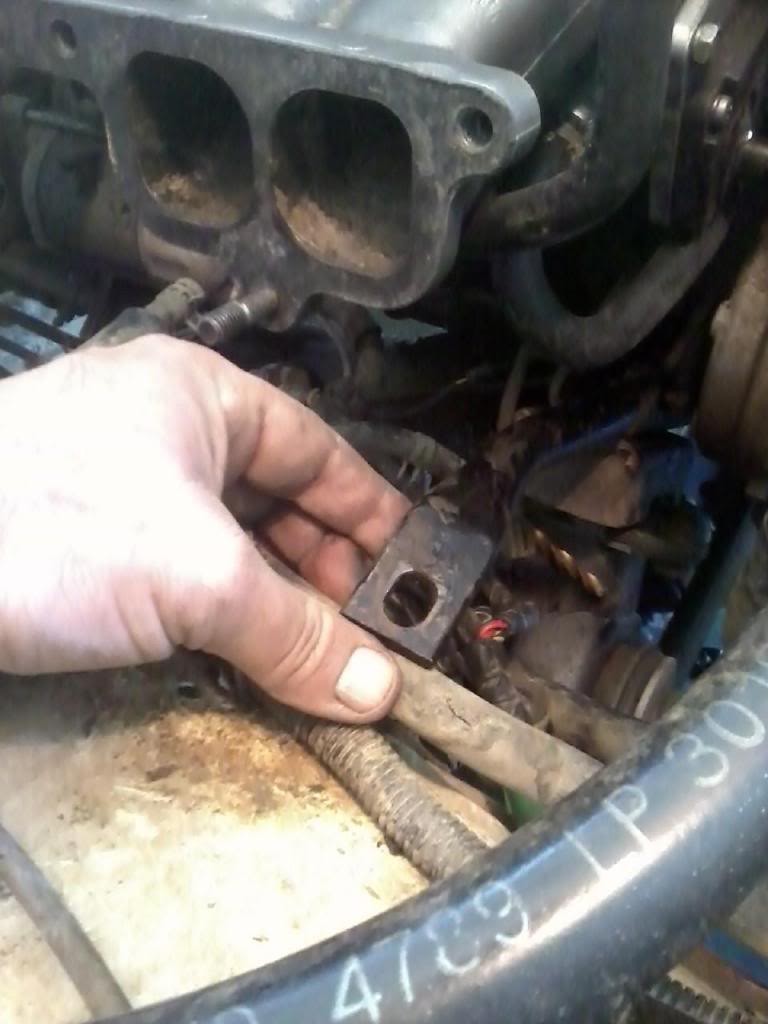
Install manifold. Hook up the pipe that I am showing with two 10mm bolts. Get this part right the first time. Not so easy to fix later if it starts leaking. You will need to remove the Charcoal Canister that the 22r uses. It is the same canister but uses a different mounting bracket. I will get to that at a later time.
Problem I am talking about. Just needs a different bracket.
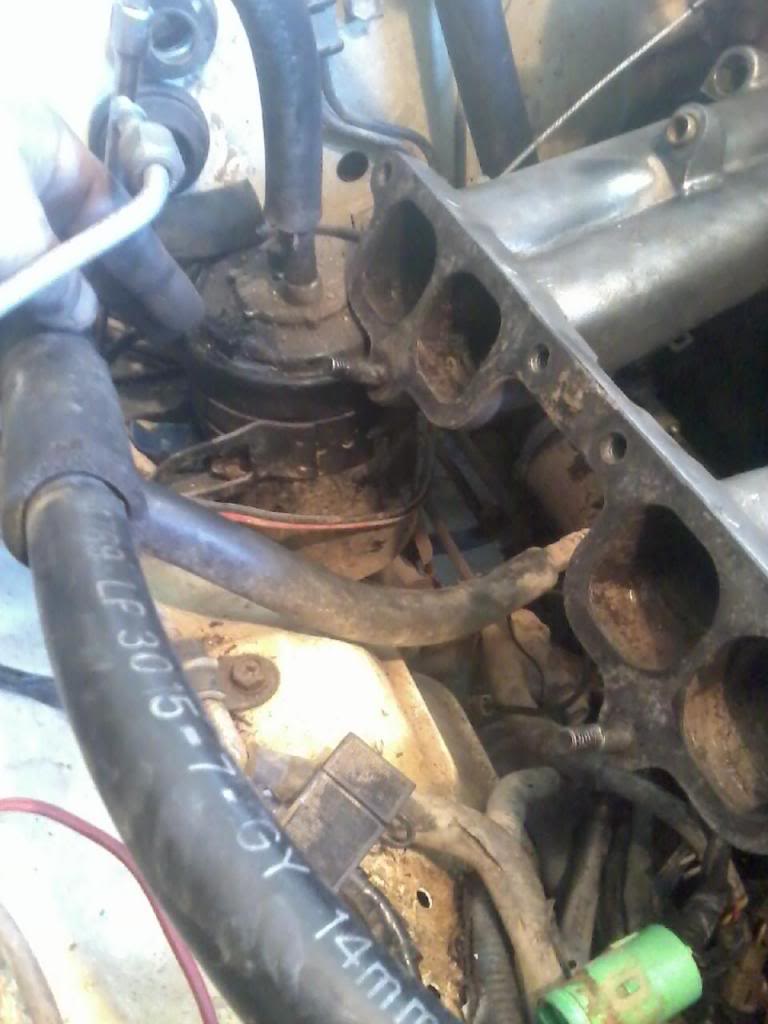
Install metal vacuum line assembly with one nut and one bolt. Hook up two hose to the valve on front.


I should of done this earlier but here is a good place to install the support bar that goes to the bottom of the Plenum.

Install Intake Manifold gasket and EGR.

Install 3 O-rings on the injectors. The Factory Service Manual says to coat the top ring with gasoline. I have used WD-40, but it makes the top of the injector go into the fuel rail so much easier. Getting a cut in the o-ring can cause a bad fuel leak.

Install Fuel Rail. I will get pictures later of that part.
Installing Intake Manifold. Pay attention to this area. It is a water pipe connection and is very difficult to get to when everything is hooked up later on. It can leak and a pain to repair when running.

Install manifold. Hook up the pipe that I am showing with two 10mm bolts. Get this part right the first time. Not so easy to fix later if it starts leaking. You will need to remove the Charcoal Canister that the 22r uses. It is the same canister but uses a different mounting bracket. I will get to that at a later time.

Problem I am talking about. Just needs a different bracket.

Install metal vacuum line assembly with one nut and one bolt. Hook up two hose to the valve on front.

Last edited by Terrys87; 03-21-2014 at 11:44 PM.
03-20-2014, 02:30 PM
#23
Super Moderator
Staff
Thread Starter
iTrader: (1)
Join Date: Aug 2008
Location: Anderson Missouri
Posts: 11,788
Likes: 0
Received 22 Likes
on
20 Posts
What I am not showing is there is alot of things that need cleaned or repaired. I need to work on the Injector Harness so I moved on to the interior.
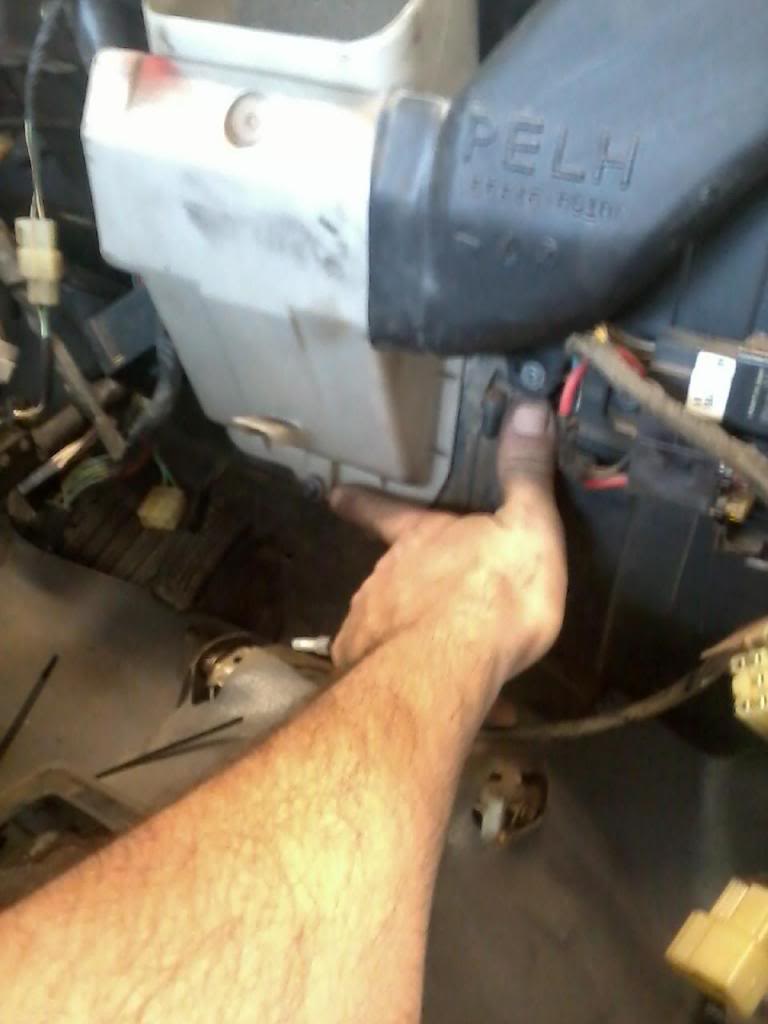
First I installed the Blower.
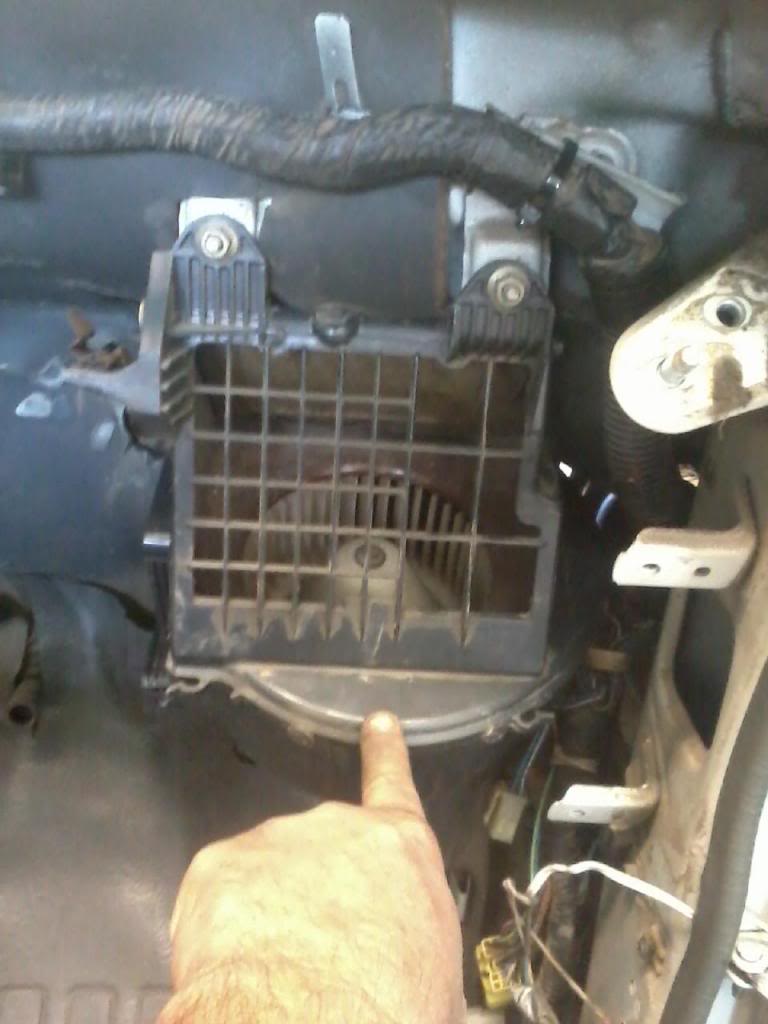
Then the AC Condesnser. Make sure you get the drain hose hooked up on the firewall.
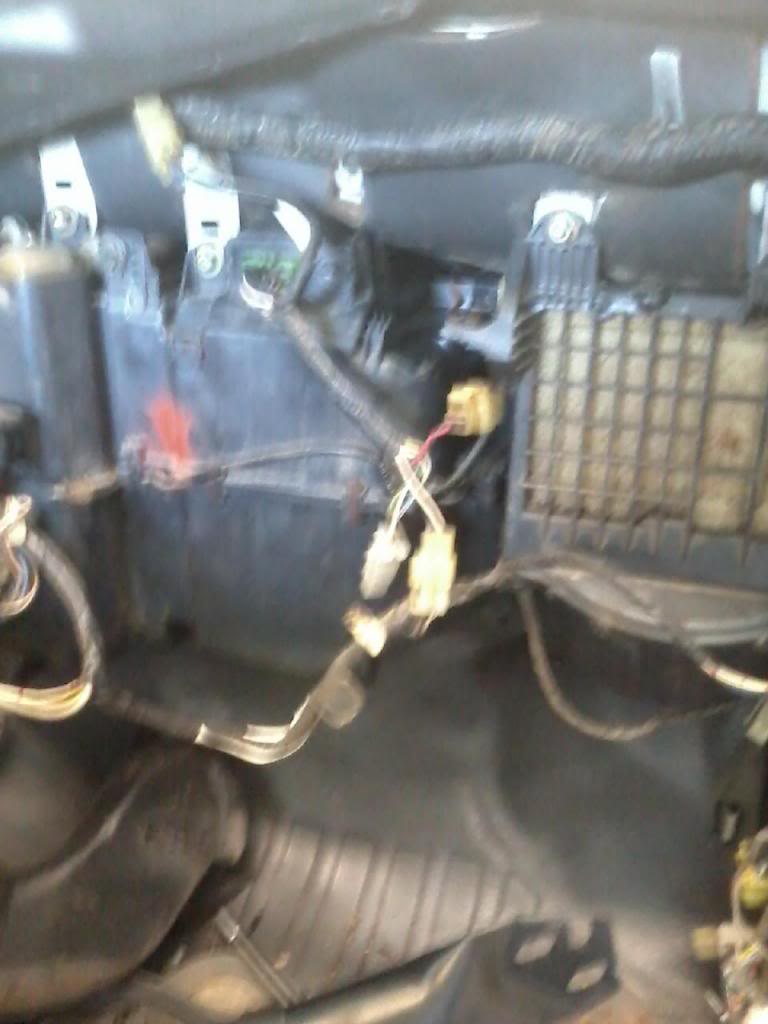
Then I installed the long windshield vent that is used for defrosting.
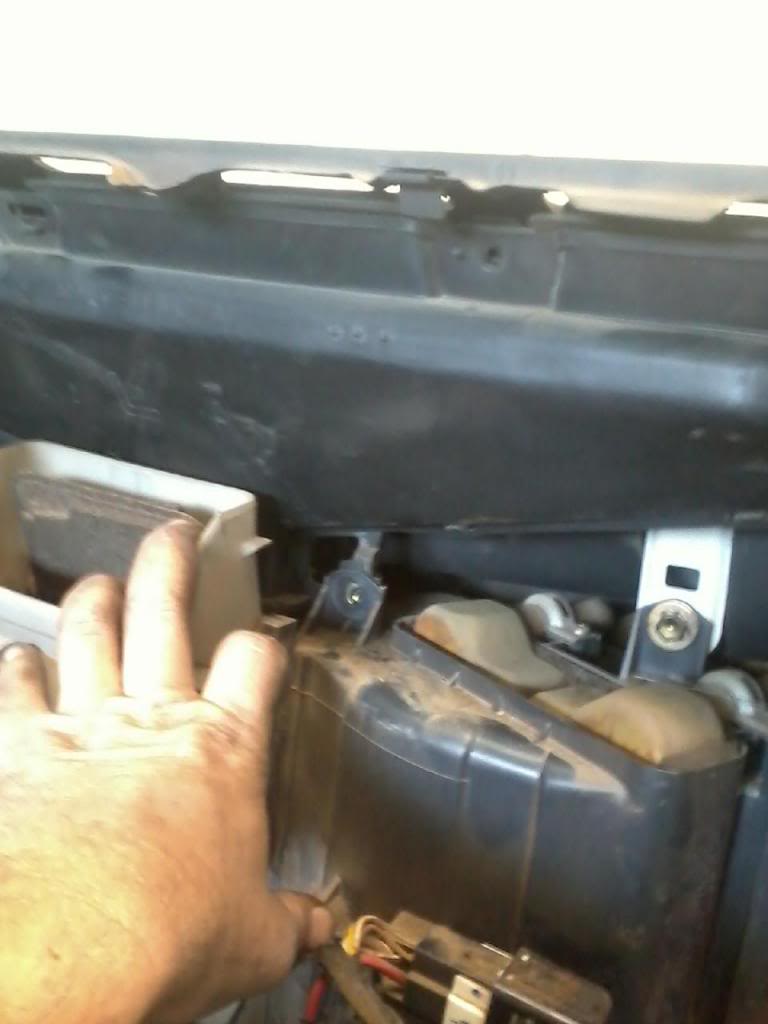
After that, I installed the white piece that goes infront of the heater assembly. It slides up into place. I also installed a piece of the vent pipe.
 03-21-2014, 11:45 PM
#25
03-21-2014, 11:56 PM
#26
Super Moderator
Staff
Thread Starter
iTrader: (1)
Join Date: Aug 2008
Location: Anderson Missouri
Posts: 11,788
Likes: 0
Received 22 Likes
on
20 Posts
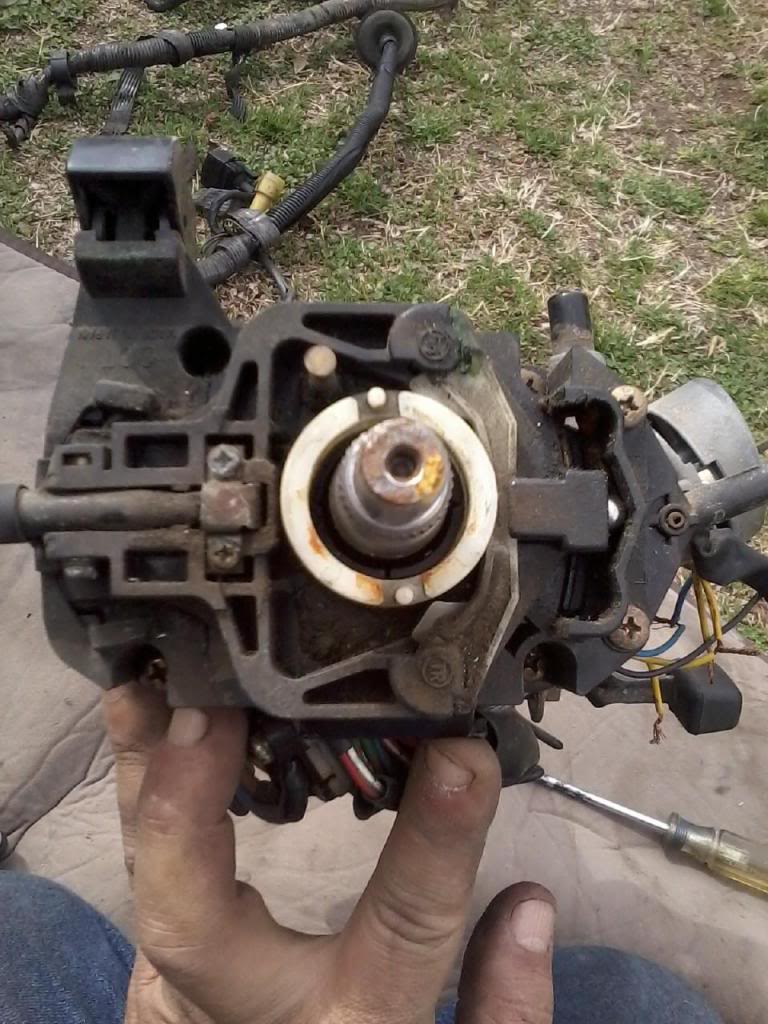
This section will apply to the Steering Column.
Remove the horn cover. Usually just one screw holding it on and it lift UP to come off of the wheel.
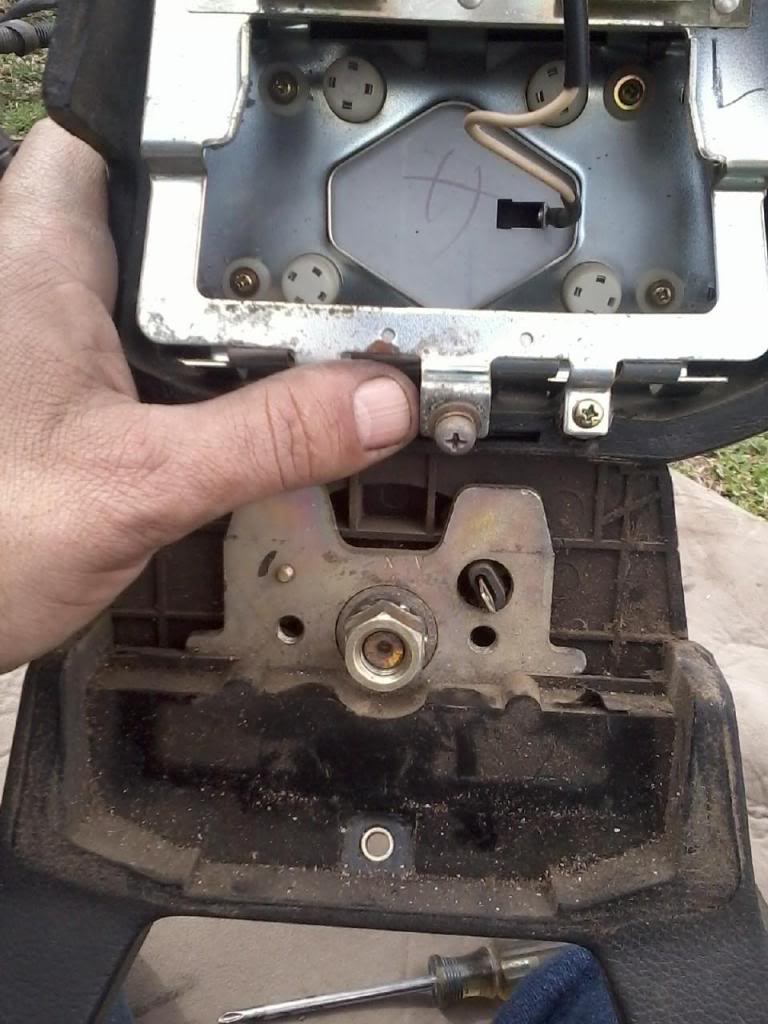
Do not try to bang the wheel off of the shaft. You can rent wheel pullers for free from a parts store.

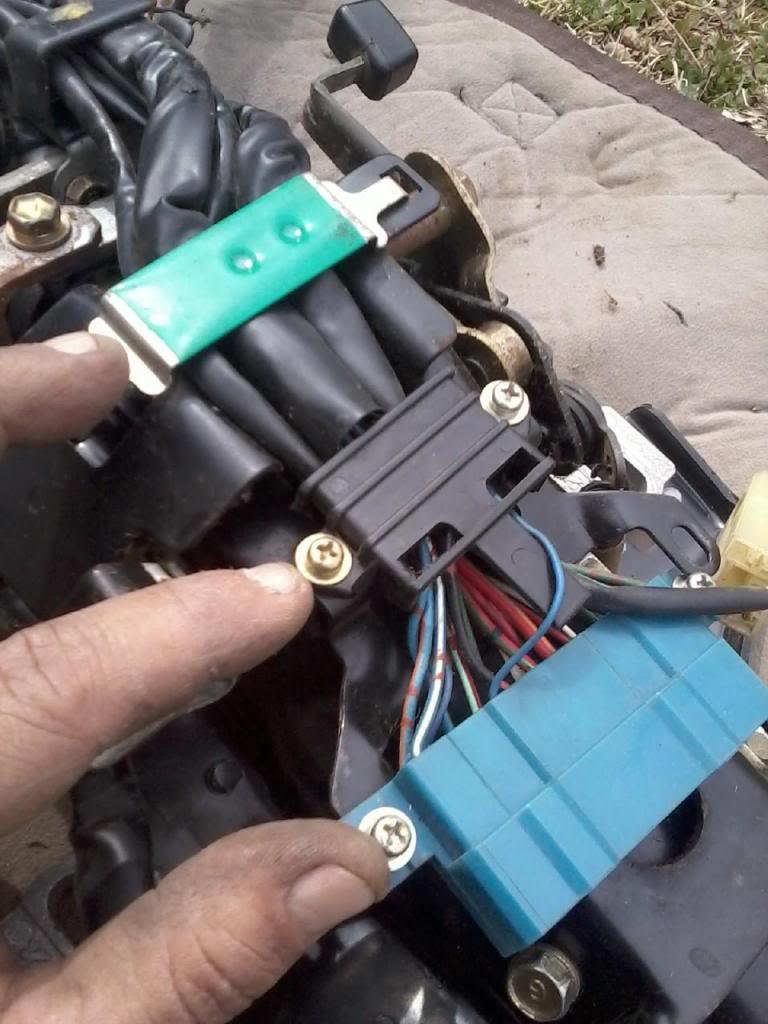
Remove the 4 deep recessed screws to get the Combo Switch off. I am going to use the old column but just change the electronics on it.
Remove the screws that hold the electrical wiring on and the green tab to free it from the steering column.
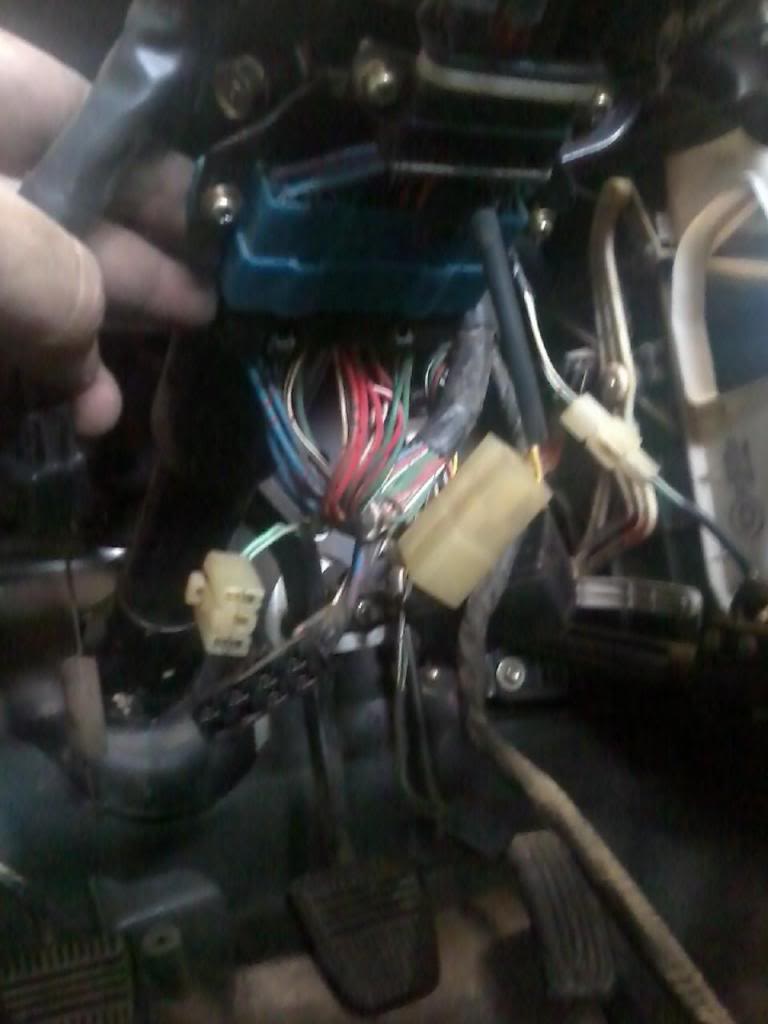
Make all of your connections. Not showing but there are around 6 electrical connections to the steering column. I also connected the clutch and brake springs, dome light by the fuse box, parking brake connector, and one or two others. The plugs are fool proof.
There is a ground wire next to the fuse box that connects to the pillar. I scuff up the paint for it to get a better ground.
Steering Column is now in, along with the main cross bar. I have the speedometer cable and connections laying in there normal position at this time.
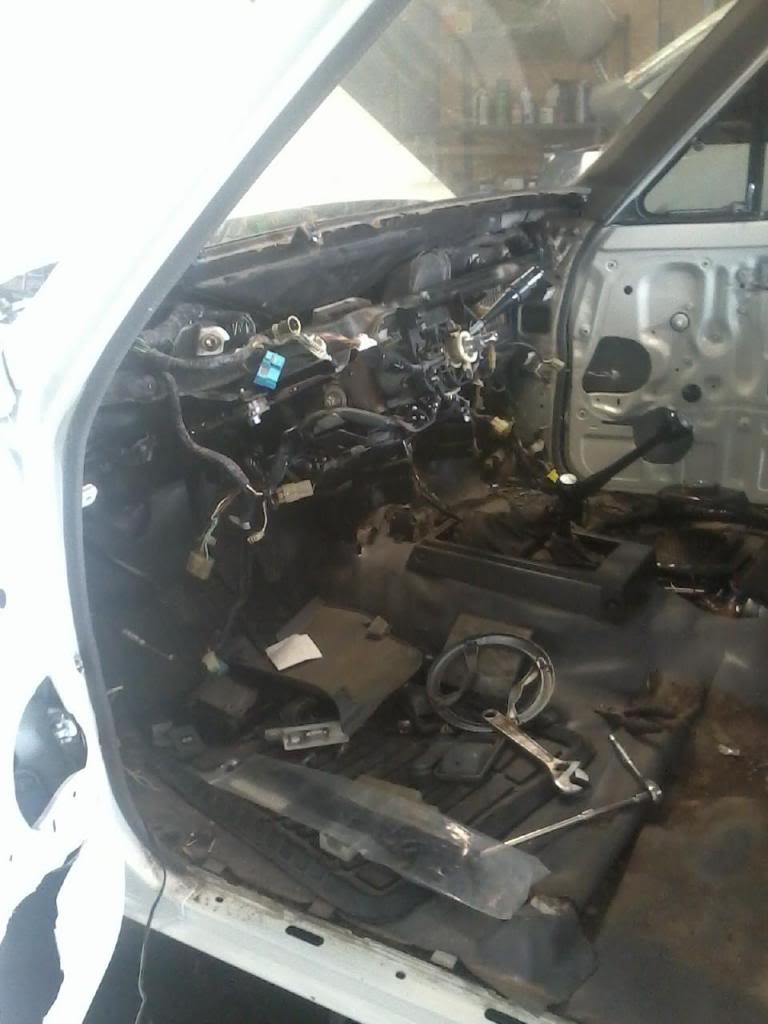
Page 94 of 86 Build
Run Injector Harness thru hole cut in firewall in earlier stage.
All of these connectors go thru the center of the Intake Manifold. Starter, IACV, Knock Sensor, Oil Pressure,Tranny Connector. If I miss some I will edit and add to this at a later time.
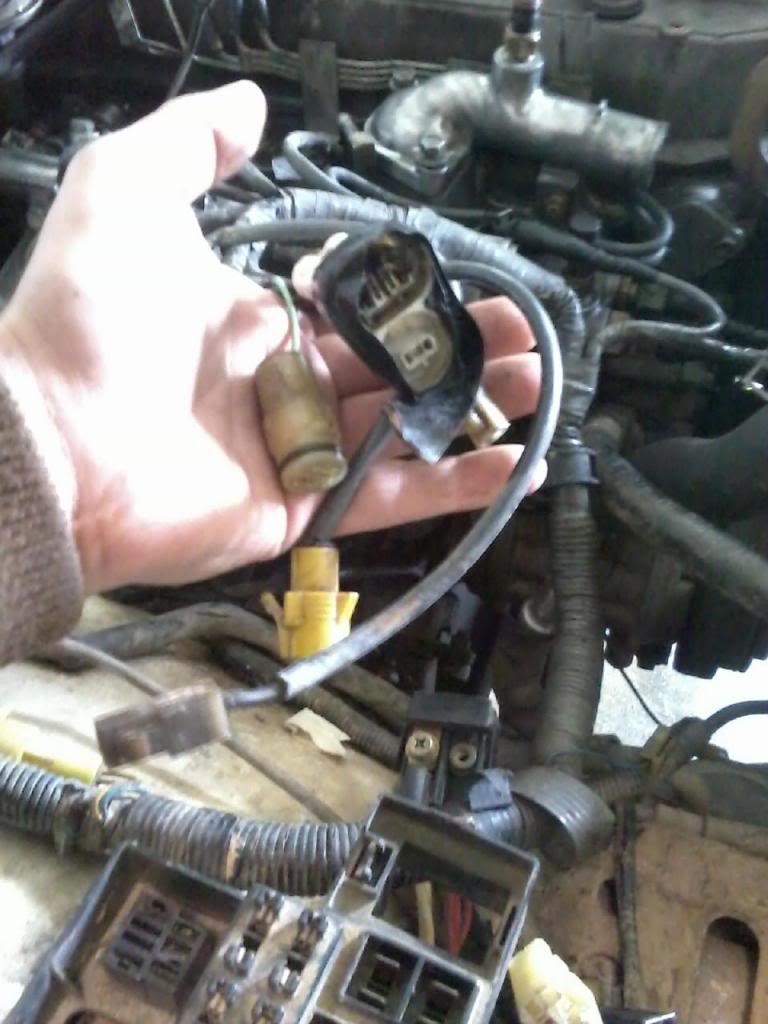
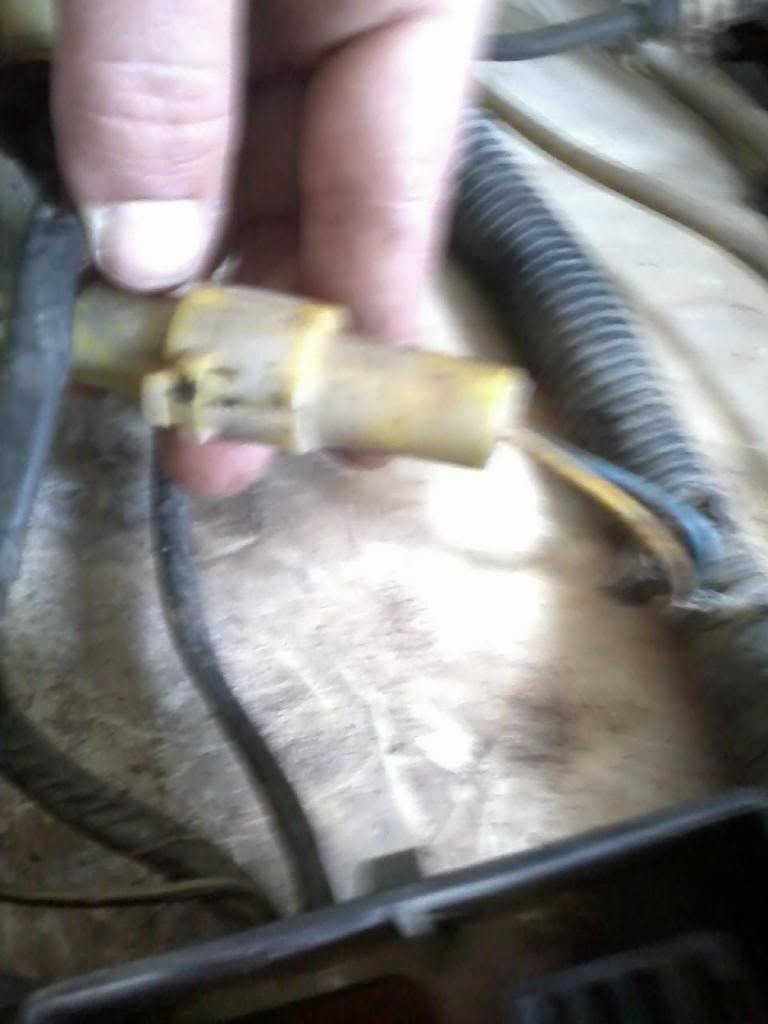
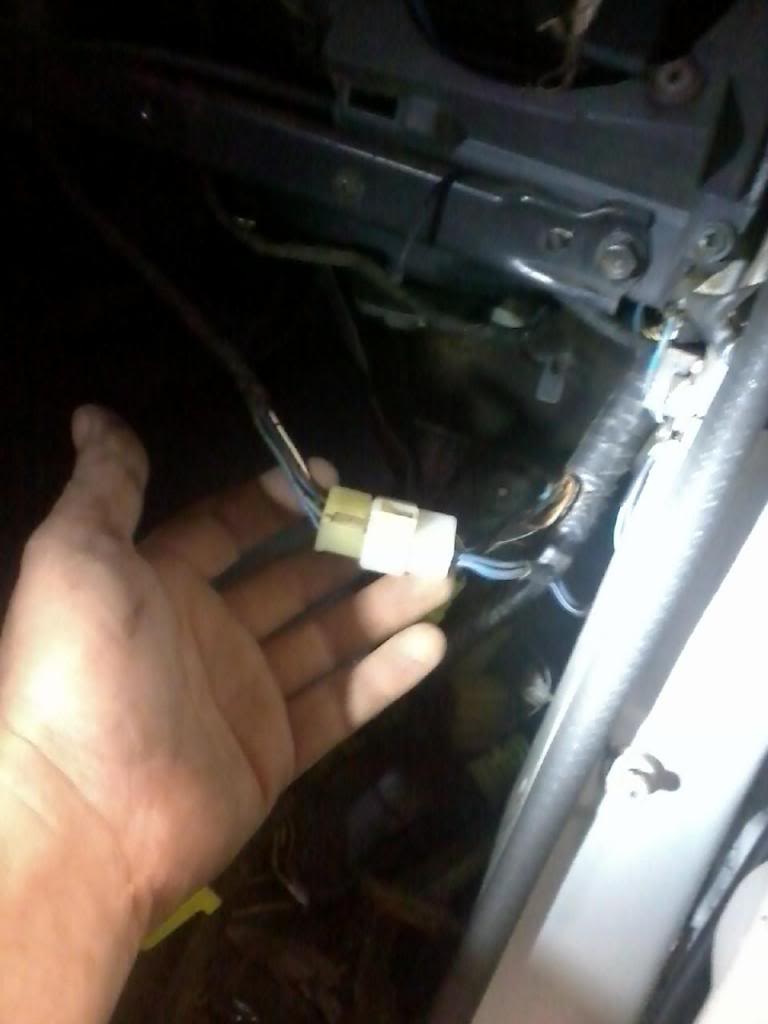
This goes to your Injector Resistor. The yellow and blue wire. Eventually goes to Pins #10 and #20. Is a good test point when trouble shooting Non Firing Injectors.
Before installing Plenum, connect your Injectors. Install Plenum. I find it easier to remove the Throttle Body Assembly and the Thermostat Cover to hook up several hoses and connectors. Each year will vary and I will add some diagrams at a later time.
The 22r and 22re Throttle Cables are not interchangable. I swapped out the cables. Photobucket is being difficult so will go back and add some more pics later but what is working I am posting now.
There are two 10mm bolts that hold the Throttle cable to the firewall. On a 22r, the bracket for the cable attaches to the valve cover. On a 22re, it attaches to the Plenum. I suggest attaching it to the Plenum first and that helps get the cable situated.
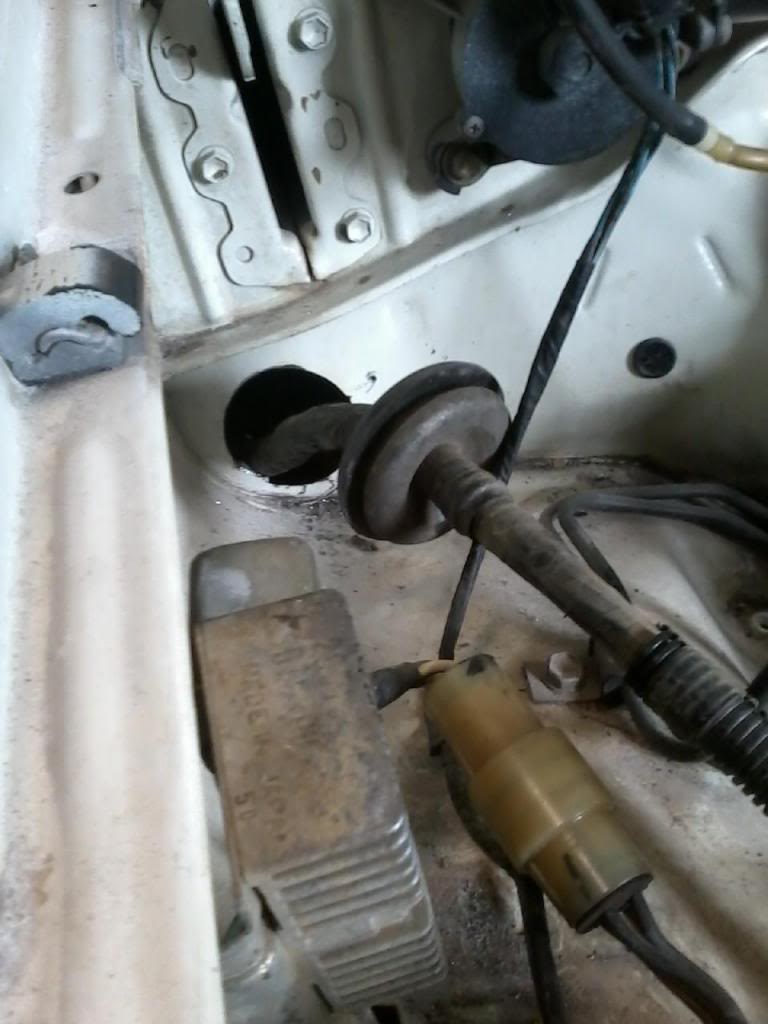
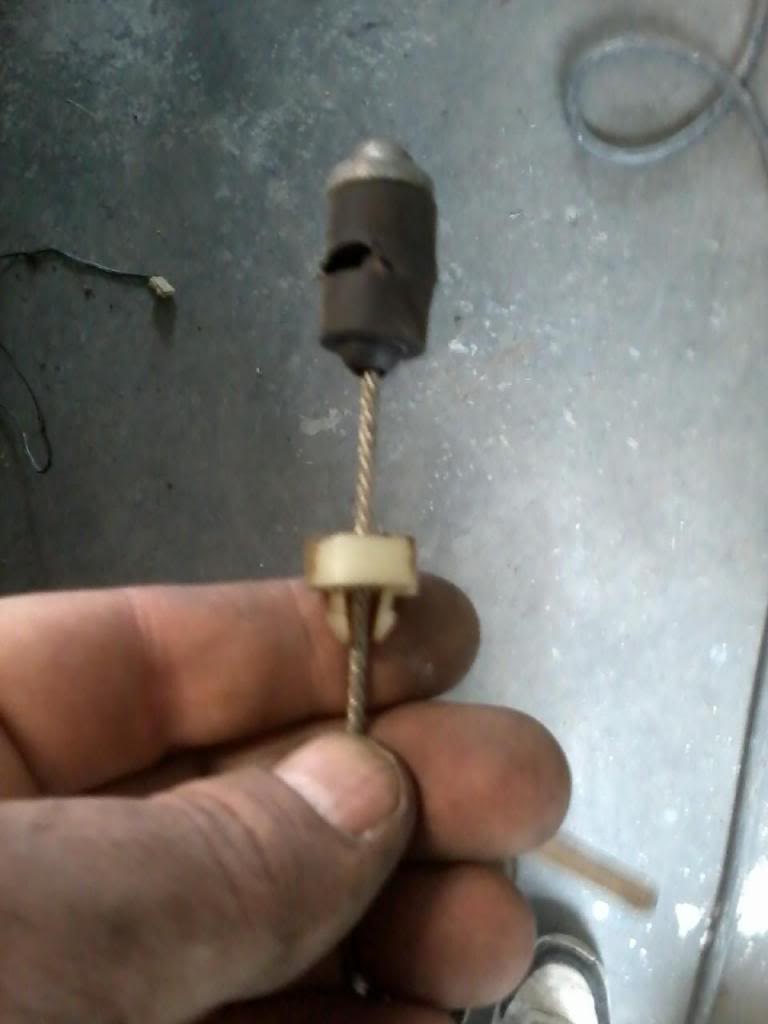
I could not get a good picture of attaching the cable to the pedal assembly. The white clip sits in the pedal bar. Push from the back to the steering wheel and the clip will undo and there is a slot in the side of the pedal bar that lets the cable slide toward the passenger side to release it.
Got the Wiper Delay hooked up. There is another wire connection that is way up high. It can be hard to find.
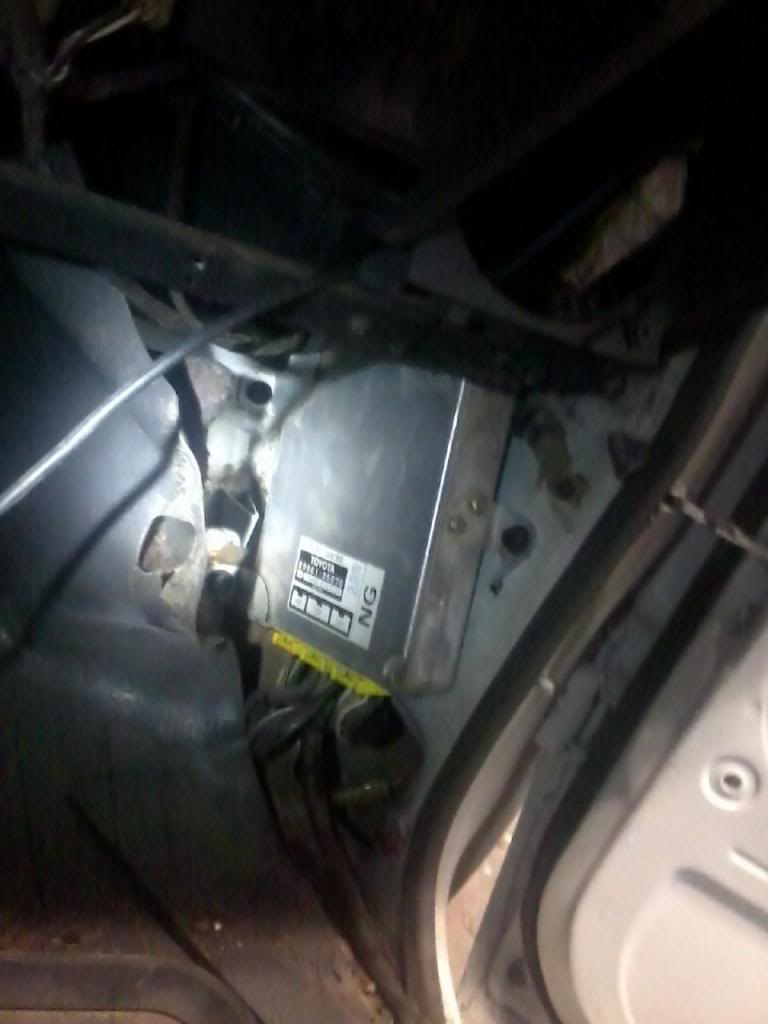
Connected computer first and then the rest of the connections make easier. Had to repair a few wires in this harness as well.
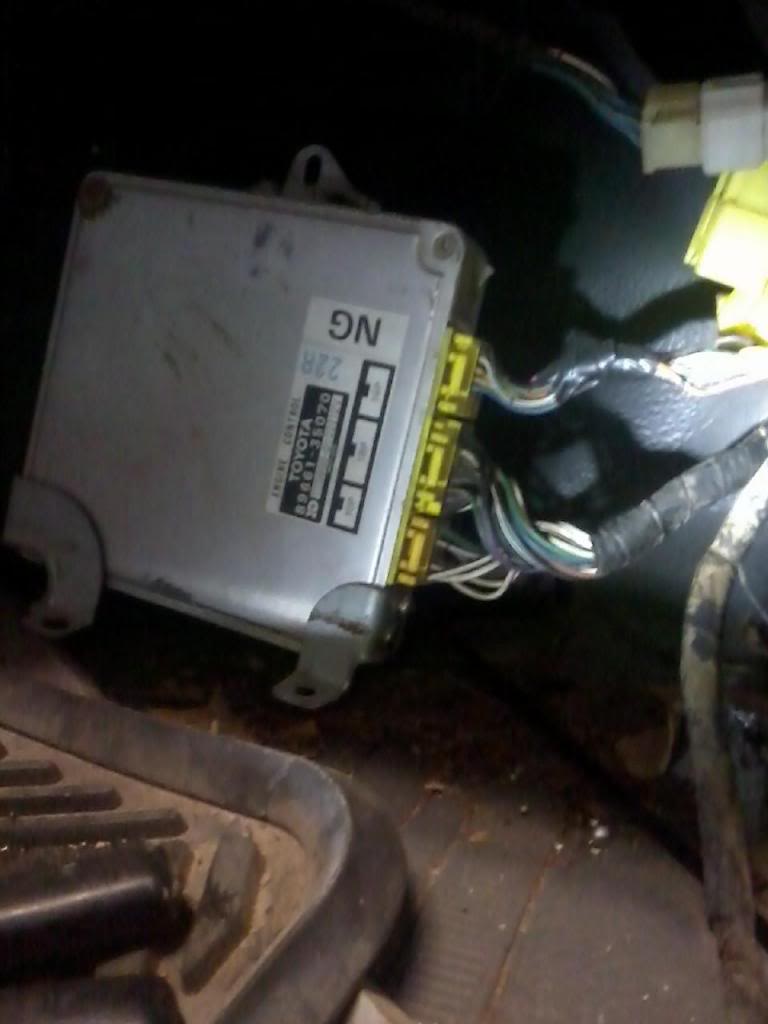
Here it is in. Get all of the wiring tucked in behind the computer. It is tight withe the Wiper Delay box behind it.
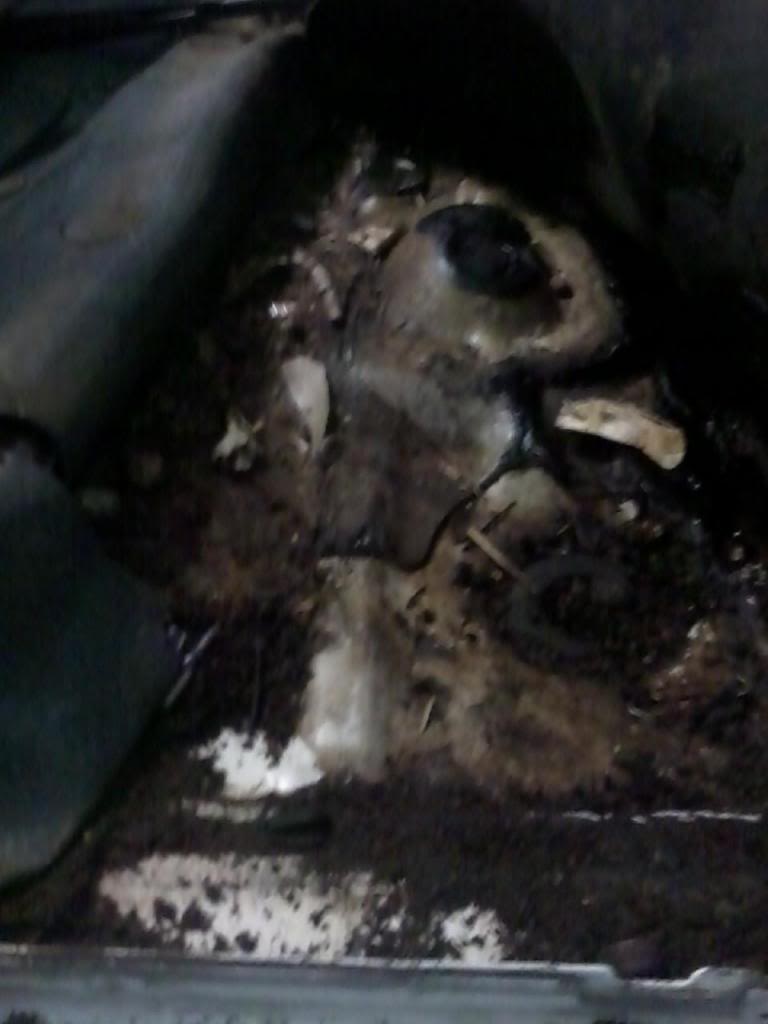
Cleaned under the floor mat. Alot of debris from the cowl was under there as well. Not all of it was from me pulling the blower motor. Even with the vinyl mat alot of grit was under the mat. That surprised me. I see alot of debri work its way thru the carpet.
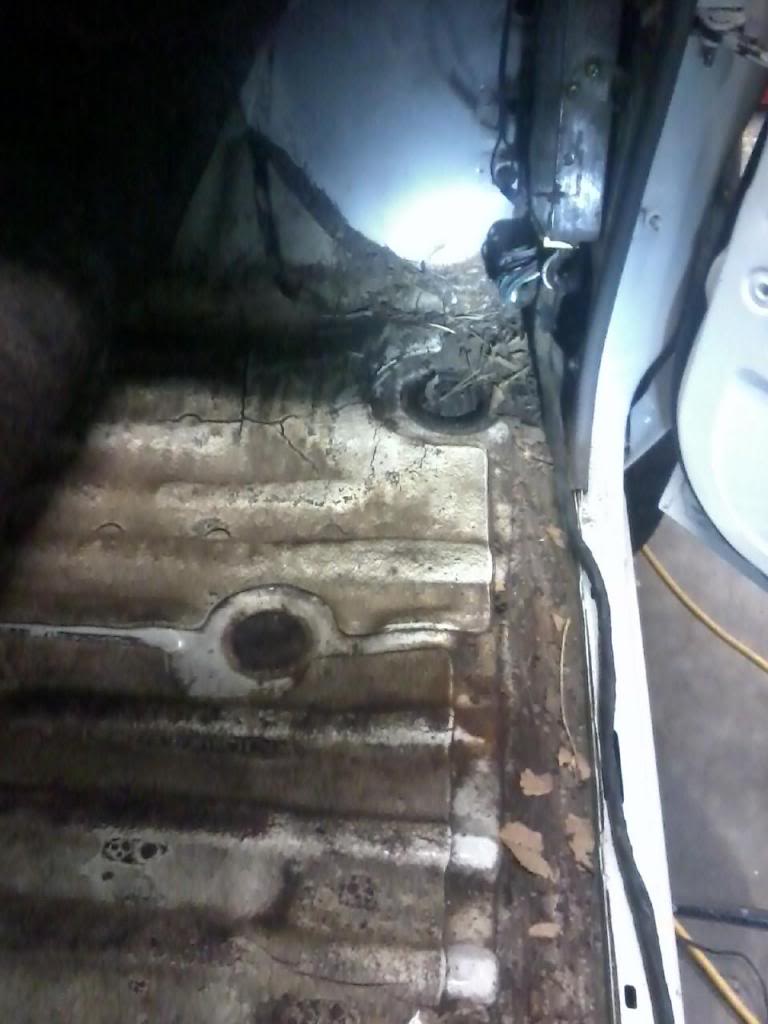
Another view under the mat. I pull my carpets and clean the floor pans on my trucks and wash the carpet at the carwash. Gives a fresher smell in there.
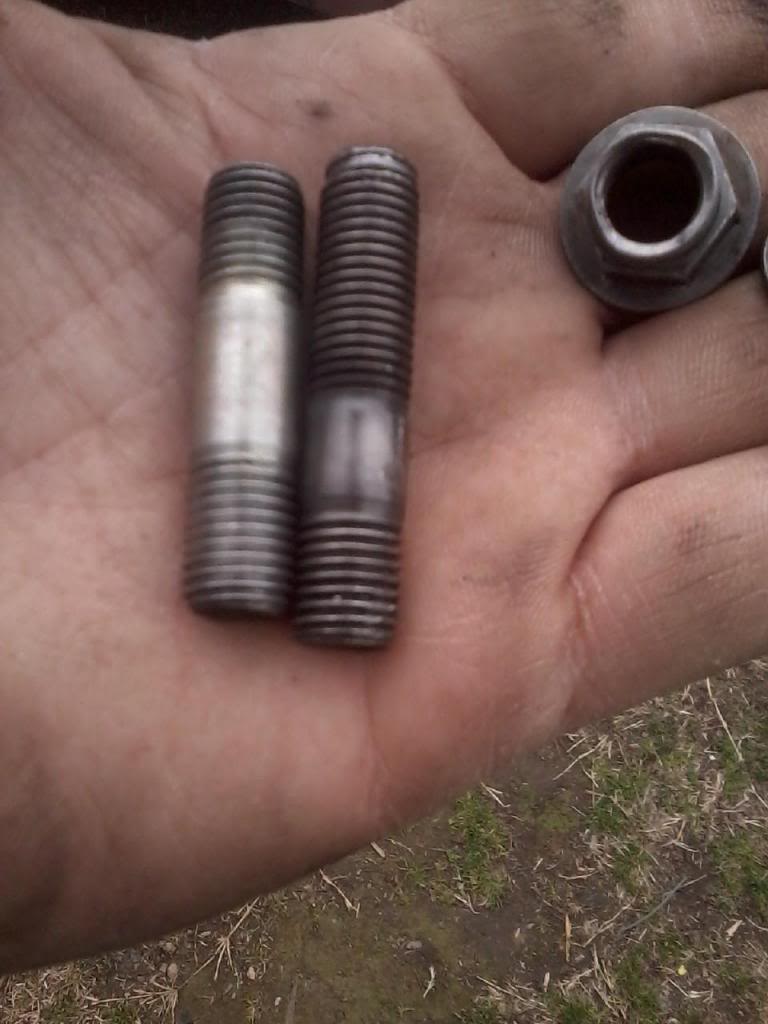
A problem I found. Someone has used a bolt in the exhaust. Will work on it after getting the truck running. There is another bolt stripped and will need to take to my local machine shop guy and he is usually able to get to them without taking off the head.
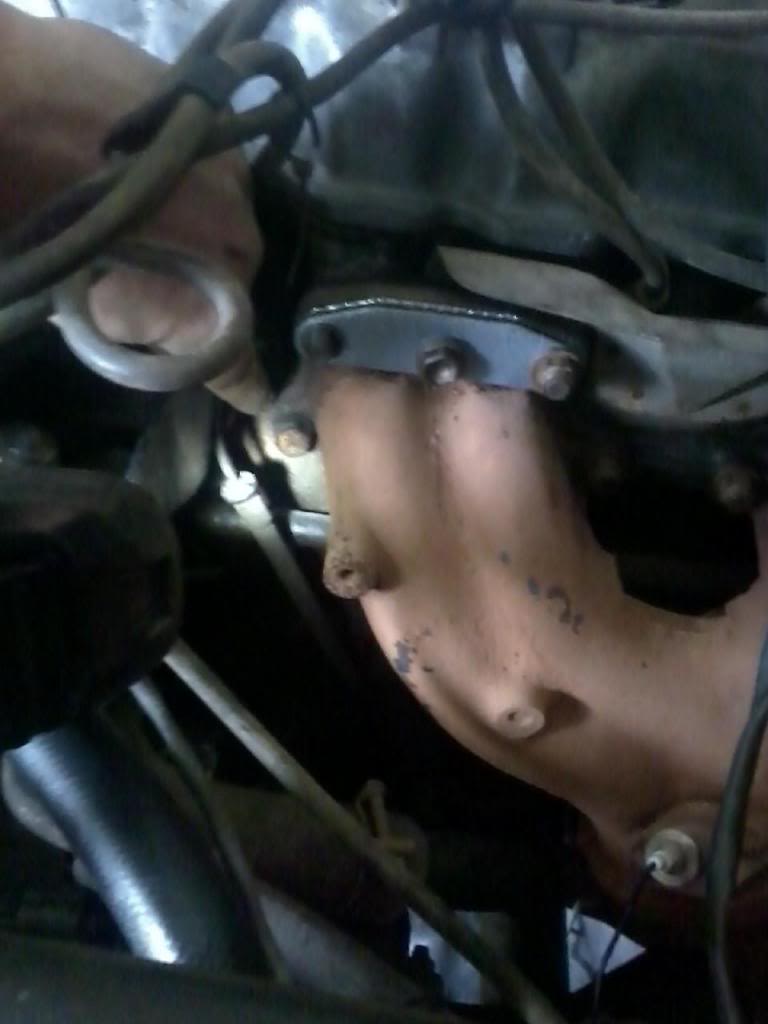
I like the 50/50 bolts. This one had a both styles so got that all corrected. One in the back is stripped. The other problem I found.
You need to swap out the brake booster to plenum hose. Here it is all together.
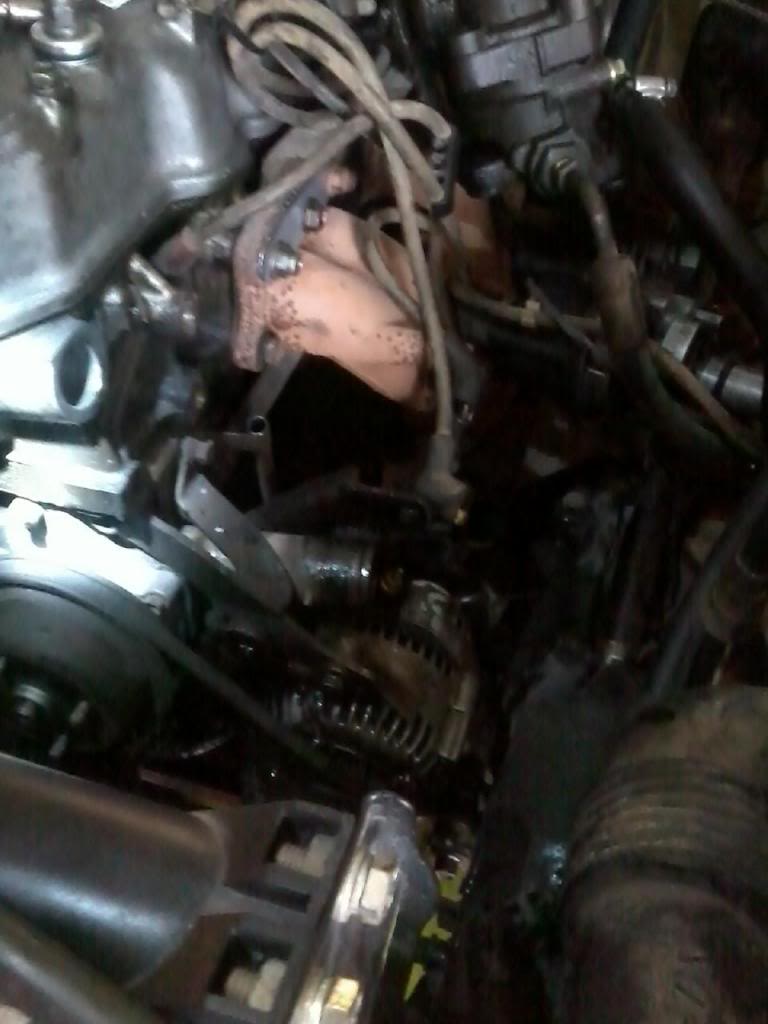
Then I hit a snag. Swapping out the water pump hose turned into a tear down of the entire power steering assembly. The adjuster was frozen and one thing led to another. Should be able to start reassembly from this point.
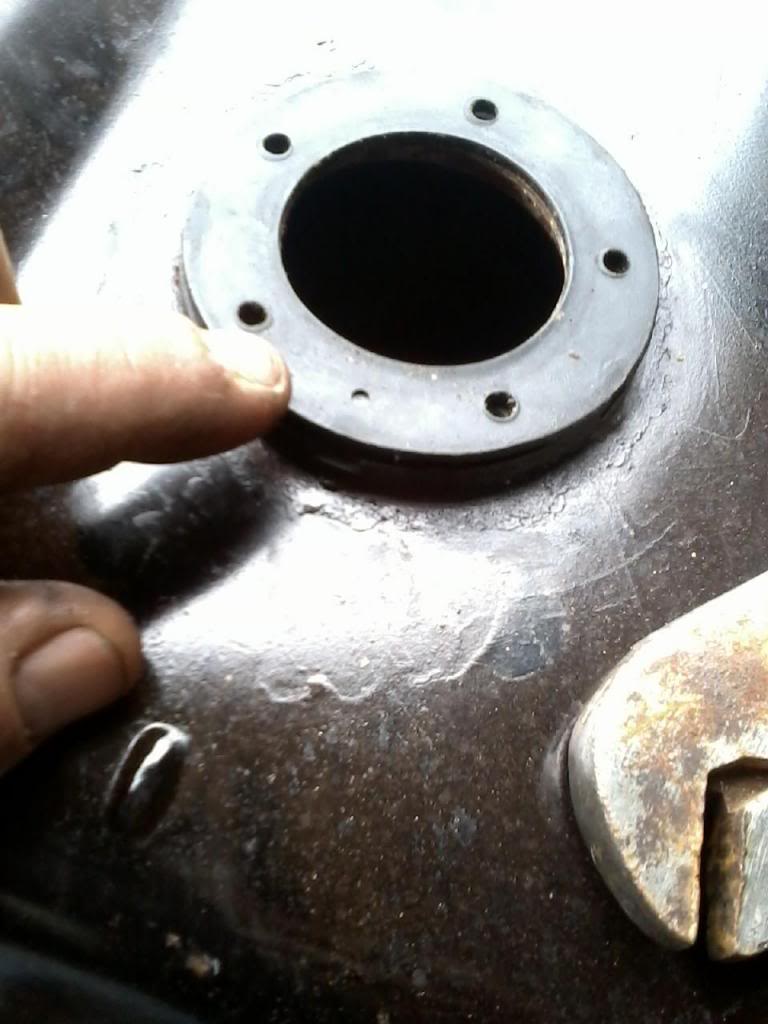
You have to switch fuel tanks when going from Carbed to Fuel Injection
I finished up the tank and got it in. Had to clear the "J" line on it as well. I try to mention on all of my builds just how bad these tanks get. I cleaned it and used Red-Kote on it and got it all back toghter.
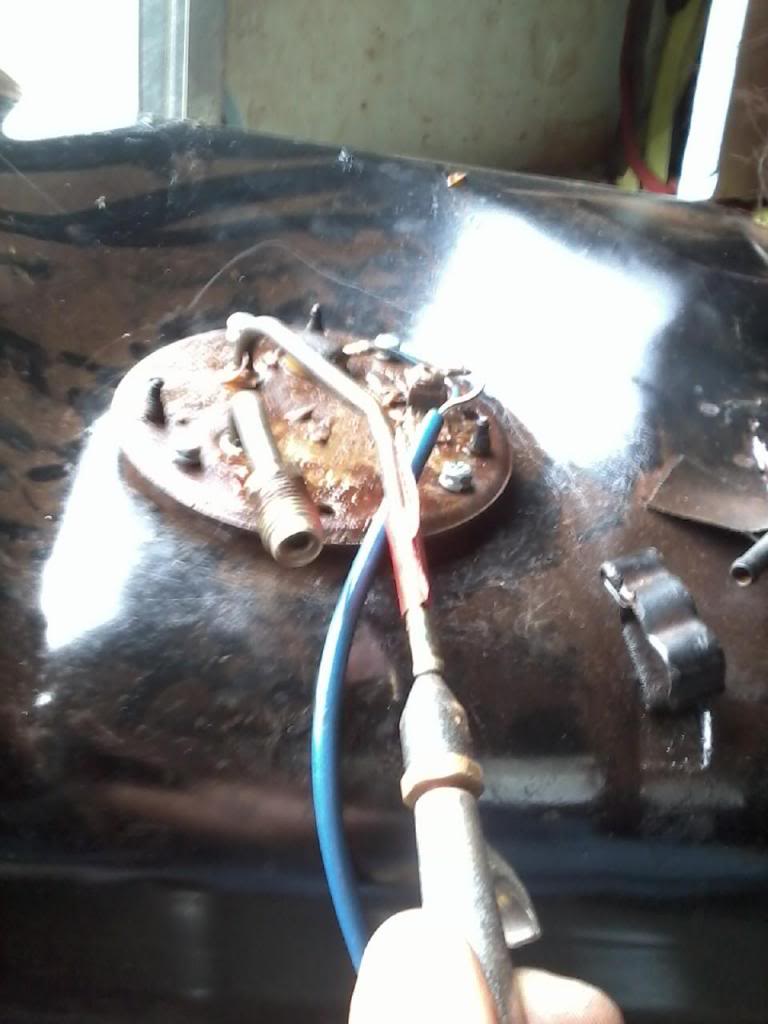
The dot lines up with the dent line just forward of my finger. The screws are offset a little bit. Also the wire coming out of the float unit should be pointing toward the drivers rear bumper.
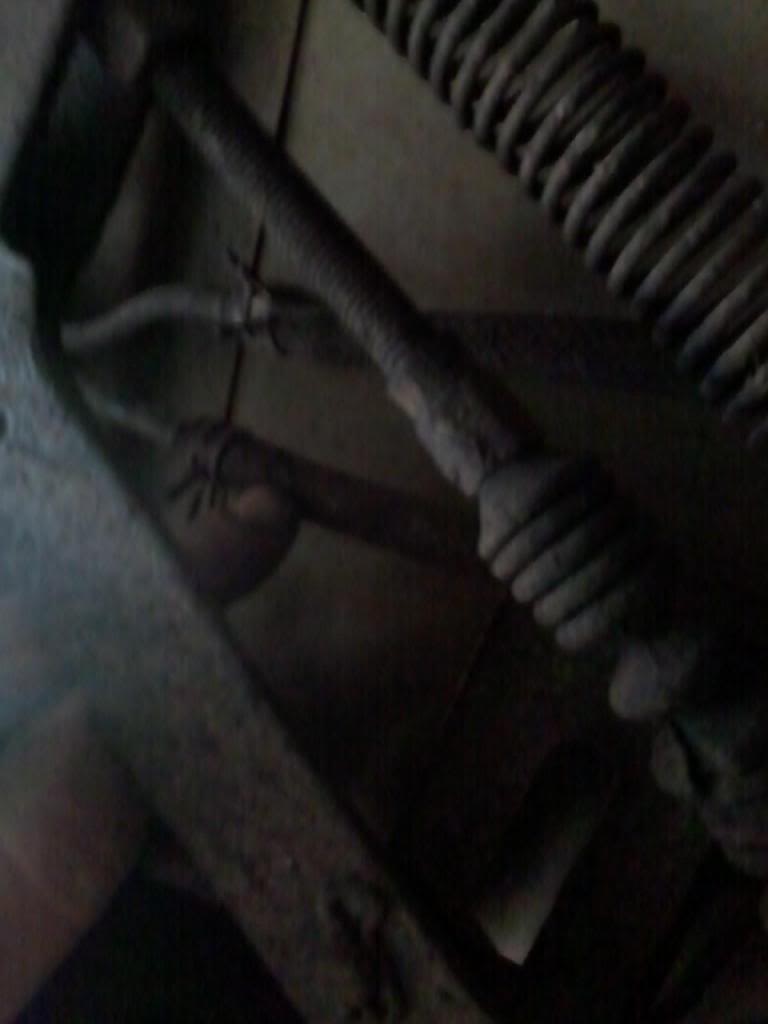
This line is closest to the frame and is the Return Line on the Fuel Pump Assembly, more of a note to myself.
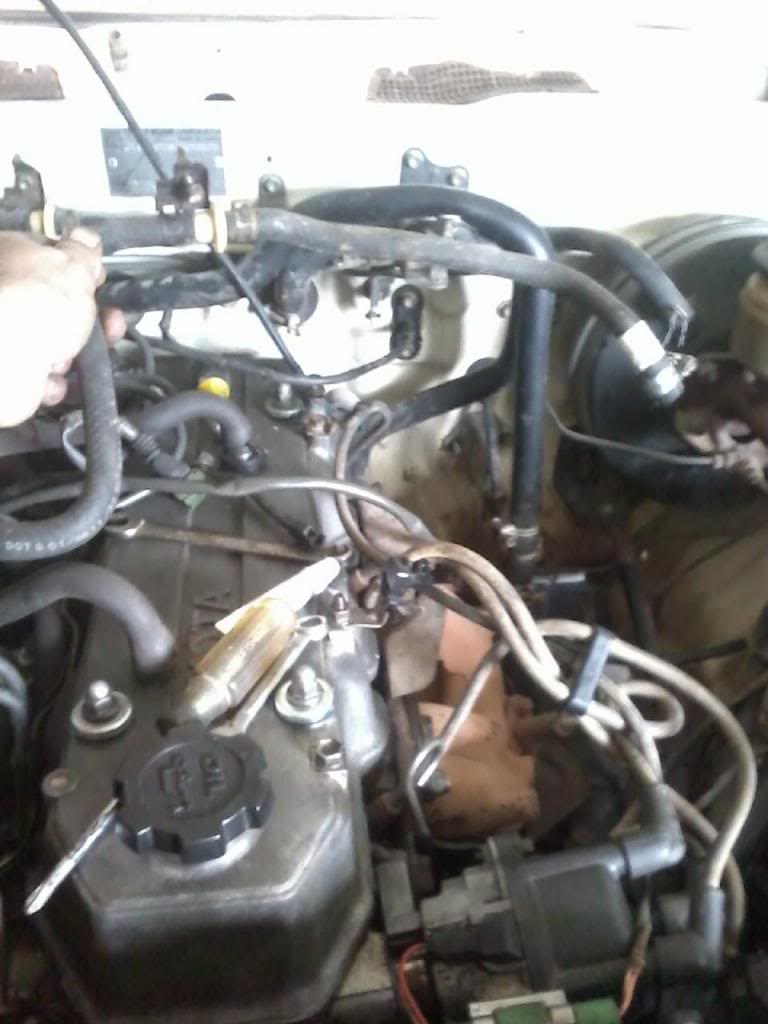
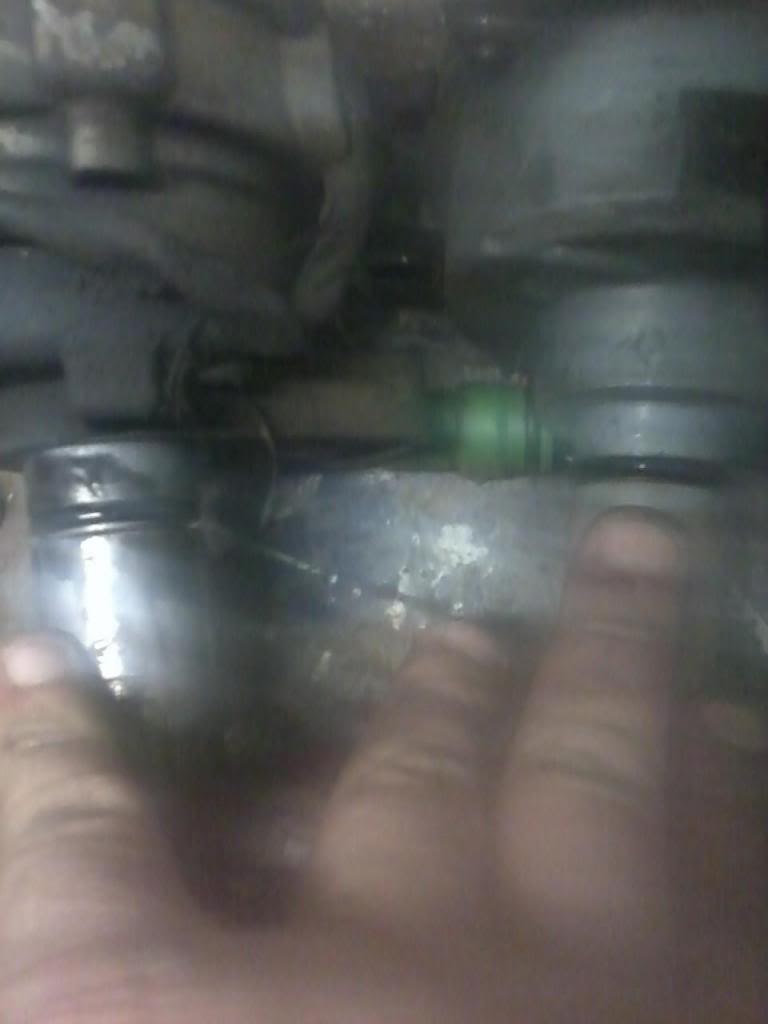
Not a good picture and I will update it later when I get back out to the shop. The distributors can have an oil leak. The one on the left, the O-Ring has shrunk so much that it isnt sealing anything. These are so old and brittle that they will just break on you. I had to swap distributors. 22rs have a Vacuum Advance and a 22re does not.
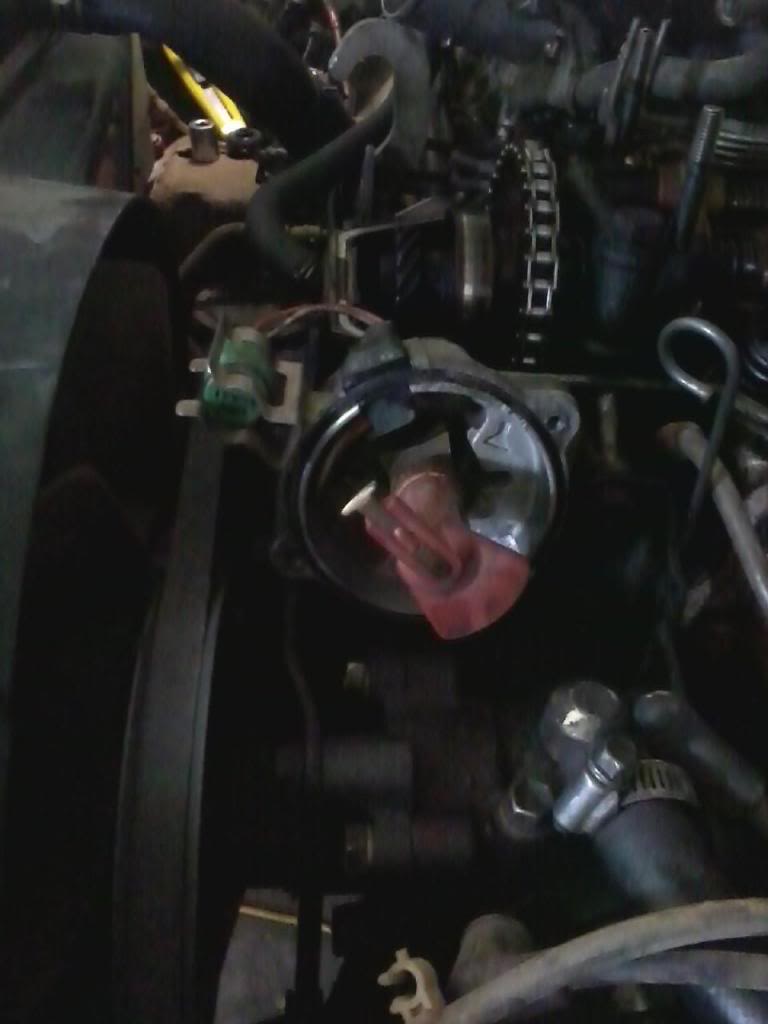
Got the timing set and dizzy in. Will order plug wires from ebay. $25 from ebay and $83 last time I checked Toyota. I will get a new cap, plugs, rotor button and oil filter from Toyota.
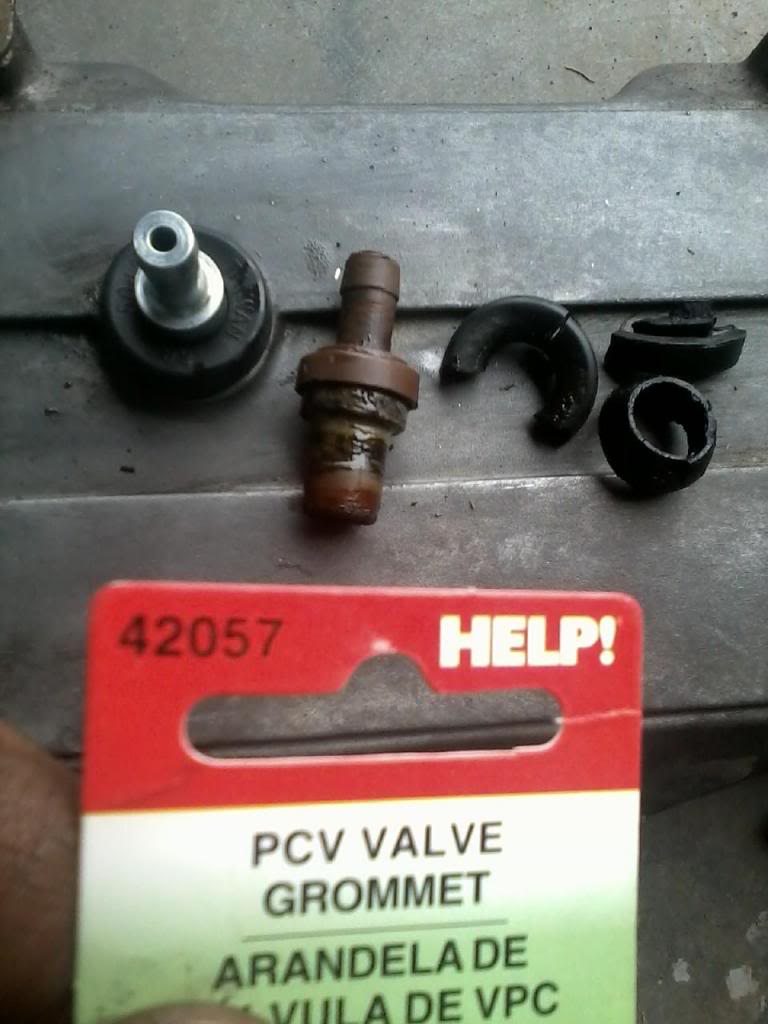
Replaced the PCV valve and Grommet. I do this anytime the valve cover is off. The grommet is usually so brittle and can be a bear to get out. I had to stand on it and pull the PCV out with channel locks and then the grommet broke while trying to get it out. The part number is for the grommet.
Got most of the Plenum back together and started on the air box. The bolt holes are marked where to drill them out.

I have 3 different manuals, FSM, Haynes, and Chilton. I will watch a video when possible.
Remove the horn cover. Usually just one screw holding it on and it lift UP to come off of the wheel.

Do not try to bang the wheel off of the shaft. You can rent wheel pullers for free from a parts store.

Remove the 4 deep recessed screws to get the Combo Switch off. I am going to use the old column but just change the electronics on it.

Remove the screws that hold the electrical wiring on and the green tab to free it from the steering column.

Make all of your connections. Not showing but there are around 6 electrical connections to the steering column. I also connected the clutch and brake springs, dome light by the fuse box, parking brake connector, and one or two others. The plugs are fool proof.
There is a ground wire next to the fuse box that connects to the pillar. I scuff up the paint for it to get a better ground.

Steering Column is now in, along with the main cross bar. I have the speedometer cable and connections laying in there normal position at this time.

Page 94 of 86 Build
Run Injector Harness thru hole cut in firewall in earlier stage.

All of these connectors go thru the center of the Intake Manifold. Starter, IACV, Knock Sensor, Oil Pressure,Tranny Connector. If I miss some I will edit and add to this at a later time.

This goes to your Injector Resistor. The yellow and blue wire. Eventually goes to Pins #10 and #20. Is a good test point when trouble shooting Non Firing Injectors.

Before installing Plenum, connect your Injectors. Install Plenum. I find it easier to remove the Throttle Body Assembly and the Thermostat Cover to hook up several hoses and connectors. Each year will vary and I will add some diagrams at a later time.

The 22r and 22re Throttle Cables are not interchangable. I swapped out the cables. Photobucket is being difficult so will go back and add some more pics later but what is working I am posting now.
There are two 10mm bolts that hold the Throttle cable to the firewall. On a 22r, the bracket for the cable attaches to the valve cover. On a 22re, it attaches to the Plenum. I suggest attaching it to the Plenum first and that helps get the cable situated.

I could not get a good picture of attaching the cable to the pedal assembly. The white clip sits in the pedal bar. Push from the back to the steering wheel and the clip will undo and there is a slot in the side of the pedal bar that lets the cable slide toward the passenger side to release it.

Got the Wiper Delay hooked up. There is another wire connection that is way up high. It can be hard to find.

Connected computer first and then the rest of the connections make easier. Had to repair a few wires in this harness as well.

Here it is in. Get all of the wiring tucked in behind the computer. It is tight withe the Wiper Delay box behind it.

Cleaned under the floor mat. Alot of debris from the cowl was under there as well. Not all of it was from me pulling the blower motor. Even with the vinyl mat alot of grit was under the mat. That surprised me. I see alot of debri work its way thru the carpet.

Another view under the mat. I pull my carpets and clean the floor pans on my trucks and wash the carpet at the carwash. Gives a fresher smell in there.

A problem I found. Someone has used a bolt in the exhaust. Will work on it after getting the truck running. There is another bolt stripped and will need to take to my local machine shop guy and he is usually able to get to them without taking off the head.

I like the 50/50 bolts. This one had a both styles so got that all corrected. One in the back is stripped. The other problem I found.

You need to swap out the brake booster to plenum hose. Here it is all together.

Then I hit a snag. Swapping out the water pump hose turned into a tear down of the entire power steering assembly. The adjuster was frozen and one thing led to another. Should be able to start reassembly from this point.

You have to switch fuel tanks when going from Carbed to Fuel Injection
I finished up the tank and got it in. Had to clear the "J" line on it as well. I try to mention on all of my builds just how bad these tanks get. I cleaned it and used Red-Kote on it and got it all back toghter.

The dot lines up with the dent line just forward of my finger. The screws are offset a little bit. Also the wire coming out of the float unit should be pointing toward the drivers rear bumper.

This line is closest to the frame and is the Return Line on the Fuel Pump Assembly, more of a note to myself.

Not a good picture and I will update it later when I get back out to the shop. The distributors can have an oil leak. The one on the left, the O-Ring has shrunk so much that it isnt sealing anything. These are so old and brittle that they will just break on you. I had to swap distributors. 22rs have a Vacuum Advance and a 22re does not.

Got the timing set and dizzy in. Will order plug wires from ebay. $25 from ebay and $83 last time I checked Toyota. I will get a new cap, plugs, rotor button and oil filter from Toyota.

Replaced the PCV valve and Grommet. I do this anytime the valve cover is off. The grommet is usually so brittle and can be a bear to get out. I had to stand on it and pull the PCV out with channel locks and then the grommet broke while trying to get it out. The part number is for the grommet.

Got most of the Plenum back together and started on the air box. The bolt holes are marked where to drill them out.

I have 3 different manuals, FSM, Haynes, and Chilton. I will watch a video when possible.
Last edited by Terrys87; 01-24-2016 at 01:19 PM.

Thread
Thread Starter
Forum
Replies
Last Post
live4soccer7
84-85 Trucks & 4Runners
3
05-11-2016 06:52 PM
87SR5justin
General Vehicle Related Topics (Non Year Related)
1
09-29-2015 02:50 PM
runnermedic
95.5-2004 Tacomas & 96-2002 4Runners
13
09-21-2015 05:20 PM


